Articles / Guidesupdated for DaVinci Resolve 21.0.2 (July 2026)
DaVinci Resolve Export Settings for YouTube: The Right Numbers
Quick answer
Export MP4 with H.264, matching your timeline's resolution and frame rate. Use YouTube's own bitrate table: 8 Mbps for 1080p, 12 Mbps at 60fps, and 35-45 Mbps for 4K (53-68 Mbps at 60fps). Set audio to AAC-LC at 384 kbps stereo, 48kHz, with 4:2:0 chroma and a closed GOP of half your frame rate.
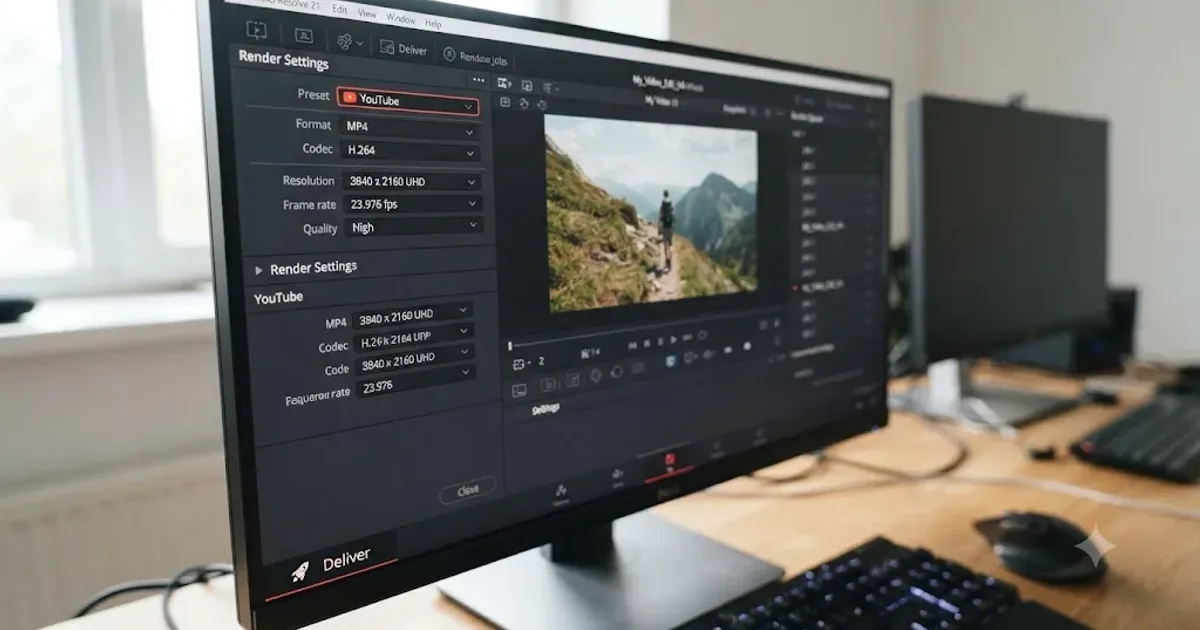
What settings actually matter when you export a DaVinci Resolve timeline for YouTube? Five things: MP4 container, H.264 codec, your timeline's real resolution and frame rate, a bitrate pulled from YouTube's own table, and AAC audio at 384 kbps. Everything else on the Deliver page is a detail. Get those five right and your upload looks the way your timeline looked before you hit render.
The numbers below come straight from YouTube's own recommended upload encoding settings, not from guesswork or a preset nobody has audited in a year. I'll walk through where each one goes on the Deliver page, what changes for HDR and Shorts, and why a file that looks perfect in Resolve can still look soft once YouTube gets its hands on it.
What are the exact DaVinci Resolve export settings for YouTube?
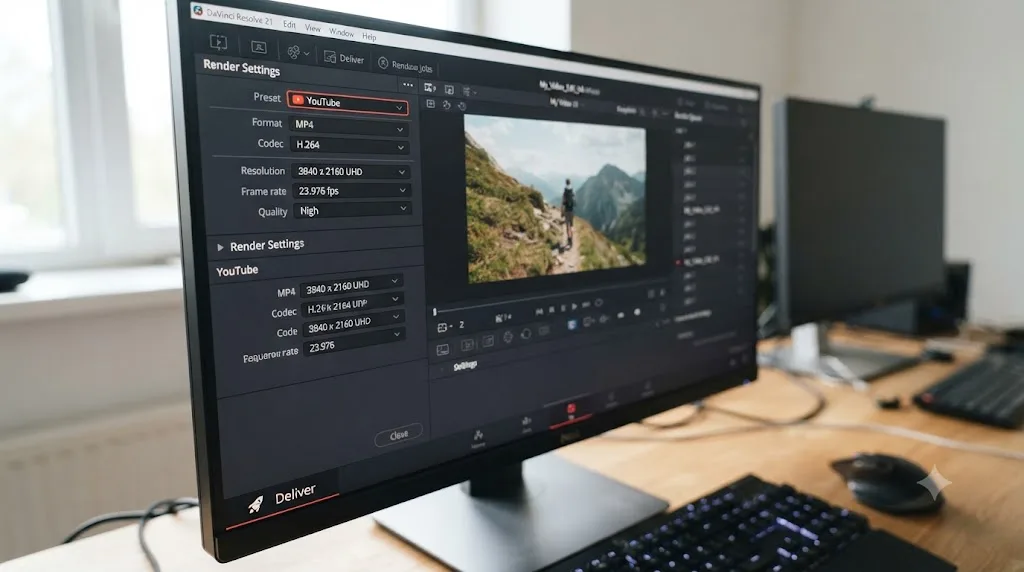
Container, codec, and chroma first. YouTube's own guide asks for an MP4 container with H.264 video at High Profile, closed GOP, CABAC entropy coding, and 4:2:0 chroma subsampling, per YouTube's recommended upload encoding settings. Resolve's High Profile encoding setting already satisfies the profile and entropy coding requirement without you touching anything extra; the only field you need to actively set is Format: MP4 and Codec: H.264.
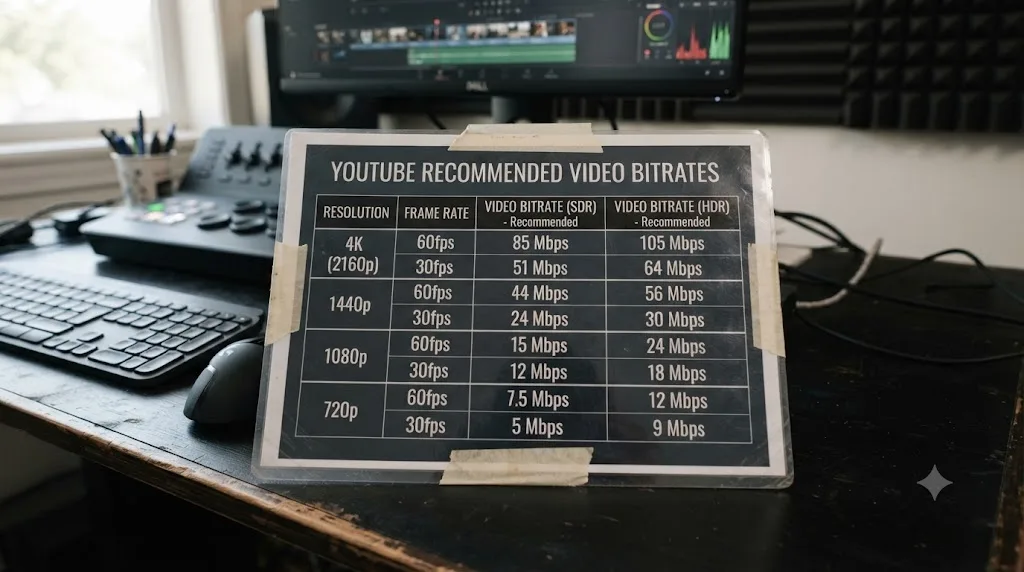
Bitrate is the number everyone actually searches for, so here it is straight from YouTube's table:
| Resolution | Standard frame rate (24-30fps) | High frame rate (48-60fps) |
|---|---|---|
| 8K | 80-160 Mbps | 120-240 Mbps |
| 2160p (4K) | 35-45 Mbps | 53-68 Mbps |
| 1440p | 16 Mbps | 24 Mbps |
| 1080p | 8 Mbps | 12 Mbps |
| 720p | 5 Mbps | 7.5 Mbps |
| 480p | 2.5 Mbps | 4 Mbps |
| 360p | 1 Mbps | 1.5 Mbps |
YouTube's own encoding guide asks for roughly four to five times more bitrate at 4K than at 1080p, not just four times the pixels. That gap exists because more resolution means more detail per frame for the encoder to preserve, and starving a 4K file of bits produces exactly the soft, blocky look people blame on "YouTube compression" when the real cause was an underfed export.
Audio is simpler. AAC-LC (or Opus, or the newer Eclipsa Audio codec on formats that support it) at 48kHz, with bitrate set by channel count: 128 kbps for mono, 384 kbps for stereo, 512 kbps for a 5.1 mix, per the same YouTube guide. For a standard talking-head or narrative YouTube video with a stereo mix, that's 384 kbps, full stop.
One detail almost nobody sets on purpose: keyframe spacing. YouTube's guide specifies "Closed GOP. GOP of half the frame rate," which means a keyframe every half-second at any standard frame rate. On the Deliver page, that's the Key Frame Every field inside Advanced Settings; type in half your project's frame rate (15 at 30fps, 12 at 24fps, 30 at 60fps) instead of leaving Resolve's default.
Last, the container-level note YouTube publishes and almost every export guide skips: no edit lists, and the moov atom at the front of the file for fast start. This is a muxing detail inside the MP4 wrapper, not a field you'll find in Resolve's UI, so there's nothing to set here beyond confirming your final Format is MP4.
Does DaVinci Resolve's YouTube preset already do all this for you?
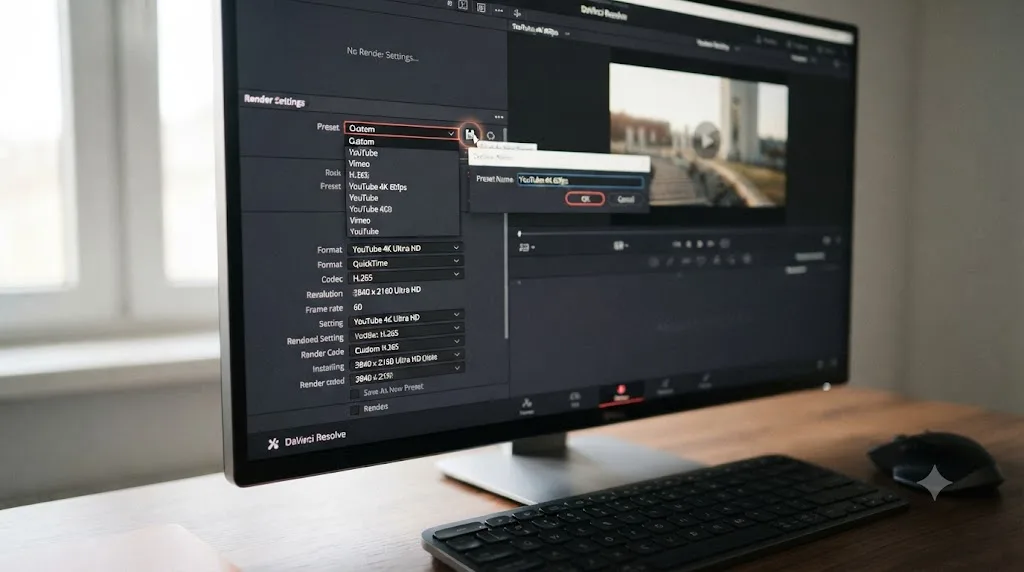
Partly, and that's exactly the problem. Resolve ships a YouTube preset in the strip of presets at the top of the Render Settings panel, alongside Vimeo, ProRes Master, and H.264 Master. Clicking it fills in a full set of values in one move, which is the whole appeal of a preset.
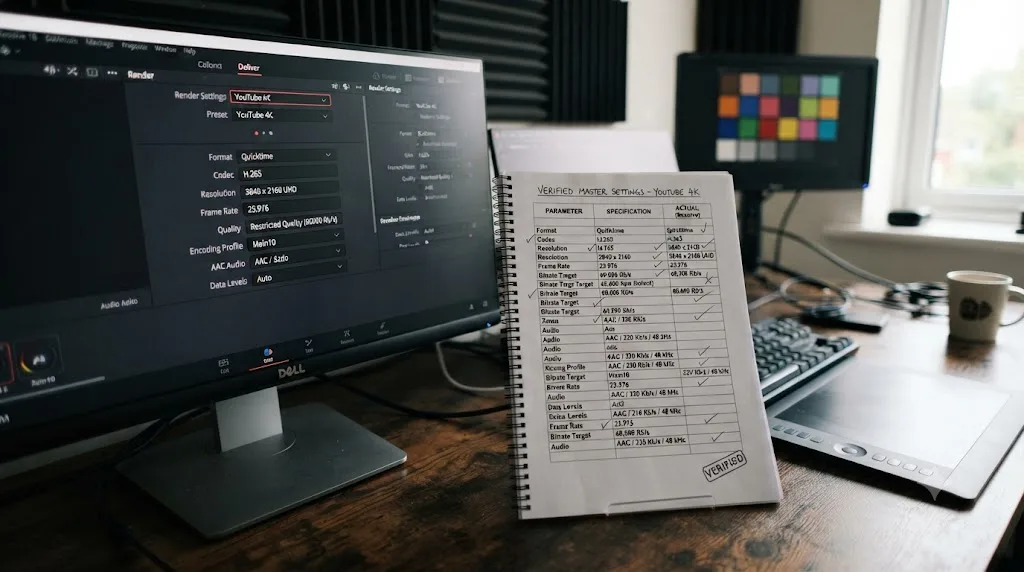
Here's the catch: a preset is a snapshot of what a platform wanted on the day someone built it. YouTube revises its recommended settings periodically, most visibly around new codec support and new resolution tiers like 8K, and a shipped preset doesn't quietly update itself the next time YouTube's guide changes. Treat Resolve's YouTube preset as a fast starting point that gets you 90% of the way there, then walk through the Video and Audio tabs and check every field against the table above before you commit to a render.
A preset is a snapshot of a platform's requirements on the day it was built, and platforms change their requirements more often than software ships new presets. That single sentence is the entire argument for verifying rather than trusting, and it applies as much to third-party export presets you find in tutorials as it does to Resolve's own built-in one.
If you're new to the Deliver page in general, our export settings guide covers how the whole page is organized, including the Single Clip versus Individual Clips toggle that trips up more beginners than any codec setting on this page.
What resolution and frame rate should you actually export at?
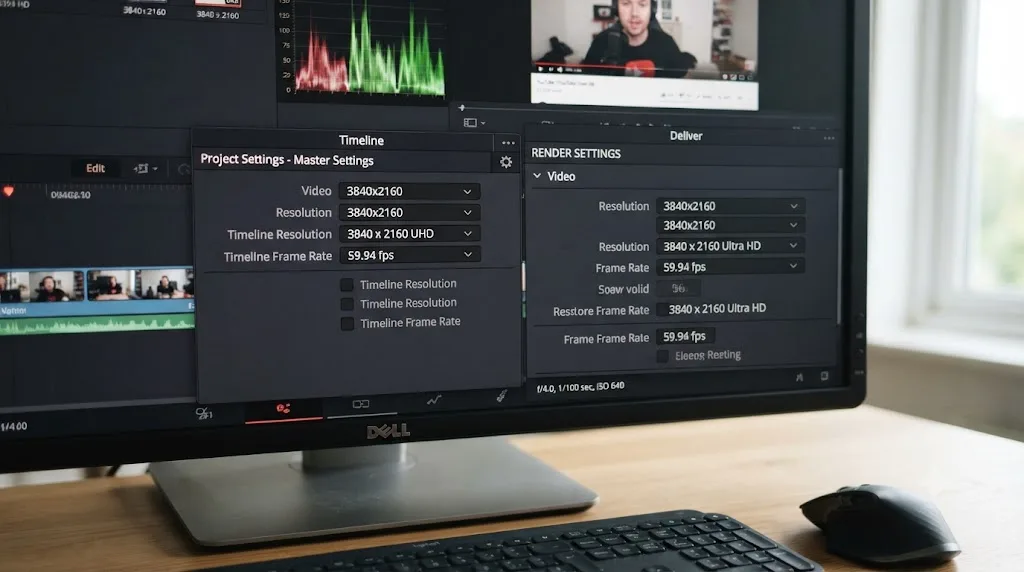
Whatever your timeline is. Not the resolution you wish you'd shot at, not a resolution you think YouTube "prefers," just your timeline's actual settings.
This trips people up because the bitrate table above looks like a menu of resolutions to pick from, when it's really a lookup table for whatever resolution you already have. If you edited at 1080p, you render at 1080p and use the 1080p row. If your camera shot 4K and your timeline is 4K, you render at 4K and use the 4K row. Upscaling a 1080p timeline to 4K before export doesn't add real detail; it just hands YouTube a bigger, blurrier file to compress at a bitrate meant for genuine 4K detail, which usually looks worse than uploading the honest 1080p file.
Frame rate follows the same logic, with one extra wrinkle. If you shot and edited at 24fps, export at 24fps. Exporting a 24fps timeline at 30fps forces Resolve to invent or duplicate frames to fill the gap, and that mismatch reads as a subtle judder that's easy to feel and hard to name. YouTube's table splits standard frame rates (24, 25, 30fps) from high frame rates (48, 50, 60fps) specifically because the bitrate math changes with them, so matching your real frame rate isn't just about smoothness, it's also what tells you which column of the bitrate table to read.
| Your timeline is | Read this row | Read this frame-rate column |
|---|---|---|
| 1080p24 or 1080p30 | 1080p | Standard frame rate |
| 1080p60 | 1080p | High frame rate |
| 4K24 or 4K30 | 2160p (4K) | Standard frame rate |
| 4K60 | 2160p (4K) | High frame rate |
Before you render, open your timeline's settings and compare them against the render settings panel side by side. It takes fifteen seconds and it's the single check most likely to catch a mismatch before it becomes a re-upload.
Should you export H.264 or H.265 from DaVinci Resolve for YouTube?
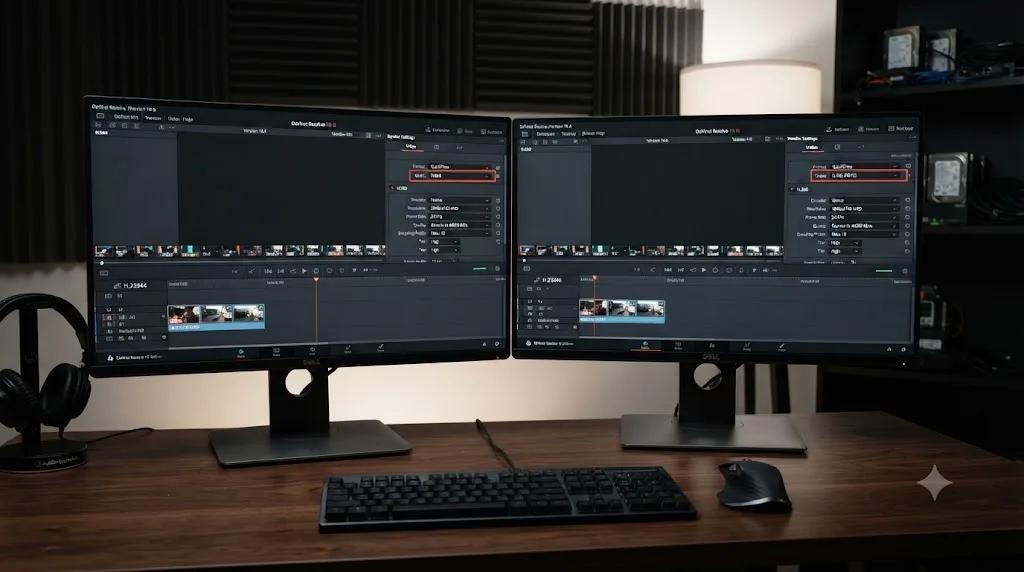
H.264 for a standard SDR upload, because that's the codec YouTube's own recommended upload encoding settings names directly. It's also the safest choice because H.264 decodes natively on essentially every device and browser that will ever play your video back, and YouTube's encoding pipeline is built around it as the primary ingest format.
H.265 (HEVC) earns its place in one specific case: HDR delivery. YouTube's HDR upload requirements list HEVC/H.265, VP9 Profile 2, and AV1 as the recommended codecs for HDR specifically, because all three support 10-bit encoding with HDR metadata "at reasonable bitrates," per YouTube's HDR upload page. H.264 in 10-bit, ProRes, and DNxHR HQX also work as HDR sources, but the same page notes they need much higher bitrates to hold equivalent quality, which makes them expensive uploads for no real benefit if H.265 is available to you.
Resolve 21 changed the calculus here in a real way. Render settings now include a new MainConcept encoder option for H.265 and MV-HEVC at 4:2:0 and 4:2:2 color, according to Blackmagic's own release notes, and the 21.0.1 point release specifically fixed HDR metadata handling for both the MainConcept and native Windows H.265 encoders, per CineD's coverage of that update. If your HDR export was tagging incorrectly or displaying flat on a viewer's TV before that update, this is the fix that addressed it.
| Upload type | Codec | Why |
|---|---|---|
| Standard SDR YouTube upload | H.264 | Matches YouTube's primary recommended codec, universal compatibility |
| HDR upload (Dolby Vision, HDR10, HLG) | H.265 (HEVC) | 10-bit with HDR metadata at reasonable bitrates, per YouTube's HDR guide |
| HDR live stream | H.265 (HEVC) only | YouTube currently supports no other codec for HDR live streaming |
Don't reach for H.265 on an ordinary SDR upload just because it compresses more efficiently. It renders slower, and since YouTube already names H.264 as its primary recommendation for standard uploads, you're trading render time for a benefit YouTube's own pipeline isn't specifically optimized to reward there.
How do you export HDR video for YouTube from DaVinci Resolve?
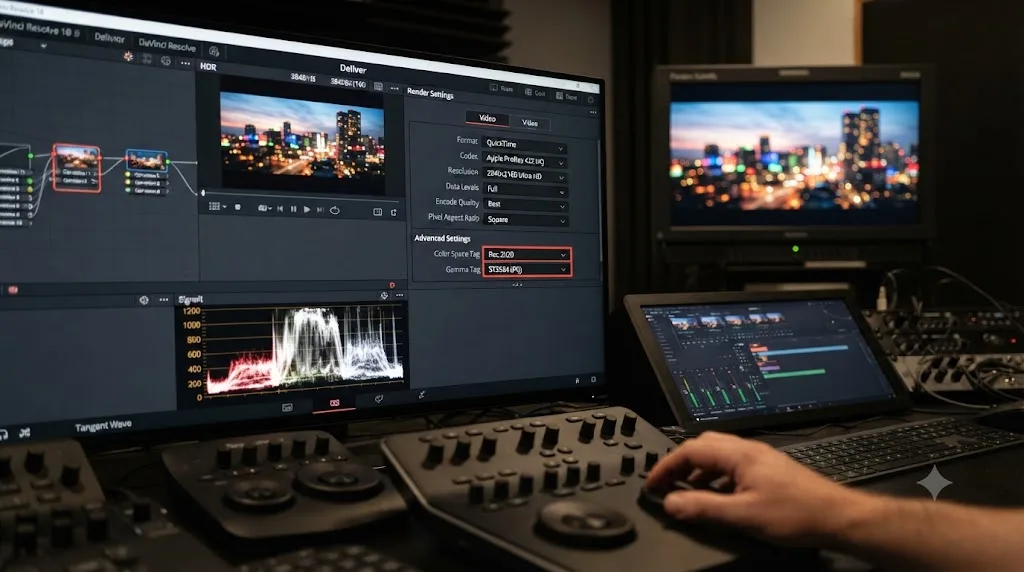
Four things have to line up: bit depth, color space, transfer function, and codec. YouTube's HDR upload page requires 10-bit or 12-bit color depth, Rec.2020 color primaries with a Rec.2020 non-constant luminance matrix, and either PQ (ST 2084) or HLG (Rec.2100) as the transfer function, per YouTube's own HDR requirements. Get any one of those four wrong and the upload either gets rejected as HDR or, worse, gets accepted but displays incorrectly.
That page calls out one specific, common mistake worth repeating verbatim: "A common mistake is to master in P3, then tag the result using Rec.2020 primaries. It will result in an oversaturated look with shifted hues." If you're grading on a P3-referred monitor, as many creators do, don't just slap a Rec.2020 tag on the export and call it done; the color space your grade actually lives in and the metadata tag you export with have to match, or the mismatch shows up as a garish, over-saturated picture the moment YouTube's player interprets that mistagged file.
Container-wise, YouTube's HDR page confirms MOV/QuickTime, MP4, and MKV have all been tested to carry HDR metadata correctly, so you're not locked into one wrapper the way SDR effectively locks you into MP4. Frame rates YouTube explicitly supports for HDR run 23.976, 24, 25, 29.97, 30, 48, 50, 59.94, and 60fps, covering essentially every standard delivery frame rate. Resolution runs 720p through 2160p, and YouTube's guide notes it prefers UHD-standard widths over DCI cinema widths when your source offers a choice between them.
Inside Resolve, this means setting your project's color management and timeline color space to match your intended delivery (Rec.2020 PQ or HLG, not Rec.709), grading with an HDR-capable reference monitor if you have one, and exporting through the MainConcept H.265 encoder covered in the previous section. YouTube requires Rec.2020 color primaries and either PQ or HLG as the transfer function for any HDR upload, with no exceptions for other color spaces. That's not a Resolve rule, it's a platform rule, and no export setting inside Resolve substitutes for grading in the right color space from the start.
If you're live streaming HDR to YouTube rather than uploading a finished file, know the ceiling before you build a workflow around it: "At this time, HDR streaming to YouTube is only supported with the H.265 (HEVC) video codec," per YouTube's HDR live streaming page, and it requires HLS output specifically rather than standard RTMP. That same page notes your Live Control Room preview won't even show HDR colors while you're streaming, which is worth knowing before you assume something's broken with your grade mid-stream.
What settings do you need for YouTube Shorts?
A vertical or square frame, and a runtime under three minutes. YouTube's own help page states that "square or vertical aspect ratio up to three minutes in length" gets classified as a Short, per YouTube's Shorts help page, and that creators who want a video treated as long-form instead should "use a wider aspect ratio such as 16:9." That classification rule matters more than any codec setting on this page, because it's the difference between your video landing in the Shorts feed or the regular watch feed.
A quick honesty note: YouTube's own help pages don't publish an exact pixel resolution for Shorts the way they do for standard uploads. The 1080x1920 figure that circulates everywhere is the de facto standard, matching YouTube's general 9:16 vertical guidance at Full HD, not a number pulled from an official spec sheet. Build to it with confidence, since it's what every current Shorts-format video effectively targets, just don't expect to find it written down word for word on a support.google.com page.
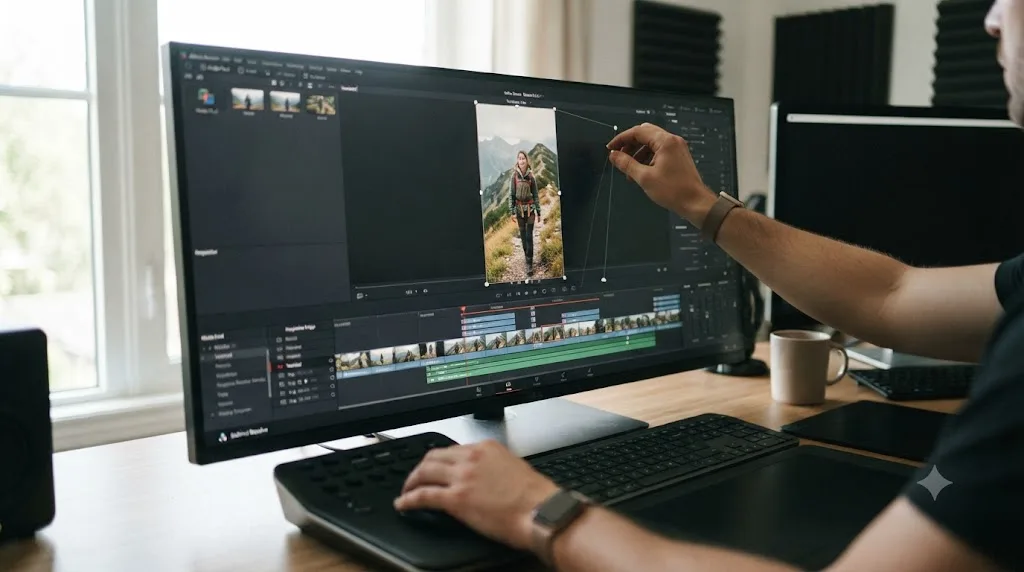
Build the vertical timeline properly rather than force it at export time. Duplicate your source timeline, open Timeline Settings, and set the resolution to 1080x1920 (or tick Use Custom Settings when you first create the timeline), then reframe each shot with the Transform controls so faces and text sit inside the tall frame instead of getting squeezed or cropped blind. Studio owners get a shortcut here: Smart Reframe can auto-track a subject and punch in automatically, though a manual check is still worth it on any shot with two people in frame.
Once the timeline itself is vertical, the export settings are identical to any other YouTube upload: MP4, H.264, and the bitrate row matching your resolution and frame rate from the table earlier in this guide. Shorts don't get a separate bitrate table; a 1080-wide vertical frame reads off the same 1080p row as a horizontal one.
What settings actually matter for a keyframe-heavy or long-take video?
This is where the GOP setting from earlier stops being a technicality and starts affecting how your file looks. YouTube's guide asks for "Closed GOP. GOP of half the frame rate," which means a keyframe lands twice a second regardless of what's happening on screen.
That matters most on content with long static takes, screen recordings, or slow, deliberate cuts, the kind of footage a talking-head tutorial or a slow documentary interview produces. Interframe codecs like H.264 spend most of their bits describing the differences between frames, and a keyframe resets that process by storing a complete frame outright. Space keyframes too far apart and a hard cut or a sudden motion right before the next scheduled keyframe can produce a visible smear or blocky artifact for a few frames, because the encoder is straining to describe a big change with difference-frames instead of a fresh full frame. YouTube's half-a-frame-rate recommendation exists to keep that window short enough that viewers never notice it.
Set it explicitly rather than trusting Resolve's default: on the Deliver page, open Advanced Settings under the Video tab and look for Key Frame Every. Type in half your frame rate; at 30fps that's 15, at 24fps that's 12, at 60fps that's 30. It's a small field that most creators never touch, and it's one of the few settings on this whole page that's genuinely invisible until the one shot where it would have mattered.
What settings work for different kinds of YouTube channels?
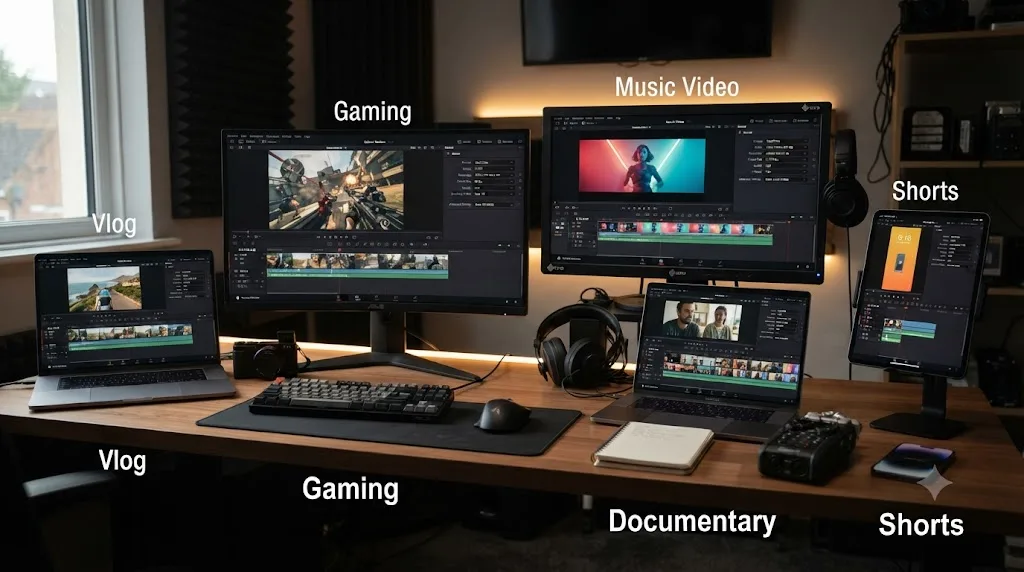
The codec and container answer doesn't change across channel types, but the bitrate row and a few practical choices do, depending on what your footage actually looks like.
| Channel type | Typical export | What to watch for |
|---|---|---|
| Talking-head tutorial or vlog | 1080p or 4K24-30, H.264, table bitrate | Mostly static frames compress efficiently; don't over-spend bitrate you don't need |
| Gaming and fast-motion capture | 1080p or 4K60, H.264, high-frame-rate row | Fast motion and screen detail are the most bitrate-hungry content there is; use the 60fps row, not the standard one, if you're at 60fps |
| Music video or heavily graded narrative | 4K24-30, H.264 or H.265 for HDR masters, table bitrate at the high end | Smooth gradients in skies and shadows band first under low bitrate; err toward the top of the table's range |
| Documentary or interview with long static shots | 1080p or 4K24-30, table bitrate, verified keyframe interval | Long static takes are efficient to compress, but a hard keyframe interval keeps sudden cuts clean |
| Short-form vertical (Shorts) | 1080x1920, under 3 minutes, H.264, 1080p row | Classification by aspect ratio and length matters more than any codec setting |
A gaming channel exporting fast, detailed screen capture at 60fps and treating it like a slow-cut interview, by using the standard-frame-rate bitrate row instead of the high-frame-rate one, is a common, avoidable mistake. So is a music video shot with rich, graded skies exported at the bare minimum of the bitrate range instead of the top of it. The table gives you a range for a reason; lean toward the top of it whenever your footage has more motion or more gradient detail than a plain interview does.
What happens to your file after you upload it?
It gets re-encoded, every time, no matter what you send. This is the part of the pipeline that happens entirely outside Resolve, and understanding it changes how you should think about your export.
YouTube doesn't serve your original upload back to viewers. It transcodes what you send into multiple resolutions and codecs to build its own adaptive streaming ladder, so a viewer on a slow connection gets a smaller file and a viewer on a fast one gets a bigger one, all generated from the same source you uploaded. Independent analysis of YouTube's delivery pipeline found that YouTube "uses H.264 for the vast majority of videos that might get watched a few hundred times, or even lower," and only brings in the more efficient VP9 codec once a video's view count climbs into the thousands, reserving the even more efficient AV1 codec largely for videos likely to pass roughly five million views, according to Jan Ozer's analysis at Streaming Learning Center. The same analysis notes YouTube "appears to encode all videos larger than 1080p with VP9," while only generating H.264 versions of those videos at 1080p and below.
What that means practically: your upload is a source file for a pipeline that keeps working on it long after you close Resolve, and which specific codec a given viewer receives depends partly on how popular your video becomes over its lifetime, not just on what you exported. That's exactly the framing Colleen Henry, credited on the page as Video Hacker for Google's Video Infrastructure team, gave in an addendum to a widely cited encoding guide: "It's important to think of the files you upload to YouTube as golden masters, as they will be used as source material to generate video streams for years to come," as quoted at Streaming Learning Center. The same source quotes Telestream Episode product manager Kevin Louden making the operational version of the same point: "YouTube re-encodes all video uploaded to the site," so there's no benefit to trying to match YouTube's compressed output; your job is only to hand it the best source you can produce.
Your YouTube upload isn't the file viewers watch. It's the source file YouTube keeps re-encoding for as long as the video stays live. That single fact is the reason "just export it a little smaller to save time" is a worse trade than it looks, because a soft or under-bitrated master doesn't just cost you quality today, it caps the quality of every re-encode YouTube generates from it for years afterward.

What audio settings does YouTube actually want?
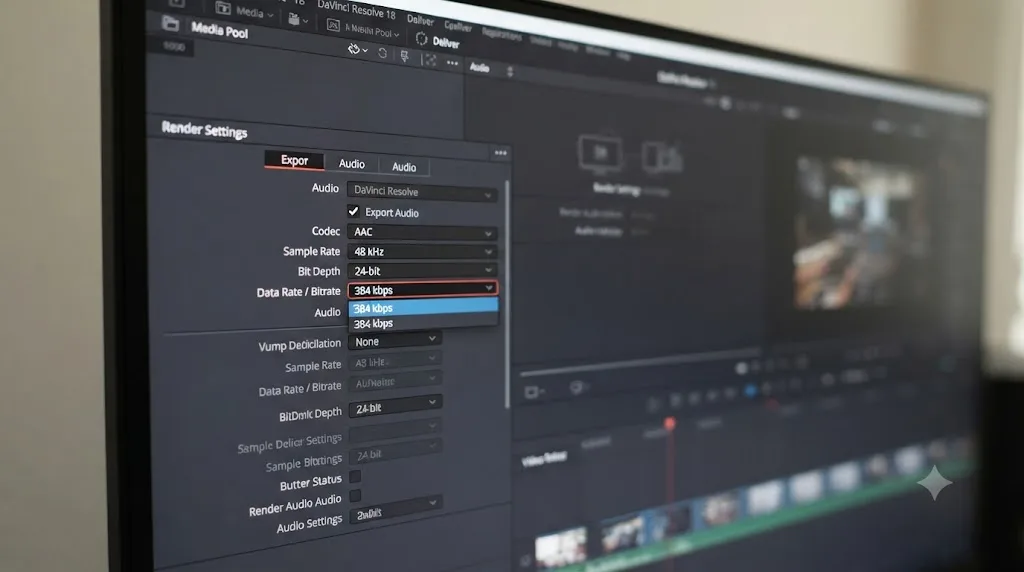
AAC-LC, 48kHz, with bitrate set by channel count. YouTube's guide lists AAC-LC as the primary recommended audio codec, alongside Opus and the newer Eclipsa Audio format on platforms that support it, per YouTube's recommended upload encoding settings. The same page sets bitrate targets of 128 kbps for mono, 384 kbps for stereo, and 512 kbps for a 5.1 surround mix.
For the overwhelming majority of YouTube uploads, that means 384 kbps AAC at 48kHz on a stereo bus. On Resolve's Deliver page, that's the Audio tab: set Codec to AAC, Bitrate to 384 kbps if the field allows manual entry, and confirm the sample rate is 48kHz to match. The Output Track dropdown should point at your main stereo bus, the finished mix, not an individual track or a stem.
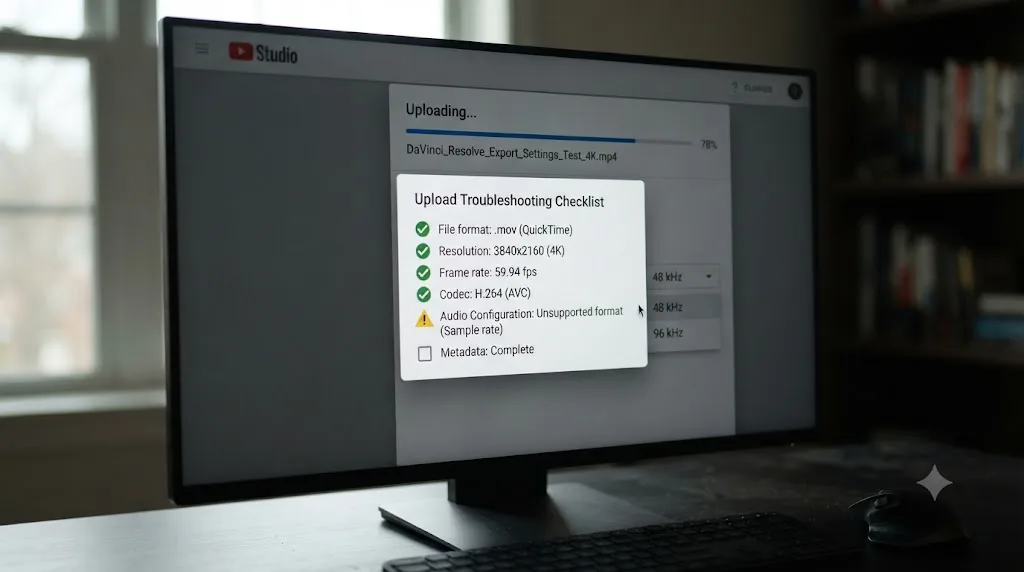
One checkbox deserves repeating because it's the single most common export mistake on the entire Deliver page: Export Audio, at the top of the Audio tab. It's on by default, but it's also the first thing that gets unchecked accidentally while troubleshooting something else, and a silent upload is a much worse outcome than a wrong bitrate. If your export comes out silent despite everything above being correct, our no audio troubleshooting guide runs the deeper checklist, from muted buses to sample rate mismatches between your timeline and your audio interface.
Loudness is worth a separate check even though it's not a codec setting. YouTube normalizes uploads toward a target loudness rather than leaving your mix at whatever level you rendered it, so an overly hot mix gets turned down automatically on playback while a quiet one stays quiet, since normalization only ever pulls loudness down. Mix your stereo bus with a reasonable amount of headroom rather than pushing it as loud as it'll go; YouTube's normalization does you no favors for extra loudness, and a mix with room to breathe survives that normalization pass looking more natural than one that was already slammed against the ceiling.
Does the free version of DaVinci Resolve limit YouTube exports?
Barely, and not in a way that touches most creators. Per Blackmagic's own tech specs, the free version caps exports at Ultra HD 3840x2160 resolution and 60fps in 8-bit color. Every row in YouTube's bitrate table up to and including 4K at 60fps sits comfortably inside that ceiling, which covers the overwhelming majority of YouTube content shot on consumer and prosumer cameras.
| Free | Studio | |
|---|---|---|
| Max export resolution | Ultra HD 3840x2160 | Beyond 4K |
| Max export frame rate | 60fps (8-bit) | 120fps (10-bit) |
| HDR delivery (10-bit) | Not available | Available |
| H.264/H.265 hardware encoding (Windows, Linux) | CPU-based | GPU-accelerated |
Where the free version does bite YouTube creators specifically is HDR. Real HDR delivery requires 10-bit output, and 10-bit support is a Studio feature, so if your YouTube channel is moving toward HDR uploads, that's the trigger that actually forces an upgrade, not resolution or frame rate on a standard SDR channel. Our free vs Studio comparison breaks down exactly where that boundary sits and what else changes across the two tiers.
The other free-version gap that matters for YouTube exporters is speed rather than capability. On Windows and Linux, Blackmagic reserves hardware-accelerated H.264 and H.265 encoding for Studio, so free-version exports on those platforms lean on the CPU and take noticeably longer to produce the same file. Mac users feel this less, since Apple's VideoToolbox handles much of that acceleration at the operating system level regardless of which Resolve tier you're running.
What about thumbnails, captions, and chapters?
They're not export settings inside Resolve, but they ride along with every upload, and getting them wrong wastes the good export you just rendered.
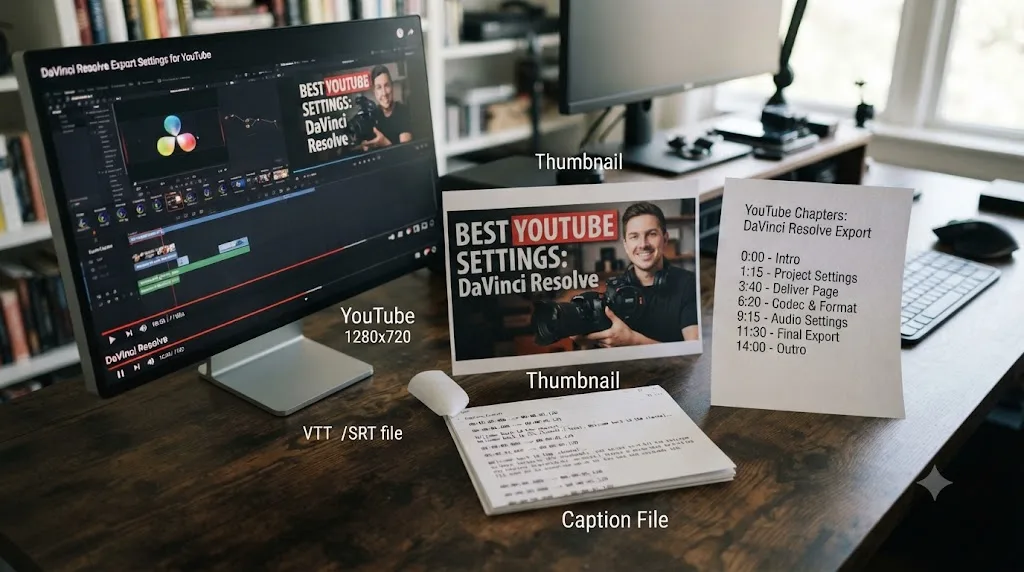
Thumbnails have a more specific spec than most creators realize. YouTube's help page recommends a resolution of 3840x2160 pixels, with a minimum width of 640 pixels, uploaded as JPG, GIF, or PNG, in a 16:9 aspect ratio (1:1 specifically for podcast playlists), per YouTube's custom thumbnail guide. File size limits differ by device: 2 MB on mobile uploads (10 MB for podcast thumbnails), and a much more generous 50 MB from desktop. If you've seen older guides citing 1280x720 as the thumbnail target, that figure is out of date against YouTube's current published guidance.
Captions have a real format requirement, and it's more flexible than most people assume. YouTube accepts SubRip (.srt), SubViewer (.sbv), MPsub, WebVTT, TTML, SAMI, and several broadcast-oriented formats including Scenarist Closed Caption (.scc), which YouTube's own page calls "the preferred format whenever captions are based on CEA-608 features," per YouTube's supported caption formats page. For most creators, a plain .srt file exported from Resolve's Subtitle track or a third-party transcription tool covers the need completely; reach for .scc specifically only if you're delivering broadcast-style closed captions with CEA-608 formatting baked in.
Chapters have exact, documented requirements: at least three timestamps listed in ascending order, with the first one starting at 00:00, and each chapter running at least 10 seconds, per YouTube's video chapters page. Type those timestamps into your video description in the right format and YouTube turns them into a navigable chapter bar automatically; skip any one of the three rules and the whole chapter list silently fails to appear.
None of these three live inside DaVinci Resolve's Deliver page settings, but all three depend on the export underneath them. A soft, under-bitrated master makes even a perfectly specced thumbnail look worse by comparison the moment a viewer's eye moves from the thumbnail to the playing video.
What if you're live streaming to YouTube instead of uploading a file?
Different rules entirely, and it's worth knowing them even if Resolve isn't your streaming software, because plenty of creators use Resolve to pre-render a file that then gets fed into OBS or a hardware encoder for a scheduled premiere or simulcast.
YouTube's live encoder settings page recommends constant bitrate (CBR) rather than the variable bitrate used for standard uploads, with a keyframe frequency of 2 seconds and a hard maximum of 4 seconds, per YouTube's live streaming guide. Video bitrate by resolution and frame rate looks like this, straight from that page:
| Resolution | Frame rate | Recommended bitrate |
|---|---|---|
| 2160p (4K) | 60fps | 35 Mbps |
| 2160p (4K) | 30fps | 30 Mbps |
| 1440p | 60fps | 24 Mbps |
| 1440p | 30fps | 15 Mbps |
| 1080p | 60fps | 12 Mbps |
| 1080p | 30fps | 10 Mbps |
| 720p | 60fps | 6 Mbps |
| 720p | 30fps | 4 Mbps |
Audio for live follows a slightly different rule too: sample rate at 44.1kHz for stereo audio or 48kHz for 5.1 surround, with bitrate at 128 kbps stereo or 384 kbps for 5.1, per the same page. Notice these live figures sit lower than the on-demand upload table earlier in this guide at matched resolutions, which makes sense: a live encoder has to hold a steady bitrate in real time with no second pass to clean anything up, so YouTube's numbers build in more headroom for network variability than a pre-rendered file needs.
If you're rendering a finished file in Resolve to feed into a streaming encoder for a premiere, export it at a high-quality intermediate setting, ProRes or a high-bitrate H.264 master, rather than at the live bitrate table above; let your streaming software handle the final live encode from that strong source, the same "golden master" logic covered earlier in this guide.
Why does your YouTube upload look worse than your DaVinci Resolve timeline?
Work through these in order before you assume the platform ruined your grade.
- Banding or blockiness, especially in skies and shadows. Your bitrate is under YouTube's recommended figure for your resolution and frame rate. Check it against the tables in this guide, and lean toward the top of the range on anything with gradients, smoke, or low light.
- Judder or a subtle stutter in motion. A frame rate mismatch between your render and your timeline. Match them exactly; don't export a 24fps timeline at 30fps or vice versa.
- Colors look wrong, flat, or oversaturated. For SDR, check your render's output color space against your project's Color Management settings. For HDR specifically, this is very likely the P3-graded-but-Rec.2020-tagged mistake covered earlier in this guide.
- The video looks fine at first, then softer after a few hundred views. That's expected, not a mistake. YouTube's codec ladder shifts as view counts climb, and low-traffic videos may sit on H.264 longer before qualifying for a more efficient codec pass, per the transcoding behavior covered earlier.
- No audio in the upload. Export Audio was unchecked on the Deliver page. It's the single most common export mistake beginners make. Our no audio troubleshooting guide covers the deeper checklist if it's checked and still silent.
- The render itself won't finish or errors out before you even get to upload. That's not a settings problem, it's a resources problem, most often GPU memory or a single corrupted clip the render hits. Our render failed guide walks the full diagnosis.
- Shorts landing in the wrong feed, or not classifying as a Short at all. Check your aspect ratio and runtime against YouTube's Shorts classification rule: square or vertical, under three minutes.
If you're newer to Resolve overall and the Deliver page still feels like a maze of tabs and checkboxes, our beginner's guide to DaVinci Resolve covers where Deliver sits among the app's seven pages and what order to learn them in.
For hunting down the exact checkbox that's causing a specific problem in your own project, that's the gap TryUncle is built for. It's an AI tutor that looks at your actual Resolve window and points at the control you're asking about, instead of sending you to a ten-minute video for a setting you needed twenty seconds ago.
How do you save this as a one-click preset for next time?
Once you've verified every field against the tables in this guide, save the result so you never have to rebuild it by hand again.
- Dial in the full setup on the Deliver page: Format MP4, Codec H.264 (or H.265 for HDR), resolution and frame rate matched to your timeline, bitrate from the table, keyframe interval at half your frame rate, and audio set to AAC at 384 kbps.
- Click the three-dot options menu at the top right of the Render Settings panel.
- Choose Save As New Preset and name it for the platform and format together, something like "YouTube 1080p" or "YouTube 4K HDR," rather than a generic label.
- The preset appears in the strip alongside Resolve's stock presets, ready to reuse on any project on this machine.
Naming it specifically matters more than it sounds. A preset called "YouTube 4K HDR" tells you in six months exactly which upload it's for; one called "Custom 2" tells you nothing, and you'll rebuild the settings from scratch out of caution. The same options menu lets you update an existing preset after you tweak it, so build one preset per delivery type and let it evolve instead of accumulating near-duplicates over time. And revisit it occasionally against YouTube's live encoding guide, since a preset saved once in 2026 is exactly the kind of thing this whole guide just warned you not to trust blindly forever.
Which settings should you actually memorize?
MP4, H.264, your timeline's real resolution and frame rate, and the bitrate row that matches them from YouTube's own table. That's the export. AAC at 384 kbps stereo covers the audio. A keyframe every half-second keeps hard cuts clean. Reach for H.265 only when the deliverable is HDR, and grade in Rec.2020 with PQ or HLG from the start if that's where you're headed, because no export setting fixes a grade built in the wrong color space after the fact.
Match your bitrate to YouTube's own table, not to habit, and the rest of this guide becomes background knowledge you rarely need to open again. Save the settings as a named preset once you've verified them, treat that preset as a starting point on your next project rather than gospel, and remember that the file you upload isn't the file viewers watch. It's the master YouTube keeps re-encoding for as long as the video stays live, so give it the best version you can produce and let the platform's own pipeline do the rest.
Frequently asked questions
- What bitrate should I use when exporting from DaVinci Resolve for YouTube?
- Match YouTube's own recommended table: 8 Mbps for 1080p at 24-30fps, 12 Mbps for 1080p at 48-60fps, 35-45 Mbps for 4K at 24-30fps, and 53-68 Mbps for 4K at 48-60fps. YouTube encodes with variable bitrate and doesn't enforce a hard ceiling, so treat these numbers as your target average, not a cap you have to shave under.
- Should I export H.264 or H.265 from DaVinci Resolve for a YouTube upload?
- H.264 for standard SDR uploads, since it's what YouTube's own encoding guide names directly. Reach for H.265 only when you're delivering HDR, where YouTube recommends HEVC, VP9 Profile 2, or AV1 specifically because they support 10-bit encoding with HDR metadata at reasonable bitrates.
- What resolution should I export from DaVinci Resolve for YouTube?
- Whatever your timeline actually is. Don't upscale a 1080p project to 4K hoping for a quality boost, and don't downscale a 4K timeline to save render time. YouTube re-encodes every upload into its own resolution ladder regardless, so handing it your native resolution and frame rate gives its encoder the most accurate source to work from.
- Does DaVinci Resolve have a built-in YouTube export preset?
- Yes, a YouTube preset sits in the render settings strip at the top of the Deliver page. Use it as a starting point, not a final answer. Presets don't always track a platform's most current bitrate guidance, so check every field against YouTube's own table before you render.
- What audio settings should I use for a YouTube export from DaVinci Resolve?
- AAC-LC at 384 kbps for a stereo mix, sample rate 48kHz. That's the figure in YouTube's own recommended upload encoding settings. Mono mixes should render at 128 kbps and a 5.1 surround mix at 512 kbps, matching the same source.
- How do I export HDR video for YouTube from DaVinci Resolve?
- Grade and deliver in 10-bit with Rec.2020 color primaries and either PQ or HLG as your transfer function, since those are the color space and transfer function YouTube's HDR upload page requires. Resolve 21 added a MainConcept H.265 encoder with 4:2:2 color specifically for deliveries like this one.
- What export settings do I need for YouTube Shorts from DaVinci Resolve?
- A vertical or square timeline under three minutes, since YouTube classifies anything square or vertical up to that length as a Short. Build the timeline at a vertical resolution from the start using Custom Settings, reframe each shot with the Transform controls, and export with the same H.264 codec and bitrate logic as any other upload.
- Why does my YouTube upload look worse than my DaVinci Resolve timeline?
- Usually the bitrate is under YouTube's recommended figure for your resolution, the render's frame rate doesn't match the timeline, or the source file you uploaded was already compressed once before it reached YouTube. Upload the highest quality file you can produce, since YouTube keeps re-encoding from that same master for years as its own compression technology improves.
Sources
- YouTube recommended upload encoding settings (YouTube Help)
- Upload High Dynamic Range (HDR) videos (YouTube Help)
- Stream HDR video on YouTube (YouTube Help)
- Understand three-minute YouTube Shorts (YouTube Help)
- Supported subtitle and closed caption files (YouTube Help)
- Video Chapters (YouTube Help)
- Add custom thumbnails on YouTube (YouTube Help)
- Choose live encoder settings, bitrates, and resolutions (YouTube Help)
- Encoding for YouTube: How to Get the Best Results (Streaming Learning Center)
- Which Codecs Does YouTube Use? (Streaming Learning Center)
- DaVinci Resolve - What's New (Blackmagic Design)
- CineD: DaVinci Resolve 21.0.1 Released - Improved RAW Decoding, Better HDR Delivery, and Sony Alpha 7R VI Support
- DaVinci Resolve - Tech Specs (Blackmagic Design)
Learn by doing, not watching
Learn Resolve inside Resolve.
TryUncle watches your screen and points at the exact control when you ask. No tabs, no timestamps, no rewatching tutorials.
Download free for MacKeep reading
Guides · Jul 7, 2026 · 23 min
DaVinci Resolve Export Settings: Numbers That Actually Work
The exact DaVinci Resolve export settings for YouTube, client handoffs, and ProRes archives, plus what changed with Resolve 21's H.265 encoder.
Guides · Jul 7, 2026 · 32 min
DaVinci Resolve for Beginners: The Complete Starter Guide
Learn DaVinci Resolve from zero: what it costs, what it needs to run, the seven pages you'll actually use, and the steps to cut your first project.
Comparisons · Jul 7, 2026 · 28 min
DaVinci Resolve Studio Price: Free vs. Studio Cost, Explained
DaVinci Resolve Studio costs $295, paid once, not monthly. Here's exactly what that buys, how it stacks up against Premiere Pro and Final Cut Pro, and who needs it.