Articles / Fixesupdated for DaVinci Resolve 21.0.1 (June 2026)
DaVinci Resolve Not Exporting? Fix a Stuck or Failed Render
Quick answer
DaVinci Resolve usually gets stuck or fails to export because of a disconnected audio device, a corrupted clip or GPU-heavy effect it can't process, GPU memory running out on 4K or 8K timelines, or a known bug fixed in a later point release. Check Preferences > I/O first, then lower Render Speed, then isolate the clip with Render in Place.
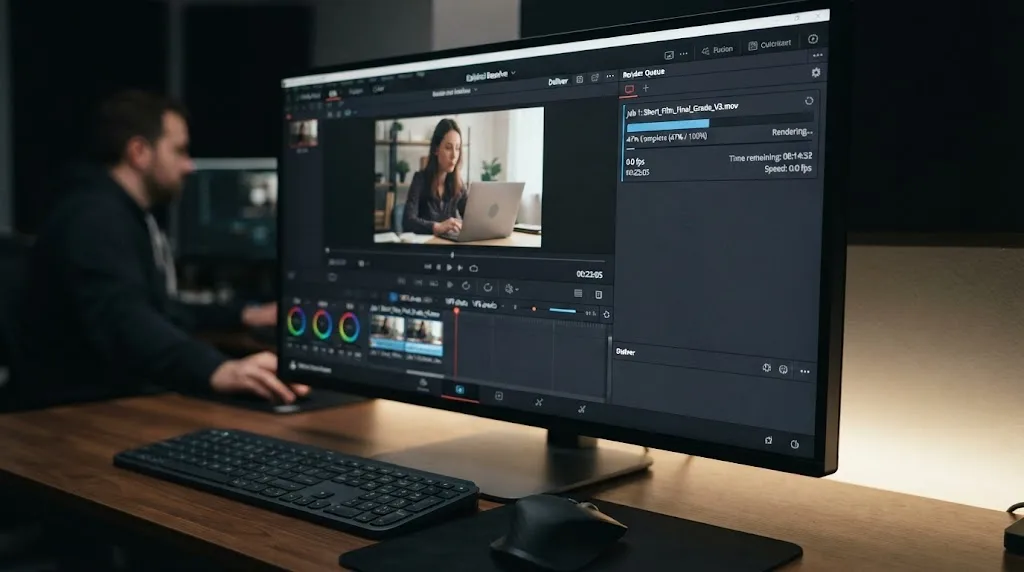
A stuck render usually isn't a rendering problem. It's a specific clip, setting, or device that Resolve can't get past, and once you find it the fix is almost always small. Here's how to find it, in the order that actually works.
Why is DaVinci Resolve stuck at 0% and not moving?
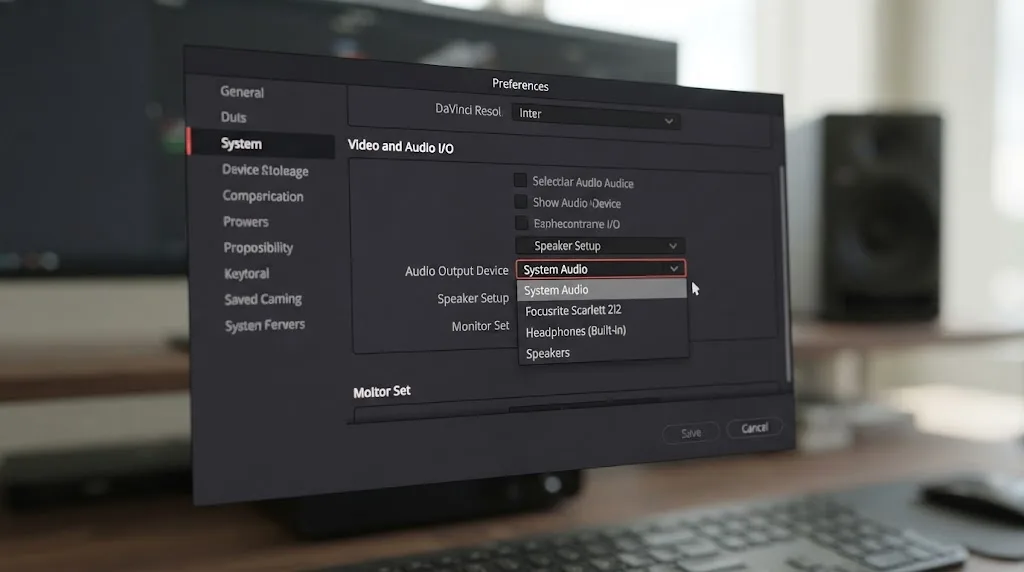
Check your audio before you touch anything about the video. A render stuck at 0% is almost never a rendering problem. It's a playback problem you haven't noticed yet. If Resolve's audio output is pointed at a device that's disconnected, asleep, or no longer exists, the render can hang indefinitely without ever throwing an error, according to a thread on the Blackmagic Design forum describing exactly this symptom.
Open Preferences, then I/O, and look at what's selected under Audio Output. If it's a headphone set you unplugged an hour ago or a monitor that's since gone to sleep, switch it to your built-in output or whatever's actually connected, then try the render again.
Why does the render stop at 99% and never finish?
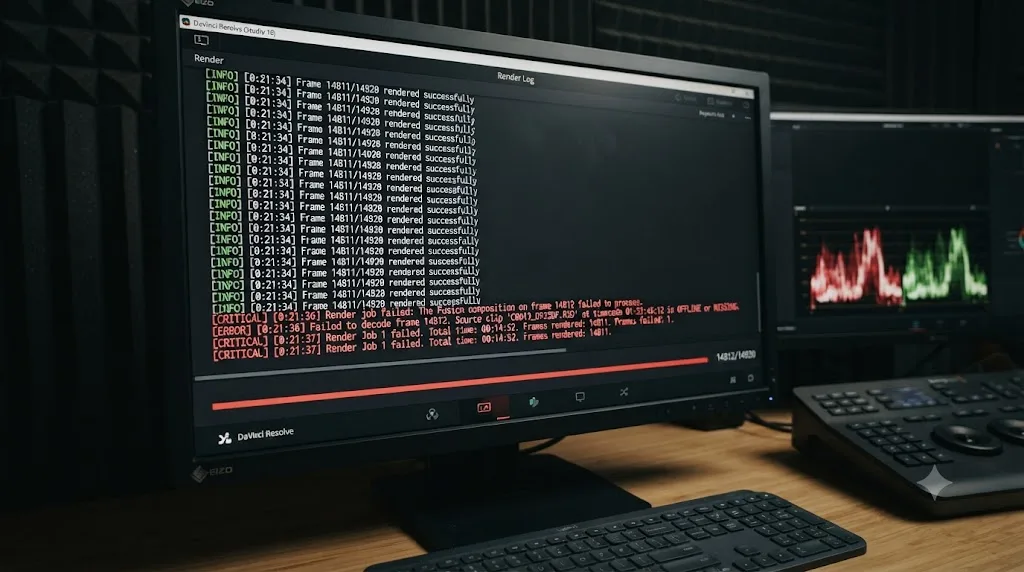
This one is almost always a single frame, not the whole file. Somewhere near the end of your timeline, Resolve hits a frame it can't process and refuses to move past it rather than skip it and keep going.
Go to Preferences, then User, then UI Settings, and uncheck "Stop renders when a frame or clip cannot be processed." Render again. This won't necessarily give you a clean final file, but it lets the render finish so you can see exactly which frame or clip caused the freeze in the first place. Variable frame rate footage is a frequent culprit here: individual frames can show as Media Offline even though the clip plays fine, which breaks the render at that exact point. Changing the clip's frame rate attribute to a fixed rate in Clip Attributes usually clears it.
What does "Your GPU memory is full" actually mean?
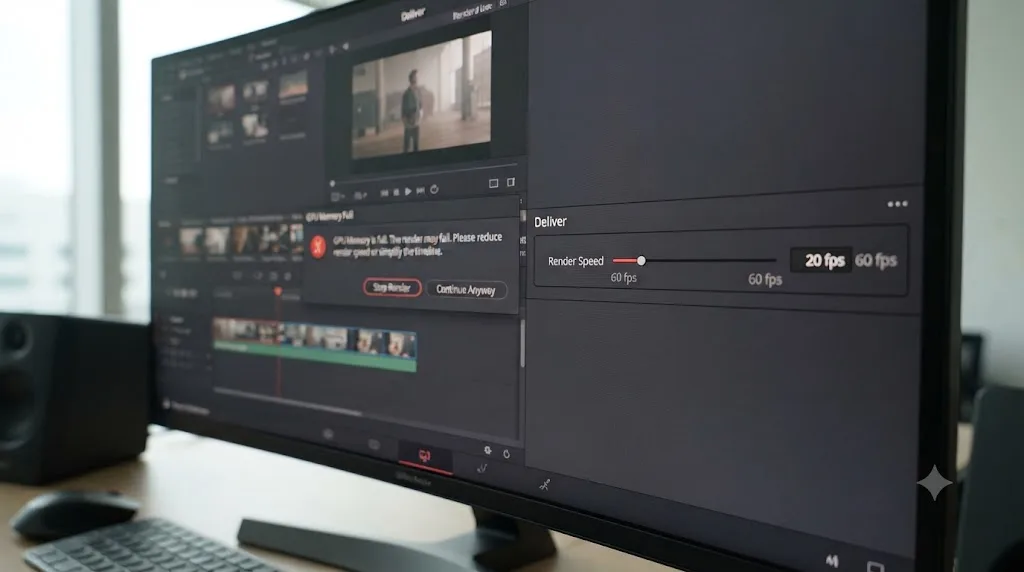
It means your timeline is asking the GPU to hold more in memory at once than it has room for, not that your GPU is broken. As one breakdown of the error puts it, "'GPU Memory Full' isn't one problem. It's more like a traffic jam with a few different causes piling into each other," per Vagon's writeup of the error. Color nodes, LUTs, noise reduction, and Fusion titles all eat into VRAM before you've added anything else, and 4K or 8K RAW footage with motion blur or busy backgrounds pushes the load higher still.
Three things help, in order:
- Drop Render Speed from Maximum to 50% or 25% in the render settings. This slows how fast Resolve feeds frames to the GPU, which is the single most reliable fix for a memory overflow.
- Close other GPU-hungry applications, especially browsers with several tabs open.
- Disable heavy effects one at a time (noise reduction, Depth Map, third-party OpenFX) to find which one is actually responsible, rather than assuming it's the whole grade.
If your GPU genuinely doesn't have the VRAM for the project, per Blackmagic's own tech specs Resolve's baseline requirement is a GPU with at least 4 GB of VRAM and 16 GB of system RAM, which is a floor, not a target for demanding grades.
Why does a render fail with no error message at all?
This is the most frustrating version, and it's usually one of four things, according to a breakdown of common export failures: "There is a corrupted clip, a failing third-party plugin, or a heavy Fusion effect at that specific timecode that your GPU cannot process," per Cutsio's guide to Resolve export errors.
- A corrupted or damaged source clip. Re-import or re-link the file and test rendering just that section.
- A third-party plugin or OpenFX effect that's crashing silently. Bypass it and render again to confirm.
- Storage or permissions. A nearly full destination drive, no write permission on that folder, or a filename with special characters can all block a render before it starts. Check free space and simplify the filename first, since it costs nothing to rule out.
- A heavy Fusion node the GPU can't clear in time, especially on longer or 4K timelines.
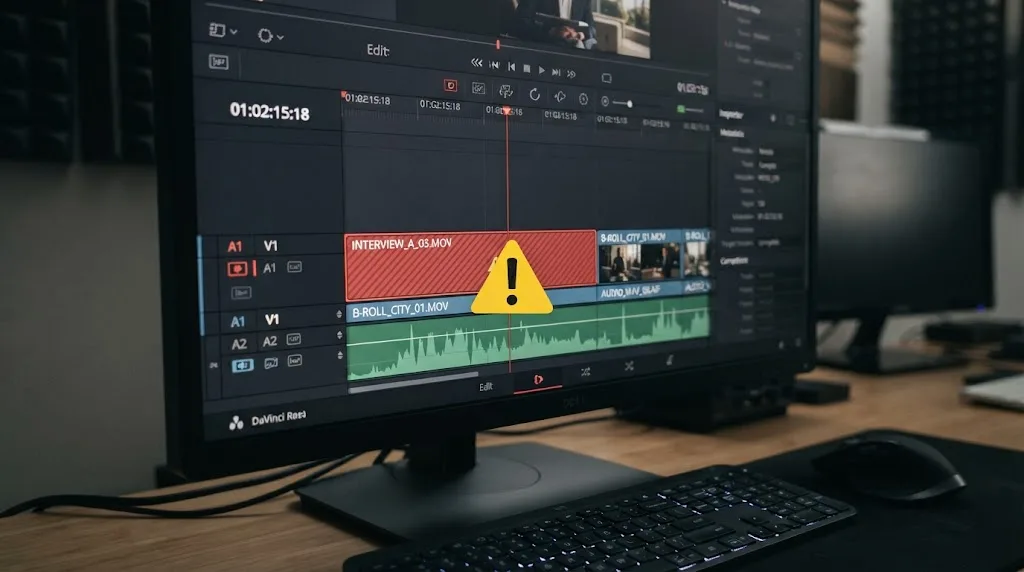
Resolve's render engine will not finish a frame it cannot decode, so it stops instead of skipping it. That's frustrating in the moment, but it also means the failure point is almost always findable if you isolate small sections instead of re-rendering the whole timeline over and over.
How do you actually isolate the clip that's breaking the render?
Set an In and Out point around a small section of the timeline, roughly where you suspect the problem sits, and render just that range. If it fails, narrow the range further. If it succeeds, move the range forward until it fails again. This is slower than one full export, but it turns a mystery into a five-minute clip instead of a forty-minute one.
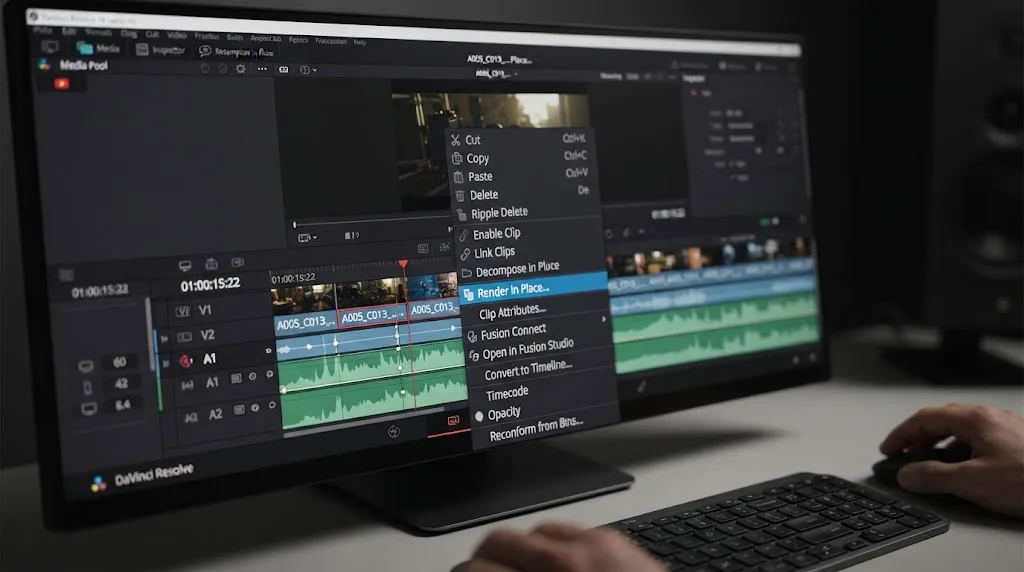
Once you've found the section, right-click it and choose Render in Place from the Edit page. That bakes the clip, effects included, into a single new file that replaces the original on the timeline. Filmmaker Mirko Fabian ran into exactly this while finishing his short film "The Camera," a 6K BRAW project loaded with color grading effects. As he described it, "it later turned out that those effects caused my system to constantly crash because the workload was simply too heavy," in his account of troubleshooting the render. Rather than keep fighting the full timeline, he pre-rendered the demanding sections individually, which is the same principle behind Render in Place and render caching.
What's the right order to try these fixes in?
Work through this list before you assume the project itself is broken:
- Check Preferences > I/O for a disconnected audio device if the render is stuck at 0%.
- Uncheck "Stop renders when a frame or clip cannot be processed" in Preferences > User > UI Settings to find where a stalled render actually breaks.
- Lower Render Speed to 50% or 25% if you're seeing GPU memory errors.
- Right-click the suspect clip and clear or rebuild its render cache.
- Isolate the problem section with In/Out points, then use Render in Place to bake it into a single clip.
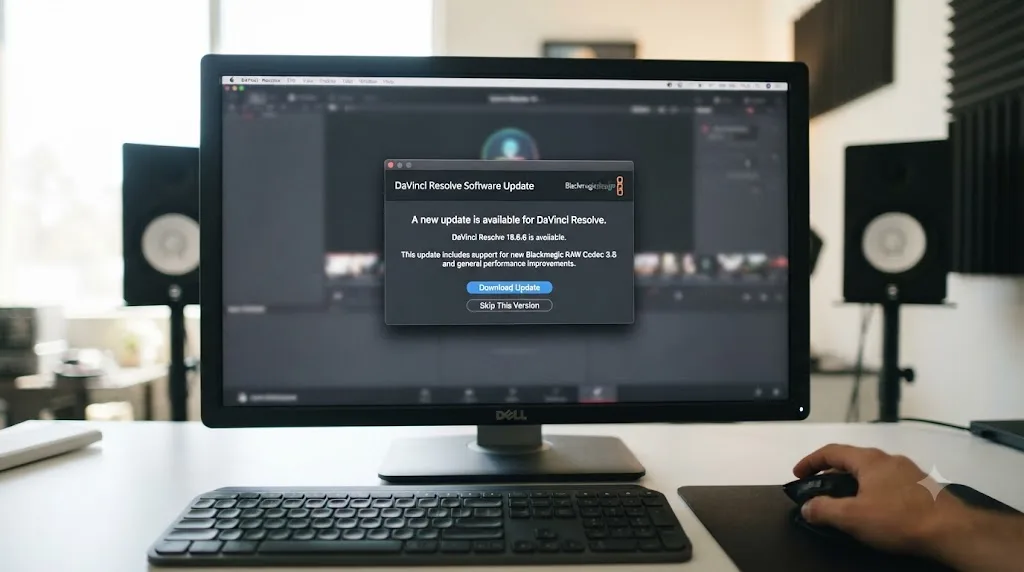
- Update DaVinci Resolve if none of the above resolves it.
That last step matters more than it sounds like it should. Blackmagic's 21.0.1 point release shipped fixes for RAW decoding and HDR metadata handling that were causing exactly this kind of silent render trouble for some users, per CineD's coverage of the update. If you've worked through everything above and the render still won't complete, check whether you're on the latest point release before you spend another hour on it.
When should you stop troubleshooting and just rebuild the export?
If you've isolated the failure to a single clip or effect and it still won't render after caching and Render in Place, stop trying to force that exact configuration through. Export an image sequence instead of a single video file. It's slower to set up, but because Resolve writes one image per frame, a crash partway through doesn't cost you the whole render, only the frames after the crash point. You can pick up from there instead of starting over.
If exports keep failing on the same kind of footage across projects, that's worth fixing at the source rather than per-render. Our guide to DaVinci Resolve export settings covers the codec and bitrate choices that keep a render predictable in the first place, and if you're newer to the Deliver page generally, our beginner's guide to DaVinci Resolve walks through where it sits in the workflow. If troubleshooting menus by trial and error is the part costing you the most time, that's the specific gap TryUncle is built for, an AI tutor that looks at your actual Resolve window and points at the setting instead of sending you to a forum thread that may or may not match your case.
The fastest path back to a working export
Start with audio, not video. Then let the render fail loudly instead of hanging silently, so you can see the exact frame or clip involved. Lower Render Speed before you touch anything else GPU-related, isolate the problem section instead of re-rendering the whole timeline, and check for a point release update before you assume the project is broken. Most stuck renders come down to one of those five things, and almost never to the grade you spent hours getting right. We cover what else changed in Resolve 21's recent updates, including the fixes in 21.0.1, in our full DaVinci Resolve 21 review.
Frequently asked questions
- Why is DaVinci Resolve stuck at 0% and not moving?
- The most common cause isn't the render engine at all, it's audio. If Resolve's audio output is set to a device that's disconnected or asleep, the render can hang at 0% indefinitely. Open Preferences > I/O and switch to a connected output device, then try again.
- Why does my render stop at 99% and never finish?
- Usually one specific frame near the end of the timeline that Resolve can't process, often a corrupted source clip or a variable frame rate file showing Media Offline on individual frames. Uncheck Stop renders when a frame or clip cannot be processed in Preferences > User > UI Settings and render again to find exactly where it breaks.
- What does 'Your GPU memory is full' mean in DaVinci Resolve?
- Your timeline is asking the GPU to hold more data at once than its VRAM allows, which happens fast on 4K or 8K footage stacked with noise reduction, optical flow, or multiple Fusion nodes. Lower Render Speed from Maximum to 50% or less, close other GPU-heavy apps, and disable effects one at a time to find the one causing it.
- Can a full hard drive or a bad filename stop a render from starting?
- Yes. DaVinci Resolve won't start or complete a render if the destination drive is nearly full, if you don't have write permission to that folder, or if the filename has certain special characters in it. Check available storage and simplify the filename before you look at anything else.
- Does lowering Render Speed actually fix a stuck render?
- Often, yes. Render Speed controls how fast Resolve feeds frames to the GPU. At Maximum it can overflow the memory buffer on a demanding timeline. Dropping it to 50% or 25% gives the GPU time to keep up, which is the single most reliable fix for GPU memory errors during export.
- What is Render in Place and when should I use it?
- Render in Place bakes a section of your timeline, effects and all, into a single new clip before the final export. Once you've isolated the clip or section causing a render to fail, right-click it in the Edit page and choose Render in Place. It removes the load from that section during the real export.
Sources
- Mirko Fabian: Resolving Rendering Issues in DaVinci Resolve
- Vagon: How to Fix DaVinci Resolve 'GPU Memory Full' Error
- Cutsio: How to Fix Export Errors in DaVinci Resolve
- Blackmagic Design Forum: Rendering in DaVinci Resolve Studio 18 stuck at 0%
- DaVinci Resolve - Tech Specs (Blackmagic Design)
- CineD: DaVinci Resolve 21.0.1 Released - Improved RAW Decoding, Better HDR Delivery, and Sony Alpha 7R VI Support
Learn by doing, not watching
Learn Resolve inside Resolve.
TryUncle watches your screen and points at the exact control when you ask. No tabs, no timestamps, no rewatching tutorials.
Download free for MacKeep reading
Guides · Jul 6, 2026 · 8 min
DaVinci Resolve Export Settings: Numbers That Actually Work
The exact DaVinci Resolve export settings for YouTube, client handoffs, and ProRes archives, plus what changed with Resolve 21's H.265 encoder.
Guides · Jul 6, 2026 · 10 min
DaVinci Resolve for Beginners: The Complete Starter Guide
Learn DaVinci Resolve from zero: what it costs, what it needs to run, the seven pages you'll actually use, and the steps to cut your first project.
Reviews · Jul 6, 2026 · 5 min
DaVinci Resolve 21 Review: What's New and Is It Worth Upgrading?
A close look at DaVinci Resolve 21: the new Photo page, IntelliSearch, CineFocus, Krokodove, what Blackmagic actually shipped, and who should upgrade now.