Articles / Guidesupdated for DaVinci Resolve 21.0.1 (June 2026)
DaVinci Resolve Export Settings: Numbers That Actually Work
Quick answer
For web delivery, export MP4 with H.264 at the timeline's exact resolution and frame rate: 8 Mbps for 1080p, 44-56 Mbps for 4K, AAC audio at 384 kbps. For client handoffs or archives, use ProRes 422 HQ instead. Render one master file first, then compress smaller versions from it, never re-export from a compressed copy.
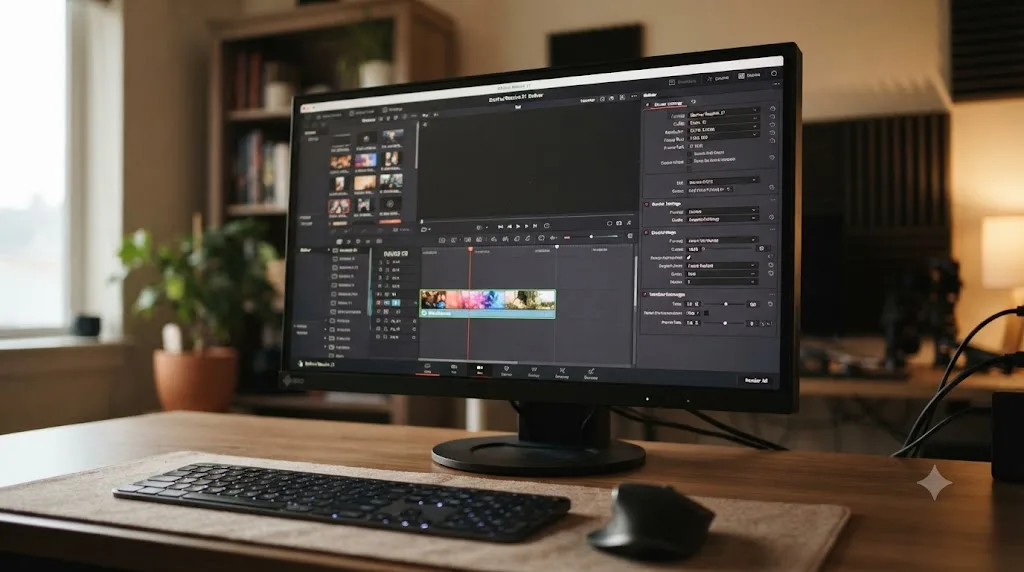
Every export decision in DaVinci Resolve comes down to one question: what is this file for? A YouTube upload, a client handoff, and a ten-year archive all want different codecs, and using the wrong one is how a perfectly graded timeline turns into a blocky, banded mess the moment it leaves Resolve.
The Quick Answer above covers the numbers. Below is why those numbers are the right ones, and what to reach for when your delivery isn't a simple web upload.
What are the best DaVinci Resolve export settings for YouTube?
Match your timeline's resolution and frame rate exactly, then set the bitrate from YouTube's own recommended table. Here's the standard reference, straight from YouTube's encoding guide:
| Resolution | Standard frame rate (24-30fps) | High frame rate (48-60fps) |
|---|---|---|
| 2160p (4K) | 44-56 Mbps | 66-85 Mbps |
| 1440p | 20 Mbps | 30 Mbps |
| 1080p | 8 Mbps | 12 Mbps |
| 720p | 5 Mbps | 7.5 Mbps |
Container is MP4, codec is H.264, and audio should be AAC at 384 kbps. YouTube's own encoding guide recommends 44 to 56 Mbps for a standard 4K upload, more than five times what a 1080p upload needs. That gap is why a 4K export at a 1080p bitrate looks soft: the pixel count went up, but nothing gave the encoder more data to work with.
Loudness matters as much as bitrate. YouTube normalizes uploads to a target of -14 LUFS integrated with a -1 dBTP true peak ceiling, per Critical Listening Lab's breakdown of the platform's loudness standard. Mix hotter than that and YouTube turns you down automatically; mix quieter and YouTube leaves you quiet, since normalization only pulls loudness down, never up.
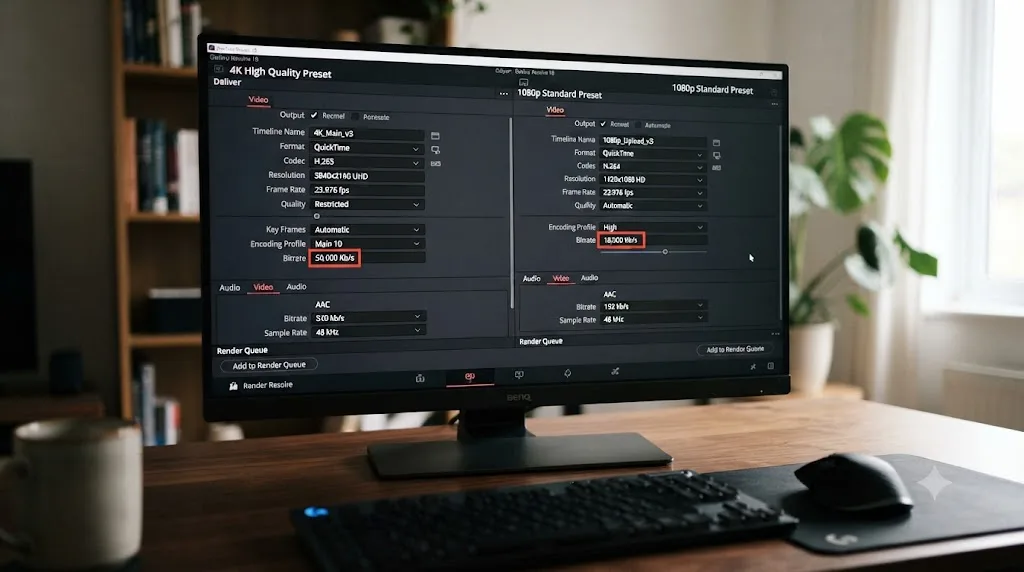
What format should you use to hand a project to a client or another editor?
Not the same one you'd use for YouTube. Web codecs like H.264 are built to shrink files for streaming, which means they throw away information every time they're encoded. Do that more than once, trimming a clip here, re-exporting there, and the image degrades a little more each pass.
| Destination | Container | Codec | Why |
|---|---|---|---|
| YouTube, Vimeo, social | MP4 | H.264 (or H.265 in Resolve 21) | Small files, universal playback |
| Client or colorist handoff | MOV | Apple ProRes 422 HQ | Intraframe, no cumulative compression loss |
| Cross-platform or Avid handoff | MXF | DNxHR HQ | ProRes alternative outside the Apple ecosystem |
| Long-term archive | MOV or MXF | ProRes 422 HQ or DNxHR HQ | Full native resolution, no re-encode losses later |
A ProRes or DNxHR master file survives every platform you'll ever export to. An MP4 tuned for YouTube does not. Render the master first, at your project's native resolution and frame rate, and only compress smaller versions from that master afterward.
Here's the short version of that workflow:
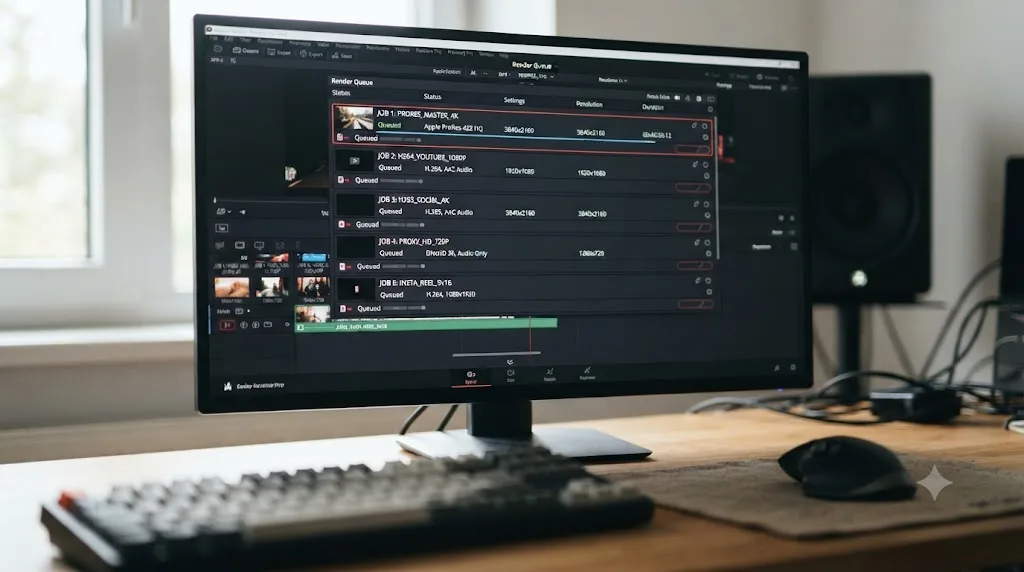
- Open the Deliver page and select the ProRes Master preset, or build a custom one with Format set to QuickTime and Codec set to Apple ProRes 422 HQ.
- Set resolution and frame rate to match the timeline, not your eventual upload target.
- Open the Audio tab, confirm Export Audio is checked, and use Linear PCM at 24-bit.
- Add it to the render queue and start. Keep this file. Everything else gets compressed from it, not from the timeline again.
If you're still finding your way around the Deliver page in general, our beginner's guide to DaVinci Resolve covers where it sits among the app's seven pages and when to learn it.
Should you export H.264 or H.265 in DaVinci Resolve 21?
H.265 compresses more efficiently than H.264 at matched quality, which means smaller files for the same look. The tradeoff is render time and compatibility: H.265 takes longer to encode and won't play natively on every older device or browser.
Resolve 21 changed the calculation here. Render settings now include a new MainConcept encoder option for H.265 and MV-HEVC at 4:2:0 and 4:2:2 color, according to Blackmagic's official release notes, which is specifically useful for HDR delivery where 4:2:2 color holds up better under grading than 4:2:0. The 21.0.1 update went further and fixed HDR metadata handling for both the MainConcept and Windows native H.265 encoders, per CineD's coverage of the point release, so HDR exports are now more reliably recognized as HDR by TVs and media players instead of displaying flat.
That expanded toolset didn't happen by accident. Announcing Resolve 21, Blackmagic Design CEO Grant Petty said the release gives colorists and photographers "access to the full DaVinci color toolset" and lets them "build complex grades in a node based workflow that goes far beyond the layer based approach," according to the official press release. A grade built with that much control still has to survive the trip through the Deliver page. Use H.264 for straightforward web delivery where file size and playback compatibility matter most. Reach for H.265 with the MainConcept encoder when you're delivering HDR, or when file size is genuinely tight and render time isn't.
Why does matching resolution and frame rate to your timeline matter?
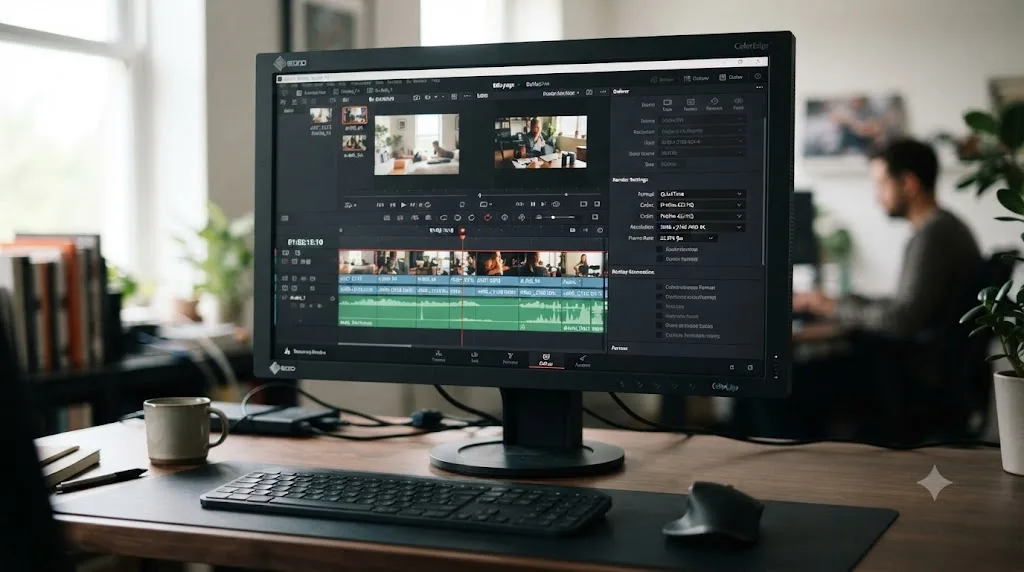
The number one export mistake in DaVinci Resolve is a mismatched frame rate, and it's also the easiest one to fix before you hit render. Export a 24fps timeline at 30fps and Resolve has to invent or duplicate frames to fill the gap, which reads as a subtle stutter that's hard to name but easy to feel. Export at the wrong resolution and you either upscale a smaller timeline, which just enlarges the same blur, or downscale a bigger one and throw away detail you already had.
Before you render, check the render settings panel against your timeline settings, not against habit. If your project is 1080p24, render 1080p24. Let the platform's own re-encoding handle the rest.
Does the free version of DaVinci Resolve limit your export options?
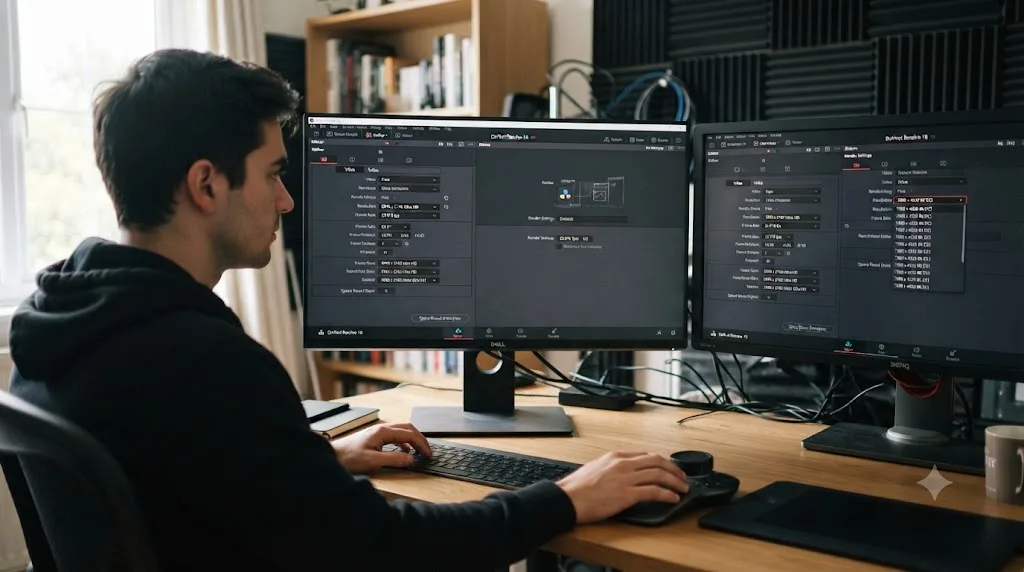
A little, but not in the way most beginners fear. Per Blackmagic's tech specs:
| Free | Studio | |
|---|---|---|
| Max export resolution | Ultra HD 3840 x 2160 | Beyond 4K |
| Max export frame rate | 60fps (8-bit) | 120fps (10-bit) |
| Price | $0 | $295 one-time |
Anything up to 4K at 60fps in 8-bit renders fine on the free version, which covers the overwhelming majority of YouTube, social, and standard client deliverables. Studio only becomes a requirement once a project actually calls for higher-than-4K resolution, higher frame rates, or 10-bit output at those specs. If you're still deciding between the two tiers generally, our DaVinci Resolve beginner's guide breaks down where the rest of Studio's feature gap sits.
How do you get faster renders without hurting quality?
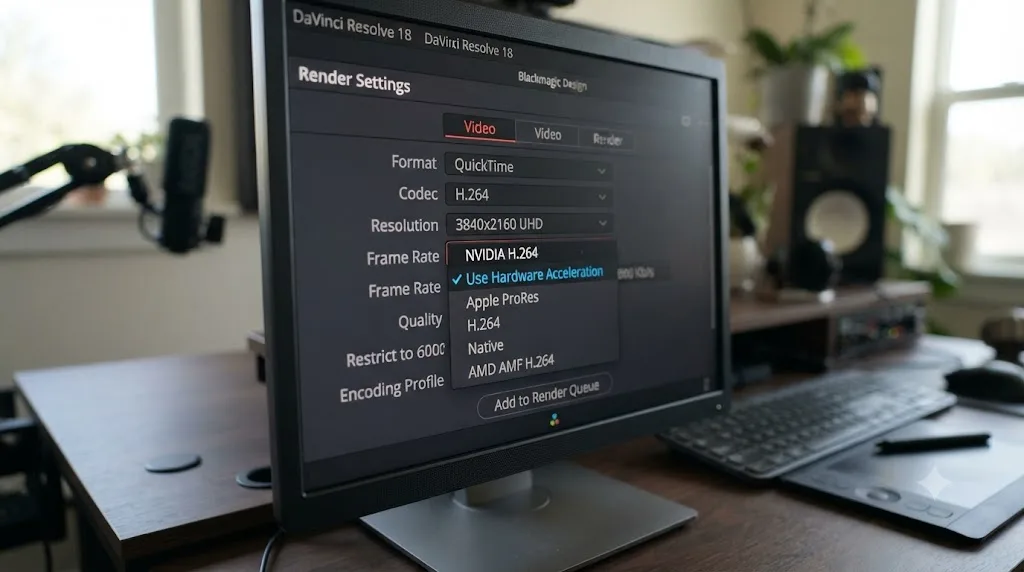
Check the Encoder dropdown in your render settings before you check anything else. Resolve lets you choose between software encoding, which uses your CPU, and hardware encoding, which hands the work to your GPU or dedicated media engine. Hardware encoding finishes noticeably faster on most systems, and the quality difference at a matched bitrate is small enough that it's the right default for anything short of a final broadcast master.
Beyond that, keep an eye on Encoding Profile (High gives better compression efficiency than Main) and make sure Network Optimization is enabled for anything headed to the web, since it restructures the file so streaming platforms can start playing it before the whole download finishes.
If hunting through render settings menus for the exact checkbox is the part that eats your afternoon, that's the specific gap TryUncle is built for. It's an AI tutor that looks at your actual Resolve window and points at the control you're asking about, instead of sending you to a ten-minute video for a setting you needed twenty seconds ago.
What's the fastest way to fix a bad export?
Work through these in order before you assume the grade itself is wrong:
- No audio in the export. Open the Audio tab in Render Settings and confirm Export Audio is checked. It's the single most common thing beginners forget.
- Banding or blockiness. The bitrate is too low for the resolution. Check it against the YouTube table above, or go higher still for anything with gradients, smoke, or low light.
- Colors look wrong or washed out. The render's output color space doesn't match what you graded in. Confirm it against your project's Color Management settings before you touch anything else.
- Playback stutters or looks off. Frame rate mismatch between the render and the timeline. Match them exactly.
- File won't open or play on a device. Wrong codec for the destination. H.264 in an MP4 container is the safest universal choice; ProRes needs QuickTime and doesn't play natively on most non-Apple devices.
For our full walkthrough of Resolve 21's other changes, including what shipped in the point releases since launch, see our DaVinci Resolve 21 review.
The settings that matter, one more time
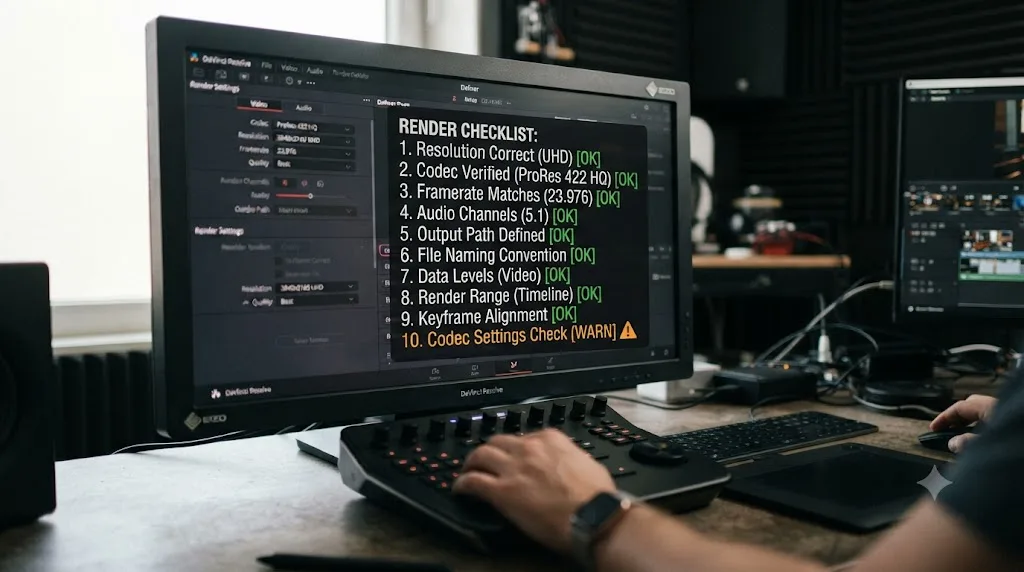
Match resolution and frame rate to your timeline, always. Use the YouTube bitrate table for web delivery, ProRes or DNxHR for anything that needs to survive multiple hands or multiple years, and reach for Resolve 21's MainConcept H.265 encoder specifically when HDR metadata is part of the deliverable. Render one master file before you compress anything smaller. That single habit fixes more bad exports than any setting on this page.
Frequently asked questions
- What export settings should I use in DaVinci Resolve for YouTube?
- Export MP4 with H.264, matching your timeline's resolution and frame rate exactly. Use 8 Mbps for 1080p at 30fps, 12 Mbps for 1080p at 60fps, and 44-56 Mbps for 4K at 30fps (66-85 Mbps at 60fps), per YouTube's own encoding guide. Set audio to AAC at 384 kbps.
- Is H.265 better than H.264 in DaVinci Resolve 21?
- H.265 compresses more efficiently at the same quality, so files are smaller, but it renders slower and isn't universally supported by older devices. Resolve 21 added a MainConcept encoder for H.265 and MV-HEVC with 4:2:2 color, which is the setting to reach for on HDR deliveries specifically.
- What's the best format to archive a finished DaVinci Resolve project?
- Apple ProRes 422 HQ (or DNxHR HQ if you need a non-Apple codec) at your project's native resolution and frame rate. These are intraframe codecs built for editing and archiving, not for streaming, so keep them as your master file and compress smaller versions from that master when you need them.
- Can DaVinci Resolve's free version export in 4K?
- Yes. The free version renders up to Ultra HD 3840x2160 at 60fps in 8-bit. Studio is only required if you need a resolution above 4K, a frame rate above 60fps, or 10-bit output at those higher specs.
- Why does my exported video look worse than the DaVinci Resolve timeline?
- Usually one of three things: the bitrate is too low for the resolution, the render's color space doesn't match what the project was graded in, or the frame rate doesn't match the timeline and something is interpolating or dropping frames. Check all three before you assume the grade is the problem.
Sources
- YouTube recommended upload encoding settings (YouTube Help)
- DaVinci Resolve - What's New (Blackmagic Design)
- Blackmagic Design Announces DaVinci Resolve 21 (official press release)
- CineD: DaVinci Resolve 21.0.1 Released - Improved RAW Decoding, Better HDR Delivery, and Sony Alpha 7R VI Support
- DaVinci Resolve - Tech Specs (Blackmagic Design)
- DaVinci Resolve product page (Blackmagic Design)
- Critical Listening Lab: YouTube Loudness Normalization - Target LUFS for Video
Learn by doing, not watching
Learn Resolve inside Resolve.
TryUncle watches your screen and points at the exact control when you ask. No tabs, no timestamps, no rewatching tutorials.
Download free for MacKeep reading
Reviews · Jul 6, 2026 · 5 min
DaVinci Resolve 21 Review: What's New and Is It Worth Upgrading?
A close look at DaVinci Resolve 21: the new Photo page, IntelliSearch, CineFocus, Krokodove, what Blackmagic actually shipped, and who should upgrade now.
Guides · Jul 6, 2026 · 10 min
DaVinci Resolve for Beginners: The Complete Starter Guide
Learn DaVinci Resolve from zero: what it costs, what it needs to run, the seven pages you'll actually use, and the steps to cut your first project.
Fixes · Jul 6, 2026 · 7 min
DaVinci Resolve Playback Choppy or Stuttering? The Real Fix
Fix choppy DaVinci Resolve playback with Optimized Media, Proxy Media, Render Cache, Timeline Proxy Mode, and the Resolve 21.0.2 NVIDIA decode fix.