Articles / Guidesupdated for DaVinci Resolve 21.0.2 (July 2026)
DaVinci Resolve Loudness Normalization: The Right LUFS Target
Quick answer
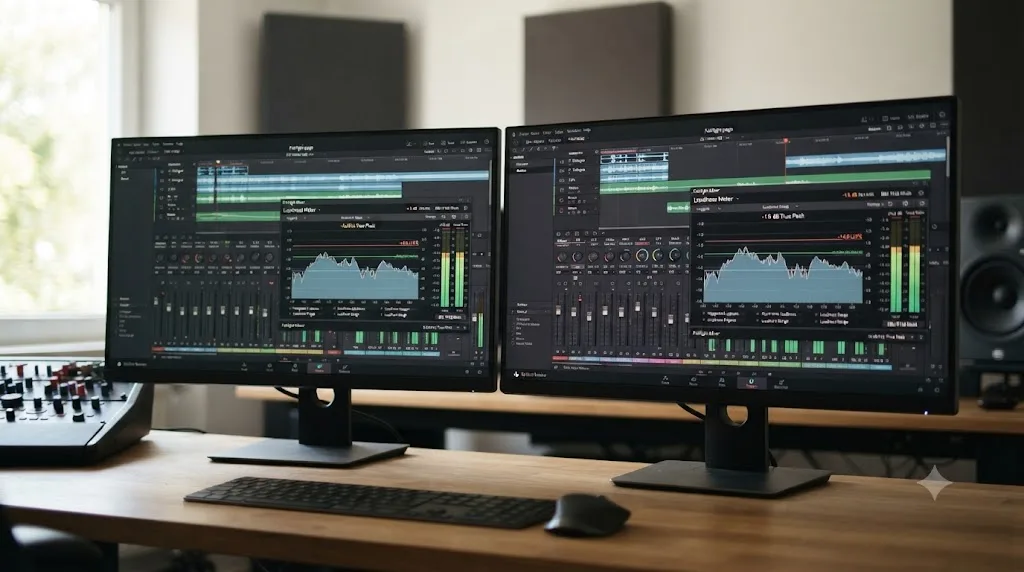
DaVinci Resolve doesn't set a universal loudness target: match it to the platform. Aim for -14 LUFS integrated for YouTube and Spotify, -16 LUFS for podcasts, -23 LUFS (EBU R128) for European broadcast, or -24 LKFS (ATSC A/85) for US broadcast. Set Target Loudness Level in Project Settings, then Fairlight, and read Integrated on the Loudness Meter, not peak.
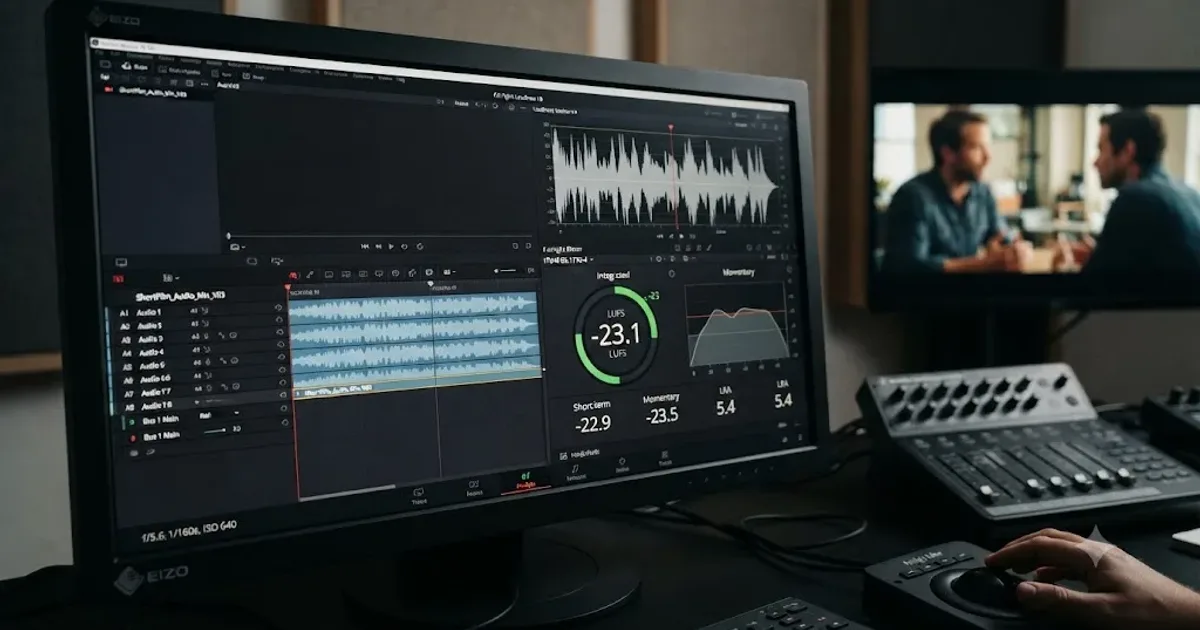
Two editors normalize the same interview. One rides the Edit page's right-click menu and calls it done. The other opens Fairlight, plays the whole timeline, and watches a completely different number. Both think they normalized their audio. Only one of them actually knows what their export will sound like on YouTube.
That gap, between a quick per-clip normalize and a real, whole-mix LUFS reading, is where most loudness confusion in DaVinci Resolve starts. Below is the actual target for every platform that matters, where the two tools genuinely differ, and how to get from a mix that sounds fine on your speakers to a number a platform's own algorithm will leave alone.
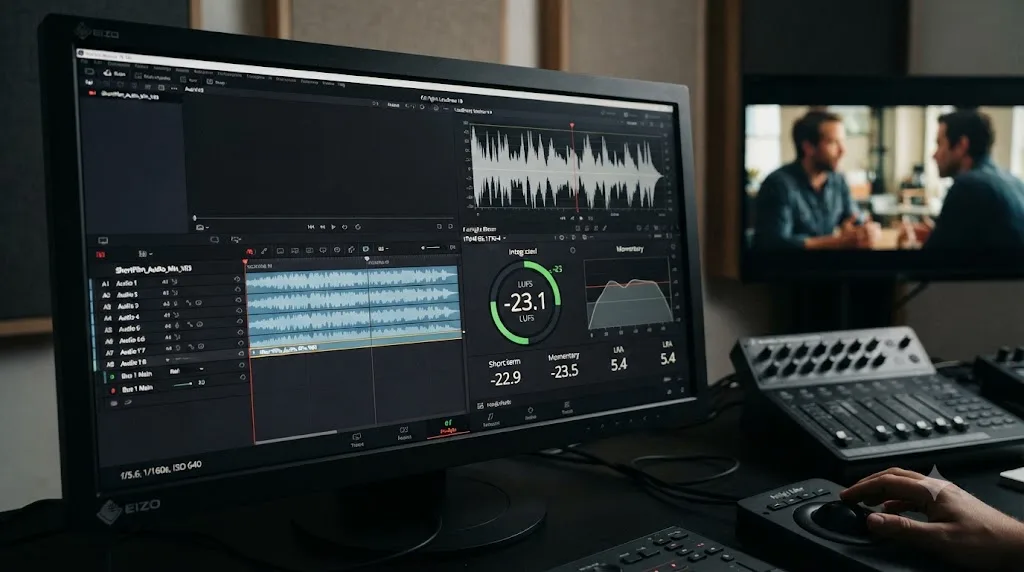
What LUFS should you target in DaVinci Resolve, platform by platform?
Start here, then read the sections below for the workflow that actually gets you there.
| Destination | Target (Integrated) | True Peak ceiling | Source |
|---|---|---|---|
| YouTube | -14 LUFS | -1 dBTP | Independent measurement, industry consensus |
| Spotify (music, default) | -14 LUFS | -1 dBTP | Spotify for Artists |
| Apple Podcasts | -16 LUFS | -1 dBFS | Apple Podcasts for Creators |
| EBU R128 (European broadcast) | -23 LUFS | -1 dBTP | EBU broadcast standard |
| ATSC A/85 (US broadcast) | -24 LKFS | -2 dBTP | ATSC broadcast standard |
| Netflix (dialogue-heavy) | -27 LKFS | -2 dBTP | Netflix Sound Mix Specifications |
| Netflix (under 15% dialogue) | -24 LKFS | -2 dBTP | Netflix Sound Mix Specifications |
| DaVinci Resolve default | -23 LUFS | n/a | Resolve's own out-of-the-box setting |
The safest single number to remember, if you only remember one, is -14 LUFS integrated with a true peak under -1 dBTP. It clears YouTube, Spotify, and most podcast platforms in one pass, since none of them boost a quiet mix, they only turn a loud one down.
Notice what's missing from official YouTube documentation: an actual published LUFS number. Critical Listening Lab's breakdown of YouTube's loudness behavior confirms what every serious audio engineer already knows about that -14 figure: it comes from measuring YouTube's playback behavior directly, not from a settings page Google publishes. Treat it as extremely reliable, well-tested industry consensus, not scripture from Mountain View.
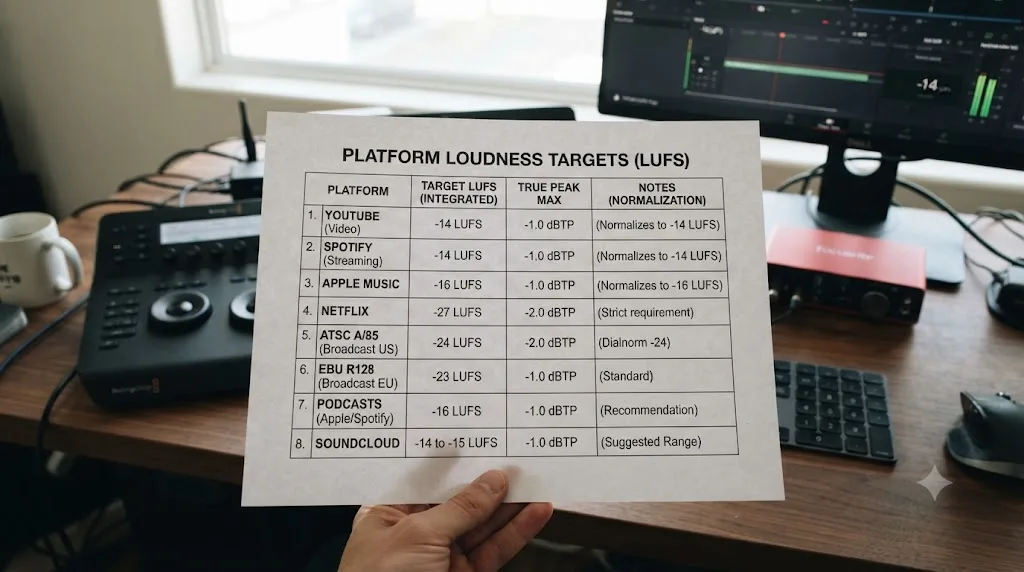
What is LUFS, and why doesn't DaVinci Resolve just show dB?
LUFS stands for Loudness Units relative to Full Scale, and it measures how loud a mix sounds to a human ear averaged over time, not how loud any single sample got. That distinction is the entire reason this page exists.
A dB peak meter answers one question: did any sample get close to clipping? It says nothing about whether a five-minute video feels loud or quiet to a viewer, because a track full of short, sharp transients can hit 0 dBFS constantly while sounding thin and quiet overall, and a dense, compressed track can sit well under 0 dBFS while sounding aggressively loud. LUFS was built specifically to close that gap, using a psychoacoustic weighting curve (defined in the ITU-R BS.1770 standard) that approximates how the ear actually perceives frequency and loudness together.
One naming wrinkle trips people up immediately. Some specs say LUFS, others say LKFS, and they look like different units. They aren't. As editor and trainer Larry Jordan puts it plainly, "one LUFS equals one LKFS equals one dB; what differs are the scales they are measured on," in his explainer on why LUFS and LKFS matter for video. LUFS is the term the EBU and most streaming platforms use. LKFS is the term ATSC and Netflix's American broadcast-adjacent specs use. The math underneath is identical, so a -14 LUFS mix and a -14 LKFS mix are the exact same loudness.
LUFS measures how loud a mix sounds to a human ear over time. Peak measures how loud the single loudest sample got. They are different questions with different answers. That's not a technicality, it's the whole reason two mixes that peak at the exact same dBFS can sound wildly different in loudness, and why every platform mentioned on this page measures LUFS, not peak, when it decides whether to turn your upload down.
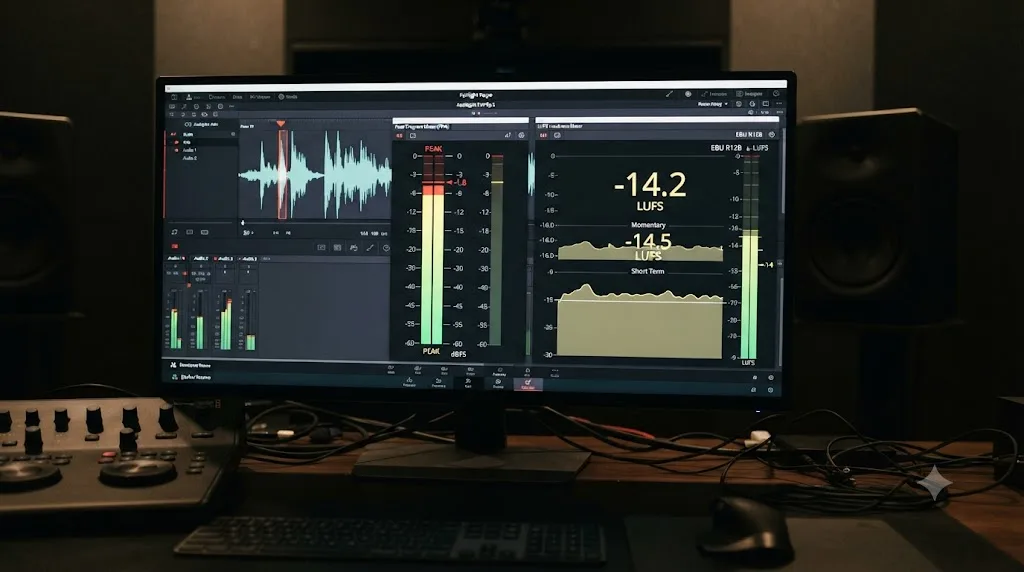
Where is the Loudness Meter, and what do Momentary, Short-term, and Integrated mean?
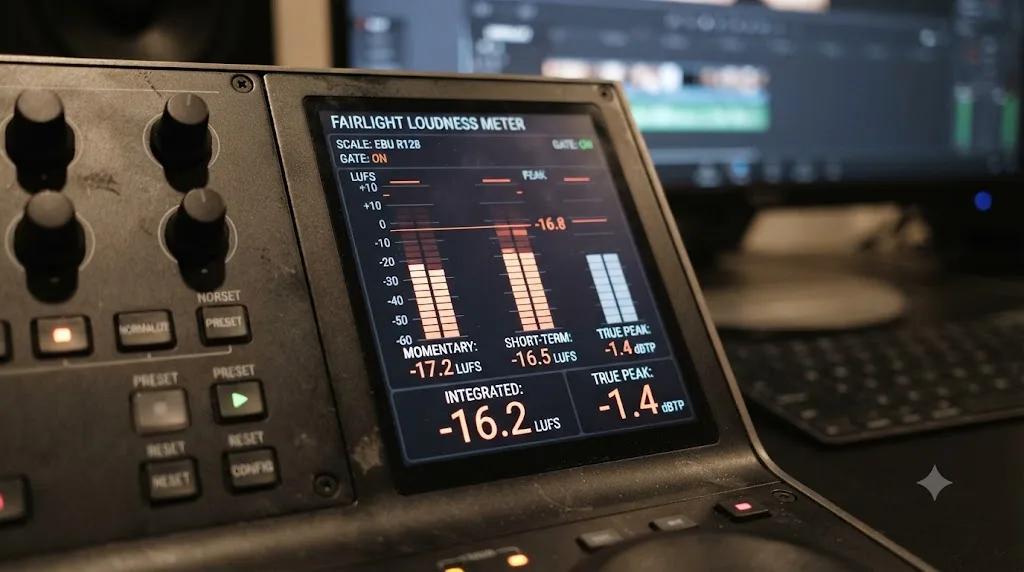
Open the Fairlight page and look at the meter panel near the top right, next to the preview window. Alongside your regular level meters sits a Loudness Meter with several distinct readings, and per Blackmagic's own manual entry on Loudness Meters, each one answers a different question.
Momentary measures a very short, rolling 400-millisecond window, sampled every 100 milliseconds. It reacts almost instantly to whatever is playing right now, which makes it useful for catching a sudden spike, like an explosion sound effect or a shout, but useless as a target reading, because it bounces around constantly and never settles.
Short-term widens the window to 30 seconds, averaging loudness over roughly the length of a scene or a paragraph of dialogue. It's steadier than Momentary and good for judging whether one section of your timeline runs hotter than the rest, but it still isn't the number platforms check against their targets.
Integrated is the one that matters for compliance. It accumulates the LUFS value across the entire portion of the timeline you've played through, which means it only becomes a trustworthy final number after you've played the full mix from start to finish. Stop partway through and Integrated only reflects what actually played, silently excluding whatever you skipped.
Loudness Range (LRA) measures the spread between the quietest and loudest sustained parts of your mix, after Resolve statistically discounts extreme outliers. A wide LRA means a dynamic mix with real quiet-to-loud contrast; a narrow one means a mix that's been compressed close to one consistent level. Some broadcast specs cap LRA directly (Netflix's dialogue LRA maximum is 10 LU, per its published sound mix specifications), because a mix that's technically hitting its Integrated target but swinging wildly in LRA can still fail a QC pass.
True Peak sits alongside the loudness readings as a separate ceiling, not a loudness measurement at all. It matters enough to warrant its own section further down this guide.
| Reading | Window | What it's for | Use it to set your export? |
|---|---|---|---|
| Momentary | 400ms, updated every 100ms | Catching sudden spikes | No |
| Short-term | 30 seconds | Judging one scene against another | No |
| Integrated | Full playthrough | Overall perceived loudness of the whole mix | Yes, this is the one |
| Loudness Range (LRA) | Full playthrough | Dynamic spread, quiet-to-loud contrast | Reference only, unless your spec caps it |
| True Peak | Instantaneous, inter-sample | Clipping ceiling, independent of loudness | Yes, alongside Integrated |
How do you set your Target Loudness Level in Project Settings?
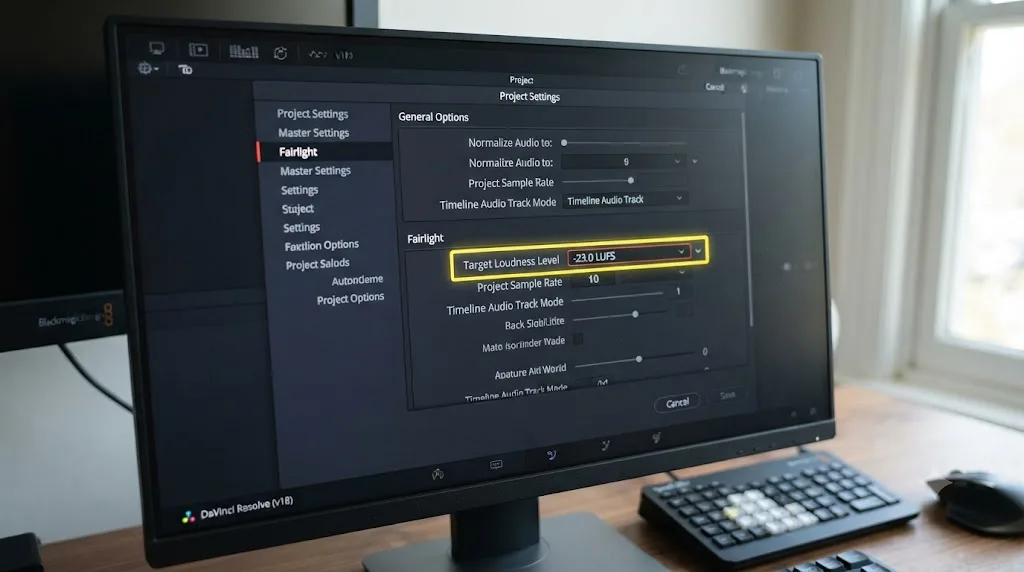
Open Project Settings, then General Options, then scroll to the Fairlight section. The field you want is Target Loudness Level, and per Blackmagic's manual entry on the setting, Resolve ships with it set to -23 LUFS by default, the EBU R128 broadcast figure, not the -14 LUFS most creators actually need for the web.
That single default is responsible for a lot of confused editors. If you've ever mixed a video, checked the meter, thought it looked fine, then uploaded it and had YouTube turn it down noticeably, there's a good chance you were reading a meter still calibrated to broadcast defaults while delivering for a web platform with a very different number.
Moving the Target Loudness Level in Project Settings changes where zero sits on the meter. It does not change a single sample of your audio. This is worth repeating because it's the single most common misunderstanding around this setting. Typing -14 into that field doesn't normalize anything by itself, and it doesn't touch your mix at all. It recalibrates the meter's zero point so that a mix sitting exactly on your target reads as zero, the same way you'd recalibrate a kitchen scale to read zero with an empty bowl already on it. The actual work of getting your mix to that zero point still happens on the Fairlight page, covered two sections down.
Set this before you start your final mix pass, not after. Working against a meter that's already calibrated to your delivery target means you can watch Integrated climb toward zero as you adjust faders, instead of doing math in your head to translate a -23-referenced reading into what -14 actually means.
What's the difference between Normalize Audio Levels and the Loudness Meter?
This is the confusion that sends more editors down the wrong path than anything else on this page, and it's worth being precise about it.
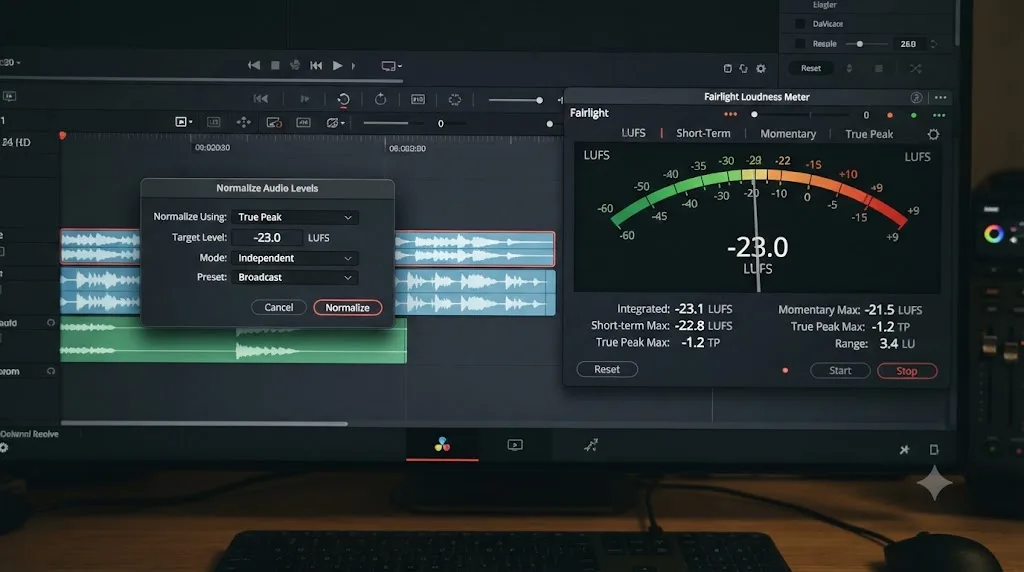
Normalize Audio Levels is a right-click command available on selected clips, on either the Edit page or the Fairlight page. Per Blackmagic's manual entry on the command, it opens a dialog with a Normalization Mode dropdown, and that dropdown offers more than people assume: Sample Peak, True Peak, and a set of standardized loudness measurement algorithms tied to real broadcast specs. Most editors never open that dropdown and leave it on its default, Sample Peak Program, which measures the single loudest sample in the selected clip and adjusts gain so that sample hits your Target Level. That's peak normalization, full stop, and it tells you nothing about how loud the clip actually sounds.
Switch that same dropdown to one of the loudness-algorithm options and the command behaves completely differently: it analyzes the clip's actual perceived loudness and adjusts gain to hit a real LUFS target, clip by clip. That's a genuine loudness normalize, not a peak normalize, and it lives in the exact same right-click menu most people only ever use for peak work.
Here's the part neither mode covers, though. Normalize Audio Levels operates on the clips you select, one at a time or as a linked group. It cannot see your finished mix: the music bed ducked under dialogue, the sound effects layered on top, the compressor on your dialogue bus, the fade at the very end. Run it on your raw dialogue clips before you mix, and it's a genuinely useful leveling tool. Run it hoping it will tell you whether your final export complies with YouTube's -14 LUFS target, and it can't, because it was never looking at your final mix in the first place.
The Loudness Meter, by contrast, only ever measures what's actually happening on the Fairlight page's Main bus, live, as the timeline plays. Every fader move, every plugin, every ducking automation curve, every layer of music and dialogue and effects gets summed together before the meter reads it, exactly the way a platform's algorithm will hear the finished file. That's the number that predicts what YouTube, Spotify, or Apple Podcasts will actually do to your upload.
| Tool | What it measures | When it's useful | What it can't tell you |
|---|---|---|---|
| Normalize Audio Levels (Sample Peak mode) | The single loudest sample in selected clips | Leveling raw dialogue takes before mixing | How loud the finished mix sounds |
| Normalize Audio Levels (loudness-algorithm mode) | Perceived loudness of selected clips, one at a time | Matching multiple raw clips to a rough starting level | The summed loudness of your final mixed timeline |
| Fairlight Loudness Meter (Integrated) | The full mix, on the Main bus, during playback | Confirming platform compliance before export | Nothing, this is the number that matters most, but only after a full playthrough |
Peak and loudness are different questions: peak asks how loud the single loudest sample got, LUFS asks how loud the whole mix sounds to a human ear over time. Confusing the two, or assuming a per-clip normalize substitutes for a whole-mix loudness check, is exactly how a mix that "looked normalized" ships 6 LU hotter than a platform's target.
Should you normalize per clip or on the final mix?
Both, in that order, doing two different jobs.
Normalize your raw clips first, early in the edit, before you start layering music and effects. If you're cutting an interview shot across two cameras with two different mic setups, or a multi-cam podcast where each guest's input arrived at a different gain, running Normalize Audio Levels in a loudness-algorithm mode across those clips gets everyone roughly speaking at the same rough level before you touch a fader. This step is about consistency between raw sources, not compliance with any platform's spec. Think of it as leveling your ingredients before you cook, not plating the finished dish.
Then mix. Balance dialogue against music, duck the bed under voiceover, add compression or a limiter on your dialogue bus if levels swing more than you want. This is where the actual creative and technical mix decisions happen, and no normalize command should be doing this work for you.
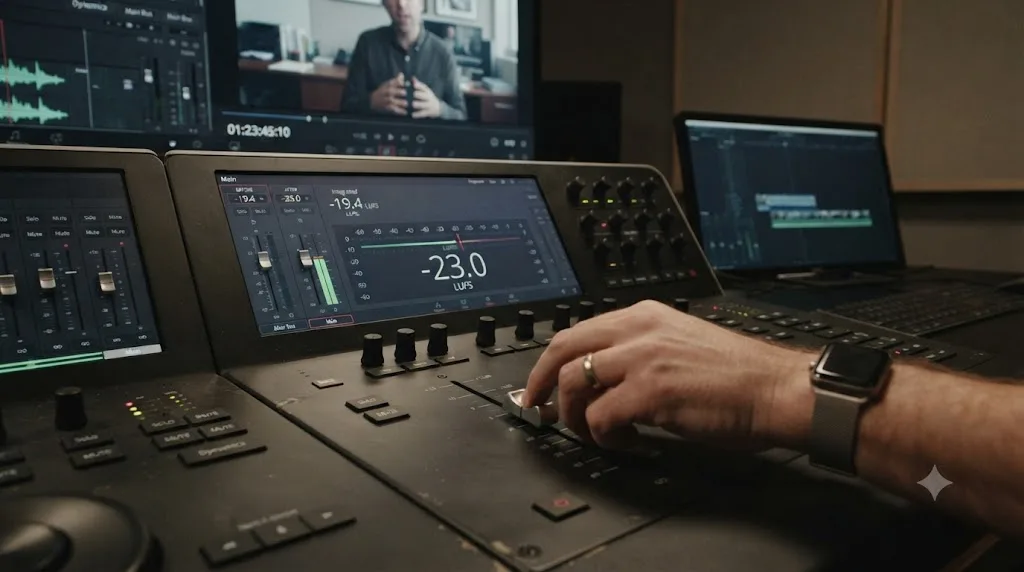
Only after the mix is genuinely finished does the Loudness Meter's Integrated reading become meaningful. Play the whole timeline, read Integrated on the Main bus, and adjust the Main bus fader (not individual clips) to pull the entire finished mix to your target in one move. This preserves every balance decision you made during the mix while correcting the overall level.
A single soloed or muted track skews your Integrated reading as much as it skews the final export, because the meter only measures what the timeline actually plays. If you soloed a dialogue track an hour ago to check a word and forgot to switch it back, your Integrated reading during that playthrough reflects one isolated track, not your finished mix, and the correction you calculate from it will be wrong. If Resolve's audio suddenly seems to have gone silent or half-missing while you're doing loudness work, our no audio troubleshooting guide covers every cause of that, from a stuck solo button to a sample rate mismatch.
How do you actually pull your whole mix to an exact LUFS number?
Once you've read an Integrated number that's off target, the fix is arithmetic, not guesswork, because LUFS and dB move in lockstep for a simple gain change.
- Note your Integrated reading after a full playthrough. Say it's -18 LUFS.
- Note your target. Say it's -14 LUFS for YouTube.
- Subtract: -14 minus -18 is a positive 4. You need 4 more LU, which means 4 more dB of gain on the Main bus.
- On the Fairlight page mixer, find the Main bus fader and raise it by 4 dB.
- Play the timeline again, start to finish, and check Integrated. It should now read close to -14, typically within about 1 LU on the first pass, since real-world mixes aren't perfectly linear once you factor in any limiters or compressors already on the bus.
- If a compressor or limiter is active on the Main bus, a straight fader move can interact with it in ways that aren't perfectly 1:1. Repeat the read-and-adjust cycle once more if the second reading still misses by more than a couple tenths of an LU.
This works because a fader move is a linear gain change applied equally across the entire frequency spectrum, and LUFS measurement is built to respond predictably to exactly that kind of change. Where it gets less predictable is if you're also running dynamics processing on that same bus, since a limiter reacting to the new, louder signal can eat back some of the gain you just added, which is why the second confirmation pass matters.
One workflow worth knowing, even though it isn't something Blackmagic's manual spells out explicitly: bouncing your finished mix down to a single audio clip (right-click the Main bus output, or select the full mixed range and bounce) turns your entire timeline's audio into one file. Running Normalize Audio Levels in a loudness-algorithm mode on that single bounced clip gives you a one-shot, algorithmic correction to an exact target, instead of a fader move you're eyeballing against a meter. It's an extra step, but it's the closest thing to a "hit this number exactly" button that exists in Resolve today.
How do you hit -14 LUFS for a YouTube upload, step by step?
Here's the full pass, assuming you've already mixed dialogue, music, and effects and you're ready for the final loudness check.
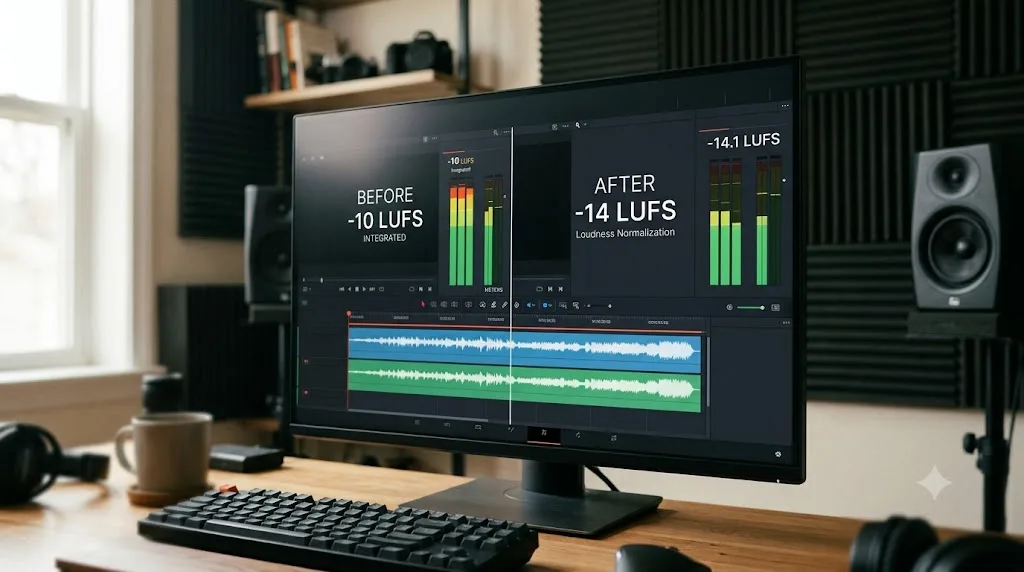
- Set Target Loudness Level to -14 LUFS in Project Settings, General Options, Fairlight.
- On the Fairlight page, open the Mixer and confirm every track feeds the Main bus, with nothing soloed and nothing muted that shouldn't be.
- Play the entire timeline once, start to finish, without skipping.
- Read Integrated on the Loudness Meter. That's your current whole-mix loudness.
- Calculate the gap to -14 and move the Main bus fader by that amount, using the arithmetic method above.
- Play through again to confirm Integrated now reads close to -14.
- Check True Peak. It needs to stay under -1 dBTP. If your fader move pushed peaks over that line, add a limiter to the Main bus with its ceiling set to -1 dBTP rather than backing the fader off and undoing your LUFS work.
- Head to the Deliver page and render with Export Audio checked, Output Track pointed at the Main bus, and AAC at 384 kbps for a stereo mix, the exact figure YouTube's own encoding guide specifies. Our YouTube export settings guide covers every other field on that page if you want the full render checklist beyond audio.
Worked example: a 12-minute talking-head video with a music bed under the intro and outro reads -19 LUFS Integrated on first playthrough, with True Peak at -6 dBTP, plenty of headroom. The gap to -14 is 5 LU, so the Main bus fader goes up 5 dB. A second playthrough reads -13.8 LUFS, close enough, and True Peak has risen to -1.3 dBTP, still inside the -1 dBTP ceiling by a hair. Render as-is. If that same video had started at -8 LUFS instead, hot and compressed, the fix runs the other direction: pull the Main bus fader down 6 dB, and True Peak drops well clear of any ceiling in the process, since turning a mix down never creates a peak problem.
How do you hit -16 LUFS for a podcast, step by step?
The steps are identical to the YouTube pass above, with two numbers changed and one extra consideration for speech-only content.
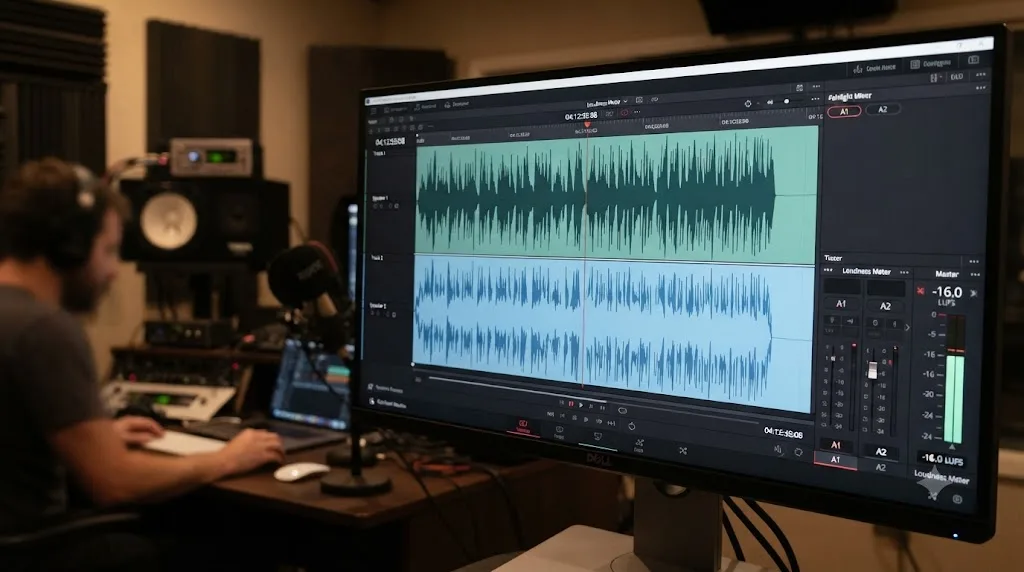
Set Target Loudness Level to -16 LUFS instead of -14. That's Apple's own published figure: "the overall loudness remains around -16 dB LKFS, with a +/- 1 dB tolerance," measured according to ITU-R BS.1770-5, with true peak required to stay under -1 dBFS.
The extra consideration is dialogue consistency, not just an overall number. A podcast is almost entirely speech, so Loudness Range matters more here than on a music-heavy YouTube video. If one guest speaks quietly and another speaks loudly, your Integrated reading can land right on -16 while individual sections swing far enough that listeners keep reaching for the volume knob mid-episode. This is exactly the kind of imbalance the per-clip normalize step, covered two sections up, exists to catch before it ever reaches the mix bus. DaVinci Resolve 21's new Level Matcher, covered further down this guide, is built precisely for this: matching intercut dialogue sections to each other before your final loudness pass ever runs.
One cross-platform note worth knowing: Spotify hosts podcasts too, and its default normalization target for all content, music and podcasts alike, is the same -14 LUFS documented in its loudness normalization support article. A podcast mixed to Apple's -16 LUFS spec plays back fine on Spotify regardless, since Spotify's normalization only turns loud content down and a -16 LUFS file arrives quieter than Spotify's -14 target, meaning Spotify leaves it alone. Mix to the stricter, quieter -16 target and you clear both platforms without building two separate masters.
| Podcast platform | What it actually does to a -16 LUFS file |
|---|---|
| Apple Podcasts | Matches its own published target exactly |
| Spotify | Leaves it alone, since -16 sits below Spotify's -14 turn-down threshold |
| A podcast player with no normalization | Plays it exactly as delivered, at -16 LUFS |
What LUFS target do broadcast and Netflix deliveries require?
Quieter than anything on the web, and gated differently in Netflix's case, which catches editors who assume "louder is safer" carries over from YouTube.
EBU R128, the European broadcast standard, targets -23 LUFS Integrated with true peak under -1 dBTP. It happens to be the exact figure Resolve ships as its Target Loudness Level default, which is either a convenient coincidence or a strong hint about who Blackmagic originally built this meter for.
ATSC A/85, the US broadcast standard, targets -24 LKFS. As Larry Jordan puts it in the same article referenced earlier, "if you are mixing for feature film, broadcast or cable, mix to -24 LUFS," a figure he gives directly alongside his -16 LUFS web recommendation. Note that his web figure predates the industry's more recent convergence toward -14 LUFS for YouTube and Spotify specifically; broadcast's -24 LKFS target, by contrast, has stayed stable for years, because broadcast specs move far slower than web platform algorithms do.
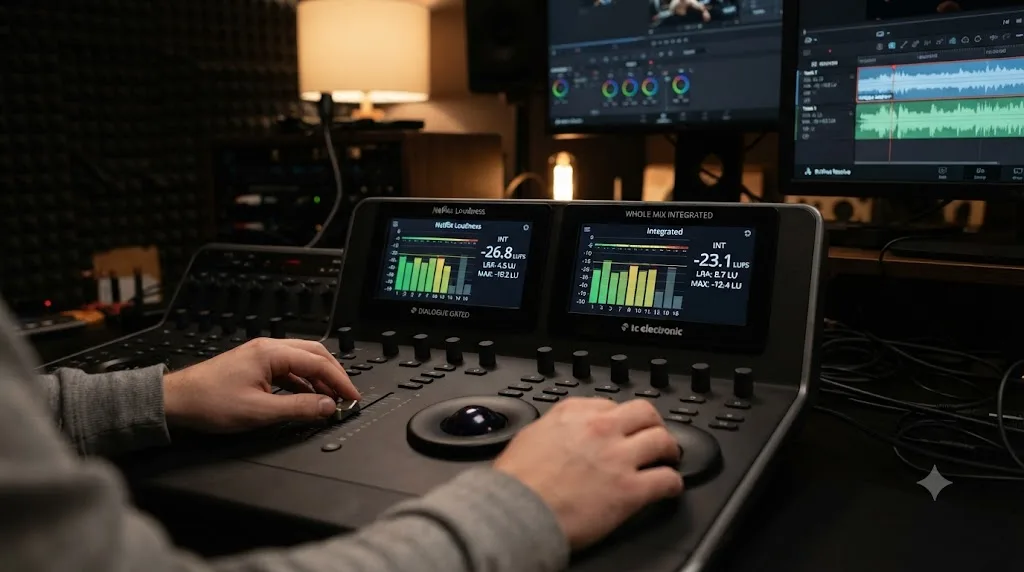
Netflix is the strictest and the most technically different of the three, because it doesn't measure your whole mix, it gates specifically to dialogue. Per Netflix's own Sound Mix Specifications, documented in detail by audio engineer Knut Erik Evensen, the target is -27 LKFS dialogue-gated loudness, within plus or minus 2 LU, with true peak capped at -2 dBTP. Dialogue-gated means the measurement algorithm (built on Dolby's dialnorm approach) specifically isolates and measures the loudness of spoken dialogue, ignoring the loudness of music and effects during passages with no dialogue at all. That's a fundamentally different measurement than the Integrated reading covered throughout this guide, which sums everything on your Main bus with no gating.
For content with genuinely minimal dialogue, under 15% of total runtime, Netflix's spec switches to a program-gated measurement instead, targeting -24 LKFS, again within plus or minus 2 LU. Netflix also caps Loudness Range directly: dialogue LRA can't exceed 10 LU, and a full 5.1 program's LRA needs to sit between 4 and 18 LU.
Broadcast delivery gates loudness to dialogue, not the whole mix, so a loud music bed under quiet dialogue can pass a spec that a loud dialogue track alone would fail. That single distinction, dialogue-gated versus whole-mix measurement, is why a mix that reads perfectly fine on Resolve's standard Integrated meter can still fail a real Netflix QC pass, and why professional broadcast and streaming delivery almost always runs through a dedicated loudness compliance tool that supports dialogue gating, on top of whatever check you do inside Resolve.
| Spec | Target | Tolerance | True Peak | Gating |
|---|---|---|---|---|
| EBU R128 | -23 LUFS | Typically ±1 LU | -1 dBTP | Whole program |
| ATSC A/85 | -24 LKFS | Typically ±2 LU | -2 dBTP | Whole program |
| Netflix (dialogue-heavy) | -27 LKFS | ±2 LU | -2 dBTP | Dialogue-gated |
| Netflix (under 15% dialogue) | -24 LKFS | ±2 LU | -2 dBTP | Program-gated |
If you're delivering to broadcast or Netflix for the first time, budget real time for this step. It is not the same 15-minute check that clears a YouTube upload.
What true peak ceiling should you use alongside your LUFS target?
True Peak and LUFS measure completely different things, and hitting one says nothing about the other.
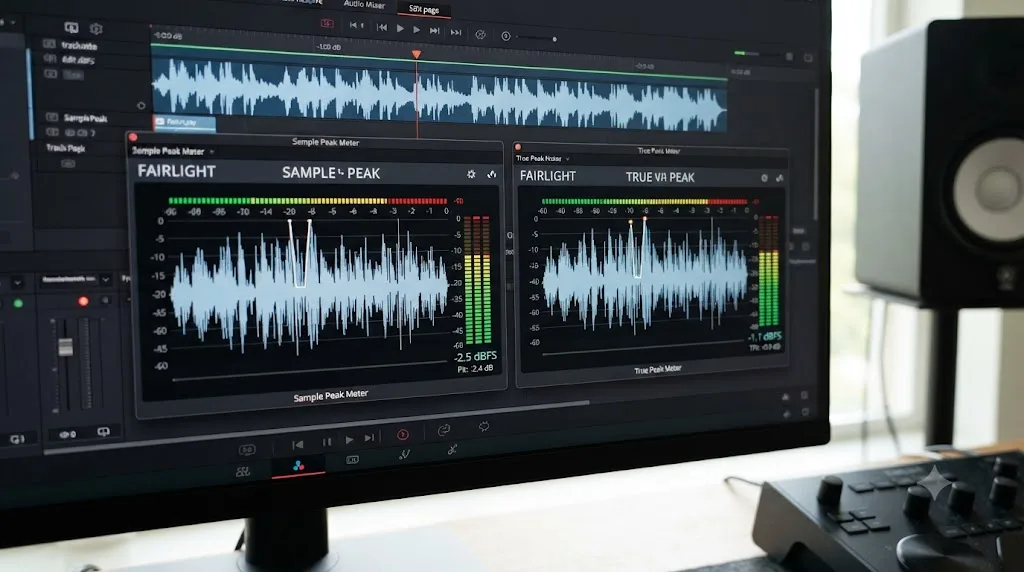
True Peak estimates the actual peak level of the analog waveform your file would reconstruct into, including the inter-sample peaks that a normal sample-peak meter can't see because they occur between the digital samples themselves, on the reconstructed curve a D/A converter or lossy codec produces. A file that measures 0 dBFS on a standard peak meter can, after being encoded to a lossy codec like AAC, actually clip above 0 dB once those inter-sample peaks are reconstructed, which is exactly the failure mode true peak metering exists to catch before it happens.
Every platform in this guide publishes a true peak ceiling separate from its LUFS target:
| Destination | True Peak ceiling |
|---|---|
| YouTube, Spotify, Apple Podcasts | -1 dBTP |
| EBU R128 broadcast | -1 dBTP |
| ATSC A/85 broadcast | -2 dBTP |
| Netflix | -2 dBTP |
A mix can sit exactly on its LUFS target and still fail true peak, and the reverse is just as common: a mix well under its true peak ceiling can still be too loud or too quiet on Integrated. They're independent checks, and both need to pass before you render.
Resolve's Normalize Audio Levels dialog offers True Peak as one of its dedicated Normalization Mode options, which is worth using directly on your final bounced mix if you're not confident a fader move alone kept you under ceiling. Alternatively, a limiter on the Main bus with its output ceiling set to your platform's true peak number acts as a safety net that catches any stray peak automatically, without you having to eyeball the meter on every single playthrough.
Does the free version of DaVinci Resolve include these loudness tools?
Yes, completely. Every tool covered in this guide, the Loudness Meter, the Target Loudness Level setting, and Normalize Audio Levels in every one of its modes, lives inside Fairlight, and Fairlight ships as a full, complete audio page in the free version of Resolve with no watermark and no feature gate, per Blackmagic's own Fairlight product page.
This is worth stating plainly because so much of Resolve's marketing centers on Studio-exclusive features that it's easy to assume anything sounding this technical must require the $295 license. It doesn't. Studio's actual gates, per Blackmagic's tech specs, sit around 10-bit output, HDR delivery, AI noise reduction, and hardware-accelerated encoding on Windows and Linux, none of which touch loudness normalization at all. If you're weighing the upgrade for other reasons entirely, our free vs Studio breakdown covers exactly where that line sits.
The only place license tier could indirectly matter here is speed, not capability: a long, complex timeline with heavy Fusion compositing or noise reduction plugins renders slower on Windows or Linux in the free version, since hardware encoding is Studio-only on those platforms there. That affects how quickly you can bounce a mix down for a final check, not whether the loudness tools themselves work.
What's new in DaVinci Resolve 21 for loudness and level matching?
Resolve 21 didn't touch the Loudness Meter or the Normalize Audio Levels command directly, but it did add a Fairlight tool that solves the specific problem loudness normalization alone can't: consistency between individual sections of dialogue before you ever get to a whole-mix loudness pass.
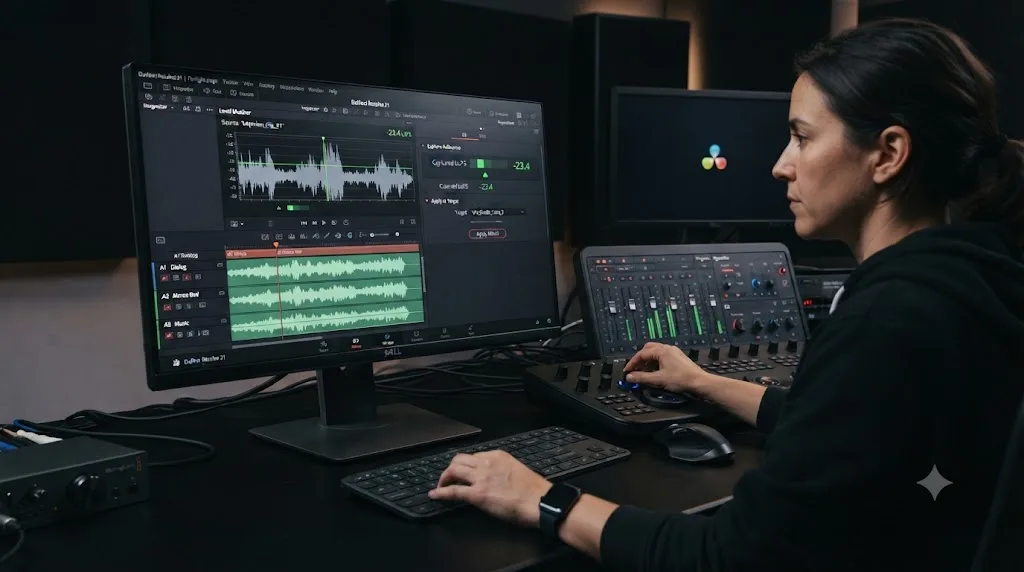
The new Level Matcher lets you capture a loudness profile from a reference clip, the section that sounds right, and apply that same profile to other clips so intercut dialogue stops jumping around when a scene cuts between camera angles, microphones, or recording locations. This is exactly the multi-guest podcast and multi-camera interview problem raised earlier in this guide: rather than eyeballing gain matches clip by clip, you capture a profile from your best-sounding section and stamp it onto the rest.
Resolve 21 also added a 6-band clip EQ that matches the track EQ's full capability, and Chain FX, which bundles up to six plugins into one reusable, saveable preset, useful for building a repeatable dialogue chain (EQ, compressor, de-esser, limiter) that you can drop on every new project instead of rebuilding it from scratch. None of these are loudness tools by themselves, but they all feed into a cleaner mix before your final LUFS pass, which means less correction work by the time you reach the Loudness Meter. Our full rundown of what's new in Resolve 21 covers these Fairlight updates alongside everything else Blackmagic shipped this release, per Blackmagic's own What's New page.
The practical order these tools fit into your workflow: Level Matcher first, to even out intercut dialogue sections against each other, Chain FX next, to apply a consistent processing chain across the mix, and the Loudness Meter last, to pull the finished result to your platform's exact target.
Should you master one file to one LUFS target, or a separate file per platform?
For most creators, one file, mixed to the quietest target you're delivering to, covers every platform without extra render passes.
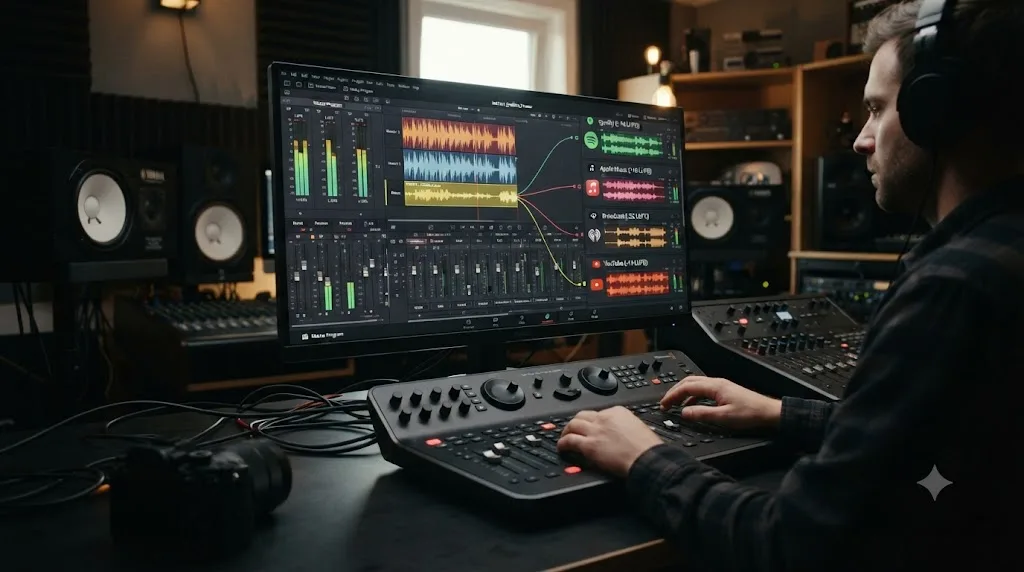
The logic runs on a single fact repeated throughout this guide: every platform covered here turns loud content down, and none of them boost quiet content up. That asymmetry means a file mixed to -16 LUFS (Apple Podcasts' target, the quietest of the common web destinations) plays back correctly on Apple Podcasts, and arrives at Spotify or YouTube already under their -14 LUFS threshold, so those platforms simply leave it alone rather than turning it down. You lose nothing by mixing to the stricter number and gain one master file instead of three.
Where this breaks down is broadcast and Netflix, both meaningfully quieter than any web target and, in Netflix's case, measured with a different gating method entirely. A single web-and-broadcast master isn't realistic: a mix loud enough to sound right on YouTube will read far too hot for EBU R128 or ATSC A/85, and Netflix's dialogue-gated measurement can fail even a technically-compliant whole-mix Integrated reading. If your work crosses from creator platforms into broadcast or streaming-platform delivery, budget for at least two separate masters: one for web at -14 to -16 LUFS, one for broadcast or Netflix at their much quieter, differently-measured specs.
| Your delivery targets | Master files needed |
|---|---|
| YouTube only | One, at -14 LUFS |
| YouTube plus Spotify | One, at -14 LUFS, covers both |
| YouTube plus a podcast feed | One, at -16 LUFS, covers both since neither boosts a quiet file |
| YouTube plus broadcast | Two: web at -14 to -16, broadcast at -23 to -24 |
| Any web platform plus Netflix | Two: web master, and a separate dialogue-gated Netflix pass |
What does a full loudness pass look like on a real timeline?
Here's the method applied start to finish, on a realistic 20-minute tutorial video with a talking-head narrator, a screen-recorded demo section with system audio, and a licensed music bed under the intro.
First pass: play the full timeline with Target Loudness Level already set to -14 LUFS. Integrated reads -21 LUFS, quiet, and True Peak sits at -9 dBTP, plenty of room. The gap to target is 7 LU. Before reaching for the Main bus fader, a quick scan of the mixer shows why it's quiet: the screen-recording section's system audio was captured well below the narrator's mic level, and it was never gain-matched during the edit.
Second pass: instead of a blanket Main bus boost, the screen-recording section gets its own clip gain raised roughly 5 dB first, since a global boost applied to an already-uneven mix just makes the uneven parts more obviously uneven at a louder volume. This is exactly the kind of fix Resolve 21's Level Matcher, covered above, handles faster than manual gain-riding.
Third pass: play the full timeline again. Integrated now reads -16 LUFS, closer, and the screen-recording section no longer dips noticeably against the narrator's voice. The remaining 2 LU gap to -14 is a genuine whole-mix issue now, not a balance issue, so the Main bus fader goes up 2 dB.
Fourth pass: final playthrough. Integrated reads -14.1 LUFS, well within tolerance. True Peak has risen to -1.4 dBTP, just over the -1 dBTP ceiling. A limiter goes on the Main bus with its ceiling set to -1 dBTP, catching that overage without another fader adjustment or another full read-through.
Four passes, and the fix that actually mattered most wasn't the final LUFS math at all, it was catching that one section's gain was mismatched before blanket-boosting the whole mix and baking the imbalance in louder. That's the pattern worth internalizing: read Integrated first to know how far off you are, but look at what's actually driving the number before you reach for the Main bus fader.
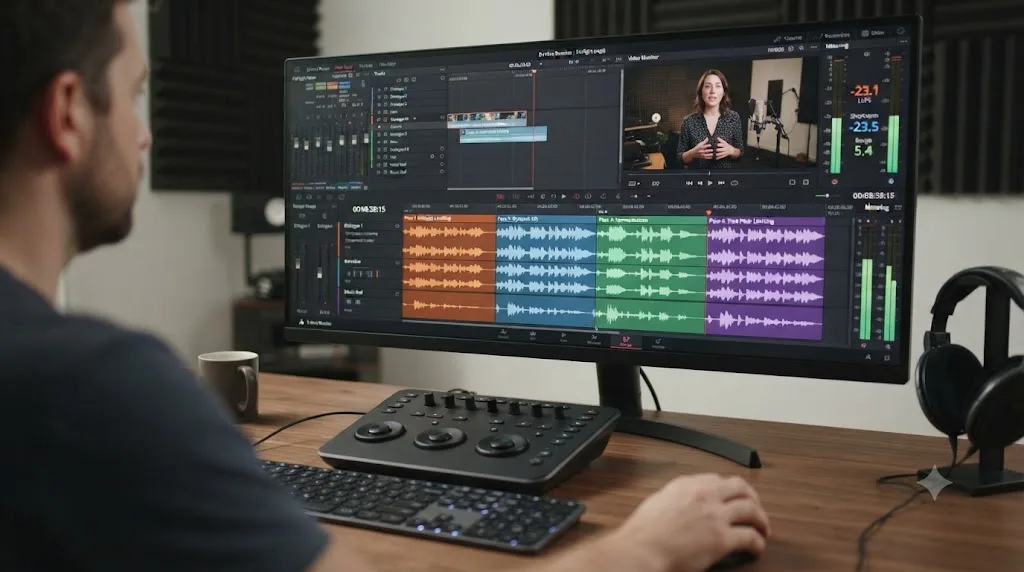
Why does your export still sound wrong after normalizing to the right number?
A handful of specific causes account for nearly every case where the math looked right but the result didn't.
You read Integrated from a partial playthrough. Integrated only accumulates loudness from audio that actually played while the meter was running. Skip ahead, scrub past a section, or start your read from the middle of the timeline, and the number reflects whatever portion played, not your whole mix. Always play from the very start.
A track was soloed or muted during your read. Covered earlier in this guide, and worth restating here because it's the single most common silent culprit: solo one track to check something, forget to switch it back, and every Integrated reading from that point forward measures one isolated track instead of your finished mix.
You measured before the mix was actually finished. A Main bus fader correction calculated against a rough mix becomes wrong the moment you add another effect, adjust a level, or bring in a new clip afterward. Loudness is always the last step, not a mid-process check you lock in early.
The platform's own normalization is doing exactly what it's supposed to. If your file reads correctly at -14 LUFS in Resolve but sounds quieter than a reference video on YouTube, remember the asymmetry covered throughout this guide: normalization only ever turns loud content down. If the reference video you're comparing against is louder than -14 LUFS, YouTube is turning it down to match your level, not leaving yours alone while boosting the other one. Trust your own meter over an ear comparison against unknown reference material.
Export Audio was unchecked, or Output Track pointed at the wrong bus. This one has nothing to do with loudness at all and everything to do with the Deliver page separately from your Fairlight work; a perfectly normalized mix that never actually gets exported is functionally the same as one that's silent. Our no audio troubleshooting guide covers this and every other cause of a silent or wrong-track export in detail.
You're comparing LUFS to LKFS numbers as if they were different scales. They're not, as covered earlier: one LUFS equals one LKFS equals one dB of gain change. If a spec sheet says LKFS and your meter says LUFS, you're already looking at the same number.
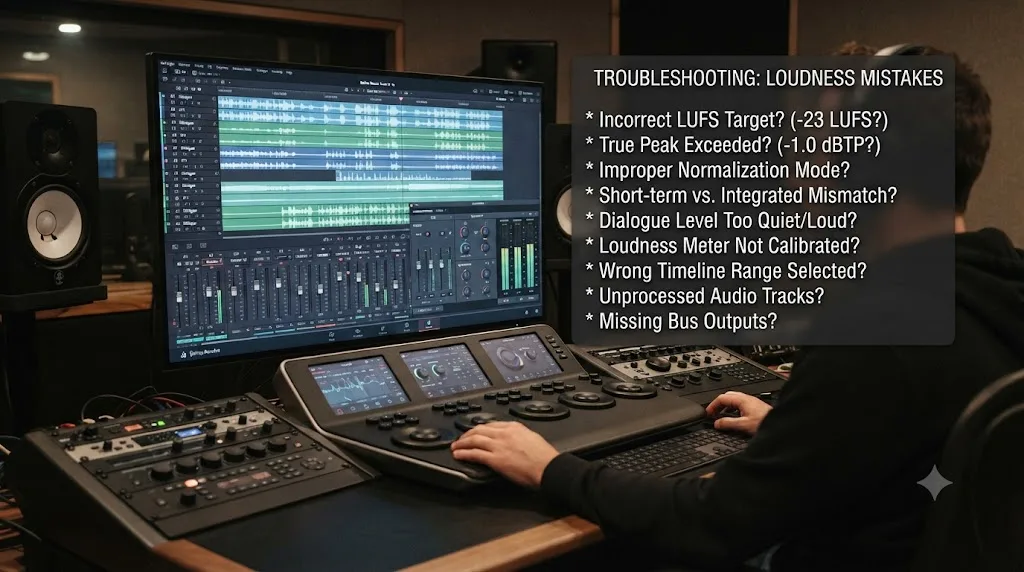
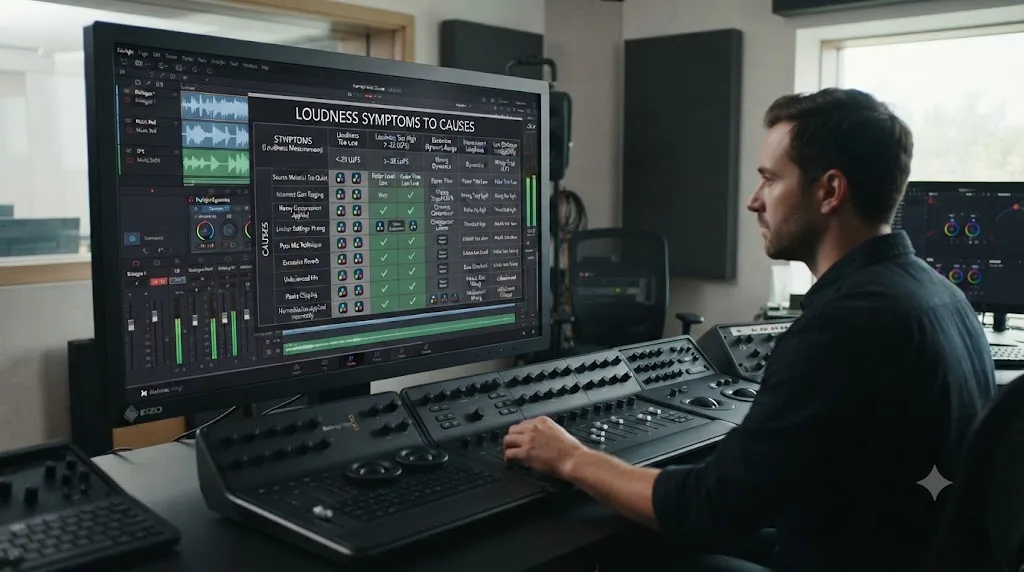
Which symptom points to which loudness problem?
| Symptom | Most likely cause | Where to check |
|---|---|---|
| Integrated reads much quieter than expected | A track soloed or muted during the read, or a partial playthrough | Track headers on Fairlight; replay from the very start |
| Export sounds quieter than a reference video after normalizing correctly | The platform is turning the reference video down, not leaving yours alone | Your own meter reading, not an ear comparison |
| LUFS is on target but True Peak exceeds the ceiling | Fader boost pushed inter-sample peaks over the limit | Add a limiter on the Main bus set to your platform's true peak number |
| Mix is uneven scene to scene despite a correct Integrated average | Loudness Range too wide, or individual clips never gain-matched before mixing | Per-clip normalize before the mix; Resolve 21's Level Matcher for intercut dialogue |
| Right-click Normalize Audio Levels ran but the export still fails a platform check | Normalize only touched selected clips, not the finished whole-mix bus | Read Integrated on the Main bus after a full playthrough of the finished mix |
| Netflix or broadcast QC fails despite a clean Integrated reading | Whole-mix measurement doesn't match dialogue-gated or program-gated spec | Use a dedicated loudness compliance tool with gating support |
| Meter defaults to -23 and every mix reads "quiet" against it | Target Loudness Level never changed from Resolve's default | Project Settings, General Options, Fairlight |
| No sound at all while trying to take a loudness reading | Unrelated to loudness math entirely | See the no audio troubleshooting guide |
Match your symptom to the row above before assuming your math is wrong. Most loudness problems in Resolve trace back to what got measured, not to the arithmetic used to correct it.
Do platform loudness targets even matter if platforms re-normalize anyway?
It's a fair question, and one worth answering honestly rather than pretending every number in this guide is gospel.
Russ Hughes, founder of the audio production site Production Expert and a decades-long recording and post-production engineer, has argued directly that treating platform loudness targets as a unified standard is a fantasy. Comparing platforms against each other, he points out that "YouTube insisted on minus fourteen LUFS. That makes YouTube thirteen decibels louder than Netflix and eleven louder than HBO," in his piece arguing that streaming loudness standards effectively don't exist. His broader point cuts even deeper: "you can match numbers and still end up with completely different perceived levels," because LUFS averages loudness across a whole track without capturing how dense or sparse the material is, so two mixes reading the identical LUFS number can still feel meaningfully different to a listener's ear. He calls loudness normalization, bluntly, "a volume knob pretending to be a mastering engineer."
He's right that LUFS targets aren't a substitute for actually mixing well, and he's right that the numbers genuinely diverge wildly across platforms and content types. Where this doesn't change the practical advice in this guide: within a single platform, hitting its target still determines whether that platform's algorithm leaves your upload alone or turns it down, and a video turned down 6 dB by YouTube's own normalization sounds noticeably worse, thinner and less impactful, than the same video delivered close to -14 LUFS in the first place. The targets in this guide aren't a universal truth about how loud audio should be. They're the specific number each specific platform checks your file against before deciding whether to touch it.
YouTube, Spotify, and Apple Podcasts all measure your Integrated loudness and quietly turn it down if you go over their target. None of them will turn a quiet mix up. That asymmetry is the actual reason to care about these numbers, not because -14 LUFS is some universal truth about correct loudness, but because missing high on any given platform costs you control over your own final mix the moment that platform's algorithm gets involved.
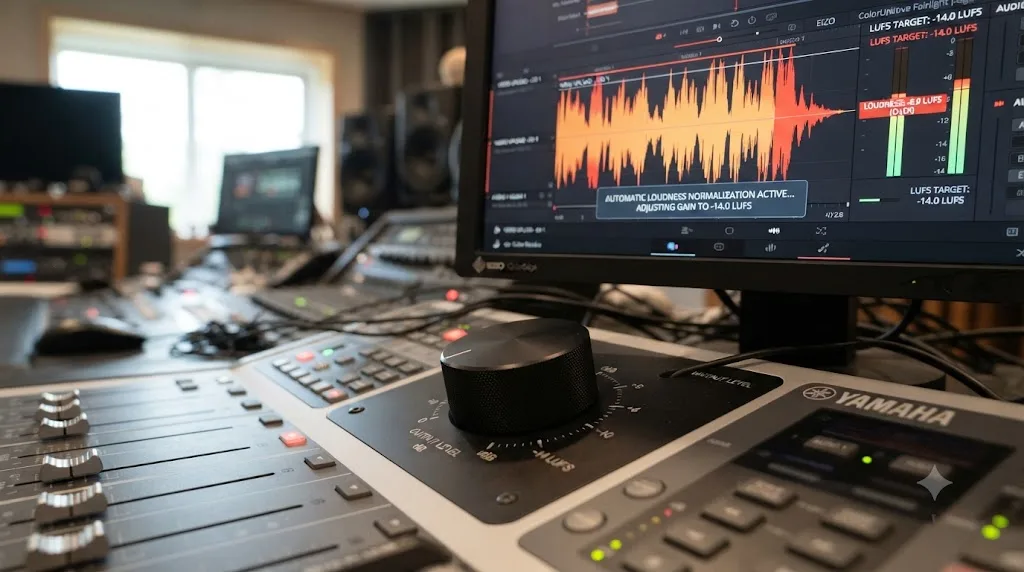
What's the fastest way to check loudness before every export?
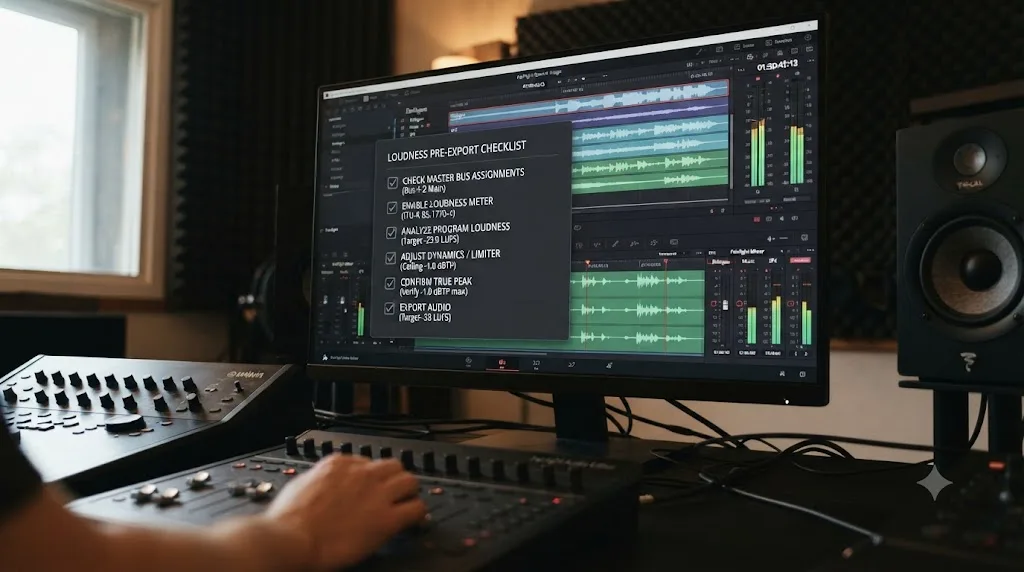
Six checks, in order, most of them taking seconds once you know where to look.
- Target Loudness Level set correctly. Project Settings, General Options, Fairlight. Confirm it matches today's actual delivery target, not whatever the last project used.
- No stray solo or mute. Scan every track header on the Fairlight page before you press play for a final read.
- Full playthrough, start to finish. Never trust an Integrated reading from a partial play.
- Integrated on target. Within roughly 1 LU is normal and safe for every platform in this guide.
- True Peak under ceiling. -1 dBTP for web, -2 dBTP for broadcast and Netflix.
- Export Audio checked, Output Track on the Main bus. A perfect mix that never reaches the render is worth nothing.
If hunting through Project Settings, the Fairlight mixer, and the Deliver page for six separate checks every time you export is the part that eats your afternoon, that's the specific gap TryUncle is built for. It's an AI tutor that looks at your actual Resolve window and points at the exact control you're asking about, instead of sending you back through a guide like this one for a setting you needed twenty seconds ago.
What should you actually remember from all of this?
Set your Target Loudness Level to match your actual destination before you mix, not after. Normalize raw clips early to even out your sources, mix deliberately, then read Integrated on the Main bus only after a complete, unskipped playthrough. Adjust the whole mix with the Main bus fader, not by re-running a per-clip normalize command that was never looking at your finished audio in the first place. Check True Peak as a separate number from LUFS, every time, because they measure different things and neither one guarantees the other.
If you remember nothing else: -14 LUFS integrated with true peak under -1 dBTP clears YouTube and Spotify in one pass, -16 LUFS clears Apple Podcasts with room to spare on Spotify too, and broadcast or Netflix delivery needs its own, quieter, differently-measured pass entirely. Get those three numbers right, and the rest of this guide becomes a reference you check once per project rather than a mystery you re-solve every time you export.
Frequently asked questions
- What LUFS should I normalize to for YouTube in DaVinci Resolve?
- -14 LUFS integrated, with true peak under -1 dBTP. YouTube doesn't publish this number on an official settings page, but independent measurement of its playback normalization consistently lands there, and it's become the de facto web target the same way -14 LUFS has for Spotify. Set it as your Target Loudness Level in Project Settings, then Fairlight, and confirm with the Integrated reading after a full playthrough.
- What LUFS target should a podcast use?
- -16 LUFS integrated with true peak under -1 dBFS, per Apple's own podcast audio requirements, with a published tolerance of plus or minus 1 dB. Spotify's podcast normalization defaults to the same -14 LUFS it uses for music, so a mix built for -16 still plays back cleanly there since Spotify only turns loud content down, never boosts quiet content.
- What's the difference between Normalize Audio Levels and the Fairlight Loudness Meter?
- Normalize Audio Levels is a right-click command that adjusts one or more selected clips to a target, and it can measure by Sample Peak, True Peak, or an actual loudness algorithm depending on which mode you pick in its dropdown. The Loudness Meter on the Fairlight page is different: it reads your full mix in real time as the timeline plays, on the main bus, after every fader and plugin, which is the number that actually matches what a platform hears.
- Where do I set my Target Loudness Level in DaVinci Resolve?
- Project Settings, then General Options, then the Fairlight section. Target Loudness Level defaults to -23 LUFS. Changing it moves the zero mark on the Fairlight page's Loudness Meter to your new target, so a mix sitting right at zero is sitting right at your platform's number.
- What true peak ceiling should I use alongside my LUFS target?
- -1 dBTP covers YouTube, Spotify, and Apple Podcasts. Netflix and most broadcast specs ask for -2 dBTP instead. True peak and LUFS are separate numbers measuring separate things, a mix can sit exactly on its LUFS target and still clip on inter-sample peaks if you don't check true peak too.
- Does the free version of DaVinci Resolve include LUFS loudness tools?
- Yes. The Loudness Meter, Target Loudness Level setting, and Normalize Audio Levels command are all part of Fairlight, and Fairlight ships complete in the free version with no watermark or time limit. Nothing about loudness normalization requires Studio.
- Why does my exported video still sound too quiet after I normalized to -14 LUFS?
- Check for a soloed or muted track first, since either one changes what the Integrated meter actually measured during your playthrough. Then confirm you read the meter after playing the entire timeline start to finish, not a few seconds of it, because Integrated only accumulates while audio plays. If both check out, the platform's own normalization pass may simply be quieter than you expected, since normalization only ever turns loud content down.
- What LUFS target does Netflix or broadcast delivery require?
- Netflix asks for -27 LKFS dialogue-gated loudness, or -24 LKFS program-gated for content with less than 15% dialogue, both within plus or minus 2 LU, with true peak under -2 dBTP. European broadcast under EBU R128 targets -23 LUFS. US broadcast under ATSC A/85 targets -24 LKFS. These are stricter and quieter than any web platform target.
Sources
- DaVinci Resolve Manual - Normalize Audio Levels Command (Blackmagic Design)
- DaVinci Resolve Manual - Target Loudness Level (Blackmagic Design)
- DaVinci Resolve Manual - Loudness Meters (Blackmagic Design)
- Critical Listening Lab: YouTube Loudness Normalization - Target LUFS for Video
- Spotify for Artists: Loudness normalization on Spotify
- Apple Podcasts for Creators: Audio requirements
- Production Expert (Russ Hughes): Let's Stop Fooling Ourselves, Loudness Standards For Streaming Do Not Exist
- Larry Jordan: Why LUFS and LKFS are Essential to Video
- Knut Erik Evensen: Measuring the Netflix Loudness Level
- DaVinci Resolve - Fairlight product page (Blackmagic Design)
- DaVinci Resolve - Tech Specs (Blackmagic Design)
- DaVinci Resolve - What's New (Blackmagic Design)
Learn by doing, not watching
Learn Resolve inside Resolve.
TryUncle watches your screen and points at the exact control when you ask. No tabs, no timestamps, no rewatching tutorials.
Download free for MacKeep reading
Guides · Jul 7, 2026 · 25 min
DaVinci Resolve Export Settings for YouTube: The Right Numbers
The exact DaVinci Resolve export settings for YouTube: resolution, bitrate, codec, and audio numbers pulled straight from YouTube's own encoding guide.
Fixes · Jul 7, 2026 · 26 min
DaVinci Resolve No Audio: Every Cause and How to Fix It
Timeline plays video but no sound? Check the mute and solo buttons, the I/O Engine setting, sample rate, and Export Audio, in that order. Full fix list.
Comparisons · Jul 7, 2026 · 28 min
DaVinci Resolve Studio Price: Free vs. Studio Cost, Explained
DaVinci Resolve Studio costs $295, paid once, not monthly. Here's exactly what that buys, how it stacks up against Premiere Pro and Final Cut Pro, and who needs it.