Articles / Guidesupdated for DaVinci Resolve 21.0.2 (July 2026)
DaVinci Resolve Dialogue Leveler Settings Explained
Quick answer
DaVinci Resolve's Dialogue Leveler sits in the Fairlight FX list on any audio clip, track, or bus. Enable Reduce Loud Dialogue and Lift Soft Dialogue, pick Optimize Moderate Levels instead of the confusing default Allow Wider Dynamics preset unless your source genuinely swings loud-to-soft, and raise Output Gain toward +6dB. It ships free and isn't a noise-removal tool.
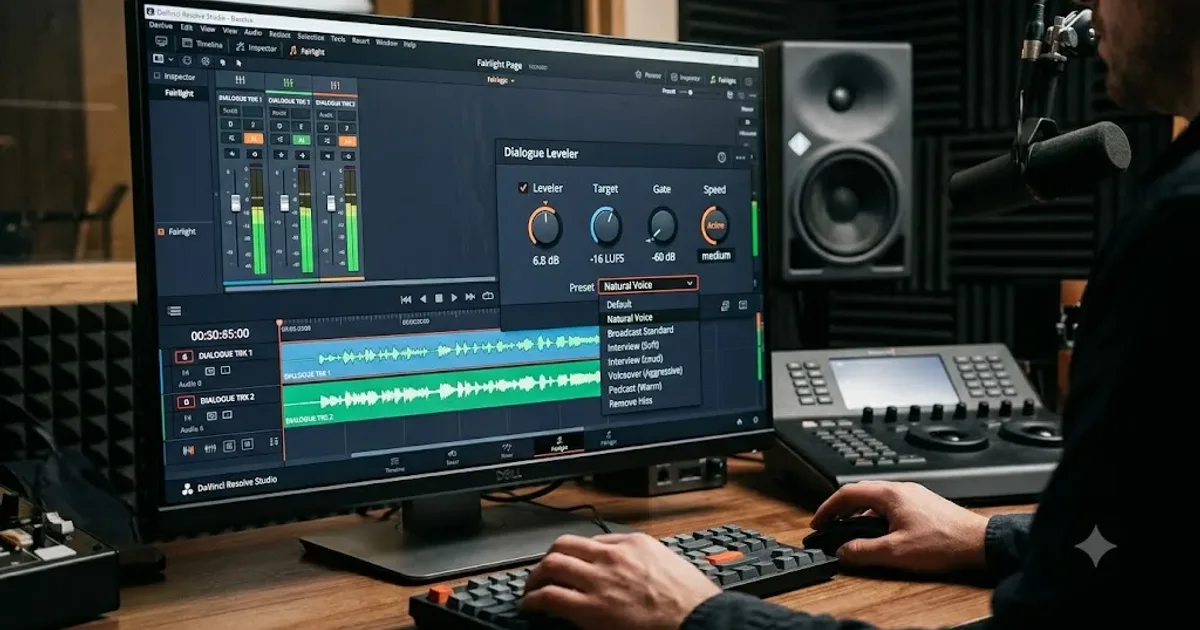
Your interview subject whispers one sentence and shouts the next, and you're tempted to ride the fader by hand for the whole timeline. DaVinci Resolve already built a tool for exactly this, and most editors either don't know it exists or open it once, see four presets and three checkboxes with confusing names, and go back to riding faders anyway.
This guide covers every control in the Dialogue Leveler: what each preset actually does, why the default one confuses almost everyone who tries it, when to reach for it instead of the Compressor, and why it sometimes seems to vanish from your Fairlight Mixer entirely. If your dialogue also has actual noise under it, hiss, hum, or a fan, that's a separate problem our background noise removal guide covers in full. This one is about volume, not tone or noise.
What is the Dialogue Leveler, and what problem does it solve?
Dialogue Leveler is a Fairlight FX plugin built for one job: evening out the volume of speech across a clip, a track, or a bus, without you manually setting a threshold, a ratio, or an attack time the way a compressor requires.
Blackmagic Design added it in DaVinci Resolve 18.1, released November 11, 2022, alongside the AI-driven Voice Isolation tool. Per TV Technology's coverage of the release, "the built-in dialog leveler track FX in the inspector processes and smooths dialog recordings without the need for tedious level adjustments on clip gain or automation curves." That's the entire pitch in one sentence: instead of keyframing a fader up during a whisper and back down during a shout, one plugin handles both automatically.
Dialogue Leveler exists to replace manual fader-riding, not to replace a compressor, an EQ, or a noise-reduction tool. It shares real estate on the Fairlight FX list with all three of those, and it's easy to reach for it expecting it to do all three jobs at once. It doesn't. It levels volume. Tone shaping, noise removal, and hard limiting all live in separate, dedicated tools covered later in this guide.
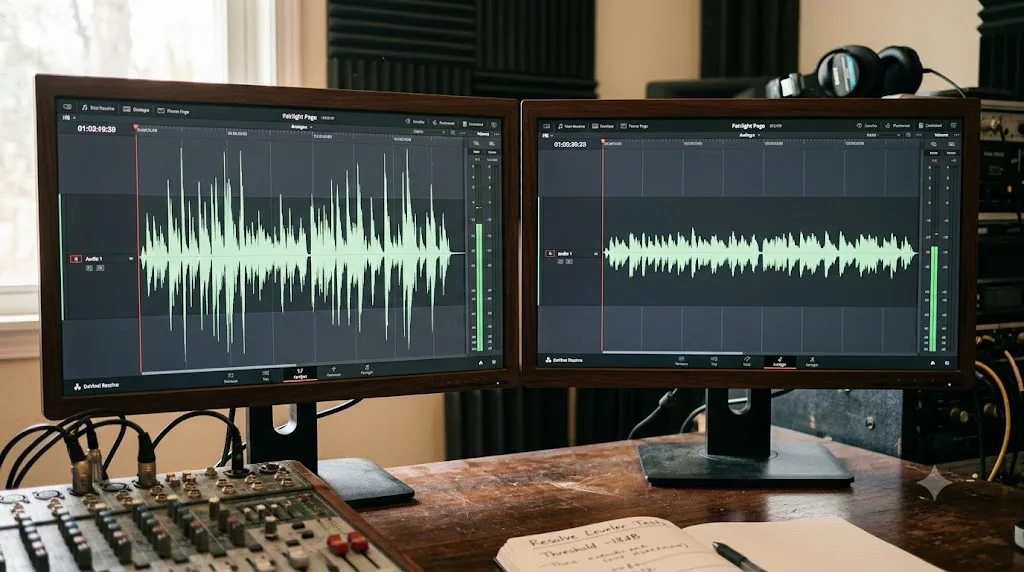
Where do you find Dialogue Leveler, and how do you apply it?
Dialogue Leveler lives in the same FairlightFX plugin list as the Noise Reduction plugin, De-Esser, and De-Hummer, per Blackmagic's own Fairlight FX Plugin List, which lists it alongside those standard tools without any separate designation. You can add it from three different places, and which one you pick changes what it processes.
Clip level. Select a clip on the Edit or Cut page timeline, open the Inspector, then the Audio tab, and Dialogue Leveler appears as a track FX option you can enable per clip. This is the finest-grained option: two clips sitting right next to each other on the same track can run completely different Dialogue Leveler settings.
Track level. On the Fairlight page, open the Mixer, click the Effects slot on a track's channel strip, and choose Dialogue Leveler from the FairlightFX list. Every clip on that track now runs through the same instance with the same settings.
Bus level. Once you've built a Dialogue bus (covered in our Fairlight mixing guide if you haven't set one up yet), add Dialogue Leveler to the bus's channel strip the same way. Every track feeding that bus, whether it's one lav mic or six, runs through one shared leveling pass.
Blackmagic's own DR 18.1 announcement noted the tool shipped "to the cut, edit and Fairlight pages," meaning you don't need to be on the Fairlight page at all to apply it; a quick pass from the Edit page's Inspector works for a single interview clip you're finishing fast.
| Where you apply it | Granularity | Best for |
|---|---|---|
| Clip (Edit or Cut page Inspector) | One clip at a time | A single problem clip, or clips that genuinely need different settings |
| Track (Fairlight Mixer) | Every clip on that track | One speaker's whole track, consistently mic'd |
| Bus (Fairlight Mixer) | Every track feeding the bus | A whole Dialogue bus with multiple speakers, once you trust one setting for all of them |
A single Dialogue Leveler instance on a Dialogue bus processes every mic feeding that bus identically, which is usually faster and more consistent than adding it clip by clip. The exception is a multi-guest podcast where one mic runs consistently hot and another runs consistently quiet enough that they genuinely need different presets, in which case track-level instances, one per speaker, make more sense than a single bus-level pass.
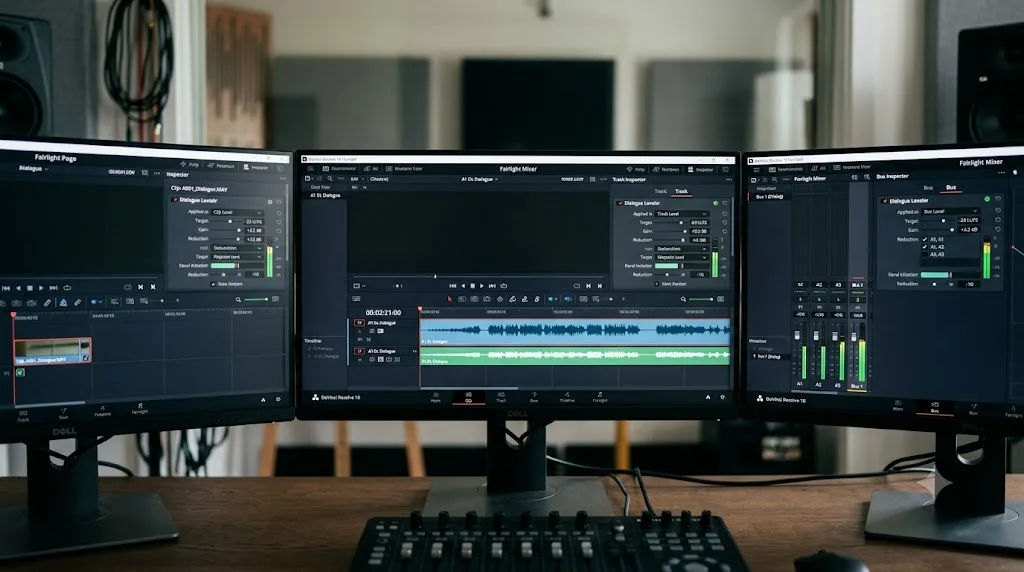
What does every Dialogue Leveler control actually do?
Open the plugin's full panel by double-clicking its display on the channel strip. Per Blackmagic's manual entry on the Dialogue Leveler plugin controls, you're looking at one enable toggle, a scrolling waveform display, a preset menu with four options, three processing toggles, and one output slider.
The main toggle. "Dialogue Leveler: Enables or disables Dialogue Leveler processing," per the manual, exactly as blunt as it sounds. This is your bypass switch, and you'll use it constantly to A/B your settings against the untouched original.
The waveform display. A real-time scrolling view of the clip's waveform with a gray line tracking the processing curve as it plays. It's useful for spotting exactly where the plugin is working hardest, a loud spike getting pulled down or a quiet stretch getting lifted, but it's a visual aid, not a control you adjust directly.
The preset menu. Four options, each tuned for a different kind of source material:
| Preset | Manual's description | Use it when |
|---|---|---|
| Allow Wider Dynamics (default) | "Best for sources with wider ranging dynamic levels from loud-to-soft, and where the clip levels are medium to high" | Your dialogue genuinely swings loud-to-soft and already sits at a decent overall level |
| More Lift for Low Levels | "Select this option if the source has more low level dialogue that you want to boost" | A track that's frequently too quiet, more than it's too loud |
| Lift Soft Whispery Sources | "Select this option if the source has whispered dialogue and background noise" | Intentionally quiet delivery, ASMR-style narration, or a source with noticeable ambient noise |
| Optimize Moderate Levels | "Select this option if the source is at medium levels throughout" | Fairly consistent, already-reasonable dialogue that just needs smoothing, not rescuing |
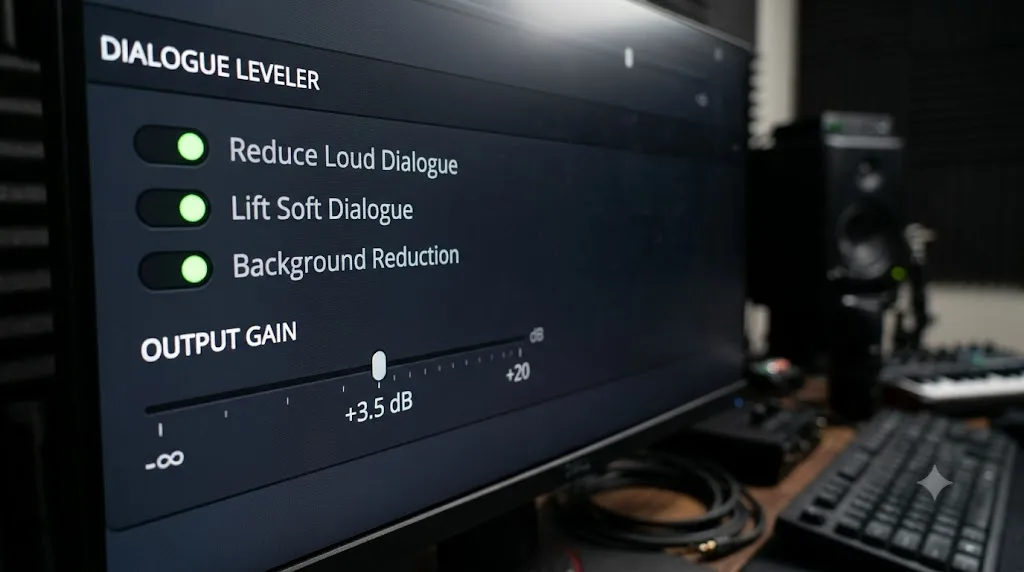
The three processing toggles. Reduce Loud Dialogue, Lift Soft Dialogue, and Background Reduction, each independently switchable regardless of which preset is active. Per the manual, Reduce Loud Dialogue "rides louder dialogue downward on peaks and acts somewhat like a 'perfect limiter'". Lift Soft Dialogue "finds low level dialogue and lifts and evens out material that is more variable in level." Background Reduction "reduces background sounds by focusing on dialogue and gently removing them."
Output Gain. A slider from 0 to +6dB in 0.1dB steps, applied after all the leveling processing. This is the one control that adds level rather than reshaping it, useful because a leveled clip, especially one that had its loud peaks pulled down significantly, often ends up sitting quieter overall than it started.
Reduce Loud Dialogue and Lift Soft Dialogue are the two toggles doing the actual leveling work. Background Reduction is a bonus, not the core function, and Output Gain only ever adds level, it never shapes it. Understanding that split matters more than memorizing exact numbers, because it tells you which control to reach for when a specific problem shows up.
Why does "Allow Wider Dynamics" confuse almost everyone who tries it?
Here's the actual source of the confusion, and it's a naming problem more than a functional one.
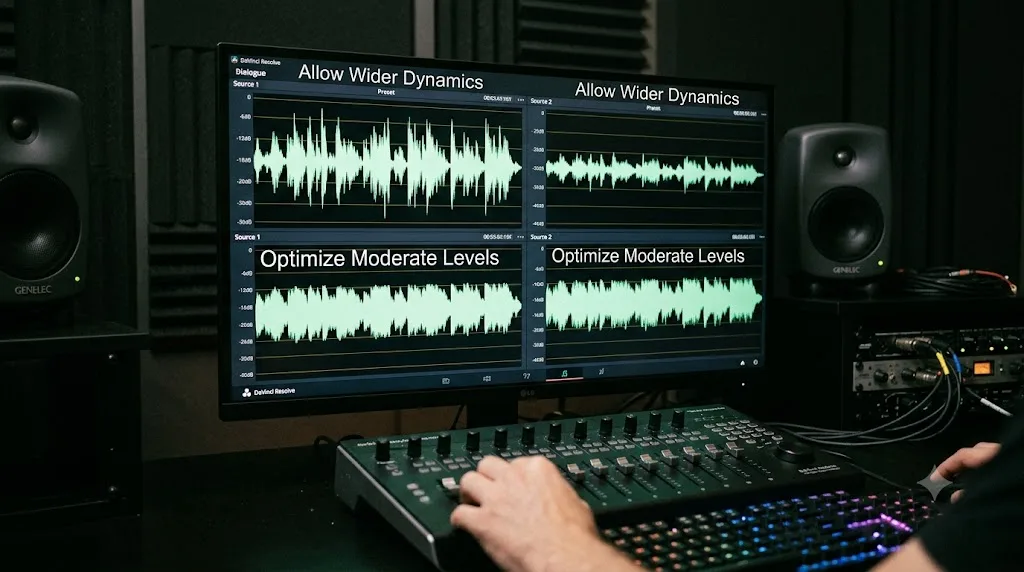
"Allow Wider Dynamics" is Dialogue Leveler's default preset, the one every clip starts with the moment you add the plugin. Read that name cold, and it sounds like the opposite of what a leveling tool should do: you want your dialogue leveled, and this option appears to be granting permission for it to stay unlevel. Will, who walks through the plugin on the DaVinci Resolve tutorial channel Alli and Will, describes exactly this reading of the setting: with it selected, "it's going to allow the louder audio to remain loud and the softer audio to remain softer, just because we're allowing a greater dynamic range," in his tutorial on leveling dialogue in DaVinci Resolve. His practical advice from testing it: skip it if your actual goal is evening out dialogue, and reach for Optimize Moderate Levels instead.
That's good practical advice, and it's also not the full technical picture. Blackmagic's own manual entry doesn't say the preset disables leveling, it says the preset is "best for sources with wider ranging dynamic levels from loud-to-soft, and where the clip levels are medium to high." Reduce Loud Dialogue and Lift Soft Dialogue still run under this preset exactly as they do under the other three. What changes is calibration: Allow Wider Dynamics is tuned for a source that's already at a reasonable overall level but swings widely between its loudest and quietest moments, while Optimize Moderate Levels is tuned for a source that's already fairly consistent throughout and just needs smoothing, not rescuing from a dramatic range.
"Allow Wider Dynamics" doesn't mean the tool will stop leveling your dialogue. It means the leveling curve is calibrated for a source with genuinely wide loud-to-soft swings, not for a source that's already sitting at consistent, moderate levels. Applied to the wrong kind of source, mismatched to what it's actually calibrated for, the effect can feel barely noticeable, which is exactly the "it's not doing anything" complaint that shows up across forums and comment sections.
Here's the practical read that resolves the confusion: if your dialogue is already fairly even, close-mic'd, single speaker, consistent room, Allow Wider Dynamics is solving a problem you don't have, and switching to Optimize Moderate Levels gets you a more noticeable, more useful result. If your dialogue genuinely swings from a whisper to a shout within the same clip, at an overall level that's already medium to high, Allow Wider Dynamics is actually the calibration built for exactly that case, and switching away from it can end up over-processing a source that didn't need the more aggressive treatment the other presets apply.
James Deruvo, covering the feature's launch for No Film School, captured the honest limit of any automated leveling tool worth remembering here: "But will it work better than a dedicated sound mixer? That remains to be seen," in his piece on DaVinci Resolve's AI-powered audio features. Dialogue Leveler is a fast, automated first pass. It's not a replacement for actually listening to what it did to your specific clip.
Which preset and settings should you actually use, scenario by scenario?
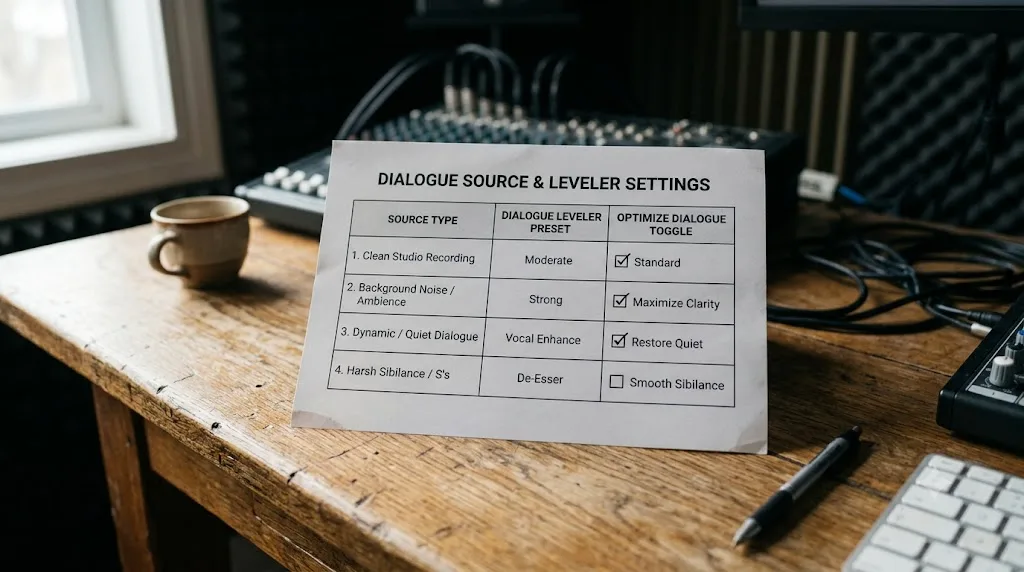
Match your actual source to the row below instead of leaving every clip on the default.
| Scenario | Preset | Toggles | Output Gain |
|---|---|---|---|
| Single-speaker talking head, consistent mic distance and room | Optimize Moderate Levels | Reduce Loud Dialogue on, Lift Soft Dialogue on | +2 to +4dB |
| Interview subject who whispers one line and shouts the next | Allow Wider Dynamics (default) | Both on | +2 to +3dB, check True Peak after |
| Narrator who consistently reads too quietly | More Lift for Low Levels | Both on, Lift Soft Dialogue doing most of the work | +3 to +6dB |
| ASMR-style or intentionally hushed narration with noticeable room tone | Lift Soft Whispery Sources | Both on, Background Reduction on | +2 to +4dB |
| Multi-guest podcast, one mic hot, one mic quiet | Different presets per track (More Lift for Low Levels on the quiet mic, Optimize Moderate Levels on the other) | Both on for each | Match each track to a similar perceived loudness before the mix, not a fixed number |
| Clean studio VO that just needs a light safety pass | Optimize Moderate Levels | Reduce Loud Dialogue on, Lift Soft Dialogue optional | +1 to +2dB |
| Location interview with audible fan or AC noise under otherwise fine dialogue | Optimize Moderate Levels or Allow Wider Dynamics, whichever matches the level swing | Both on, Background Reduction on as a light first pass, not a replacement for the Noise Reduction plugin | +2 to +4dB |
Worked example: a 20-minute documentary interview has one subject who speaks calmly through most answers but raises their voice noticeably during one emotional story. Left on the Allow Wider Dynamics default, the calm sections and the emotional peak both come through recognizably close to their original character, appropriately, since that's exactly the wide-swing scenario this preset is calibrated for. Switching that same clip to Optimize Moderate Levels instead pulls the emotional peak down more aggressively than the story probably needs, flattening a moment that was supposed to land as a peak.
A second worked example, the opposite case: a webinar recording has one presenter reading from notes in a flat, consistent tone for 45 minutes, mic'd close and steady throughout. Left on Allow Wider Dynamics, the leveling barely registers, because there's no real loud-to-soft swing for the preset to act on. Switching to Optimize Moderate Levels produces an audibly smoother, more consistent result almost immediately, because that's the preset actually built for a source shaped like this one.
The right preset depends on how much your dialogue's volume actually swings, not on which option sounds more like "leveling" when you read its name. That single reframe resolves most of the confusion this tool generates.
How does Dialogue Leveler compare to the Fairlight Compressor?
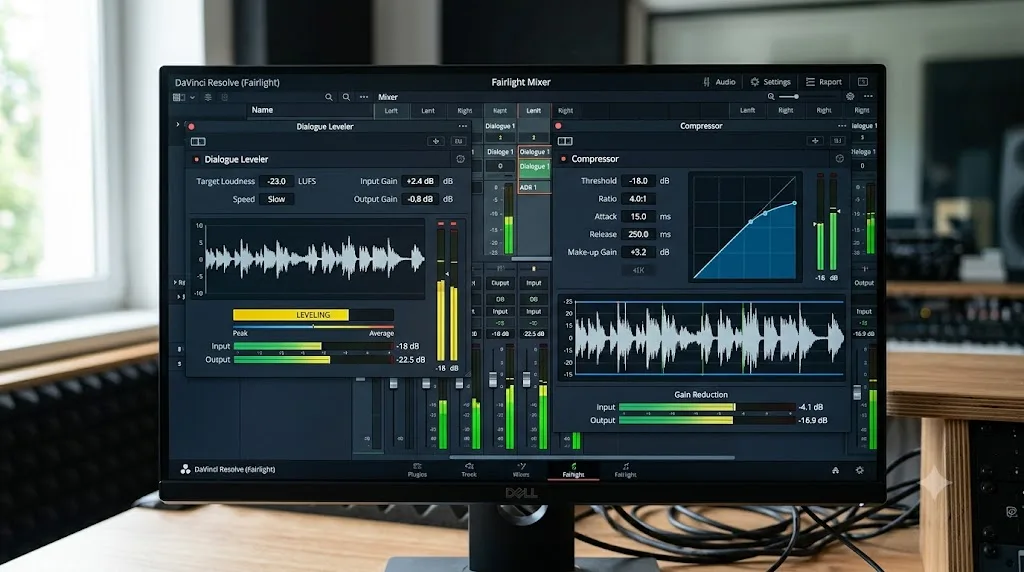
Both tools even out volume swings in dialogue. They do it through completely different mechanisms, and knowing which one fits a given moment saves you from fighting the wrong tool.
The Compressor, covered in full in our Fairlight mixing guide, gives you direct manual control over Threshold, Ratio, Attack, Hold, and Release. You decide exactly where compression kicks in and how hard, which means you can tune it precisely for one specific clip's exact behavior, but it also means you're the one setting every number by ear.
Dialogue Leveler skips that manual setup entirely. Instead of a threshold and a ratio, you pick a preset that roughly matches your source and flip two or three toggles. It's faster to apply, more forgiving of a source you haven't fully analyzed yet, and less precise than a compressor tuned specifically for the clip in front of you.
| Dialogue Leveler | Compressor | |
|---|---|---|
| Setup | Pick a preset, toggle three switches | Set Threshold, Ratio, Attack, Hold, Release manually |
| Speed | Fast, close to a one-click pass | Slower, requires listening and adjusting each control |
| Precision | Good for a general pass, less surgical | Fully tunable for one specific clip's exact dynamics |
| Best for | A quick, safe first pass on dialogue, or a whole bus at once | A specific clip that still misbehaves after leveling, or a mix that needs exact, repeatable ratios |
| Learning curve | Low | Higher, requires understanding what each control does |
Dialogue Leveler is a compressor with the hard decisions already made for you. The Compressor is a compressor where you make every one of those decisions yourself. Neither replaces the other completely. A common real-world workflow runs Dialogue Leveler first as a fast, forgiving pass across a whole Dialogue bus, then reaches for the Compressor afterward only on individual clips that still swing more than the Leveler alone smoothed out, tightening just those problem spots with a manually tuned ratio instead of re-running the whole bus through a heavier preset.
Running both stacked on the same signal is possible, since they're separate plugin instances, but it's rarely necessary. Start with Dialogue Leveler alone, and only add a Compressor afterward if a specific line still jumps once everything else sounds right.
How is Dialogue Leveler different from Voice Isolation and Dialogue Separator?
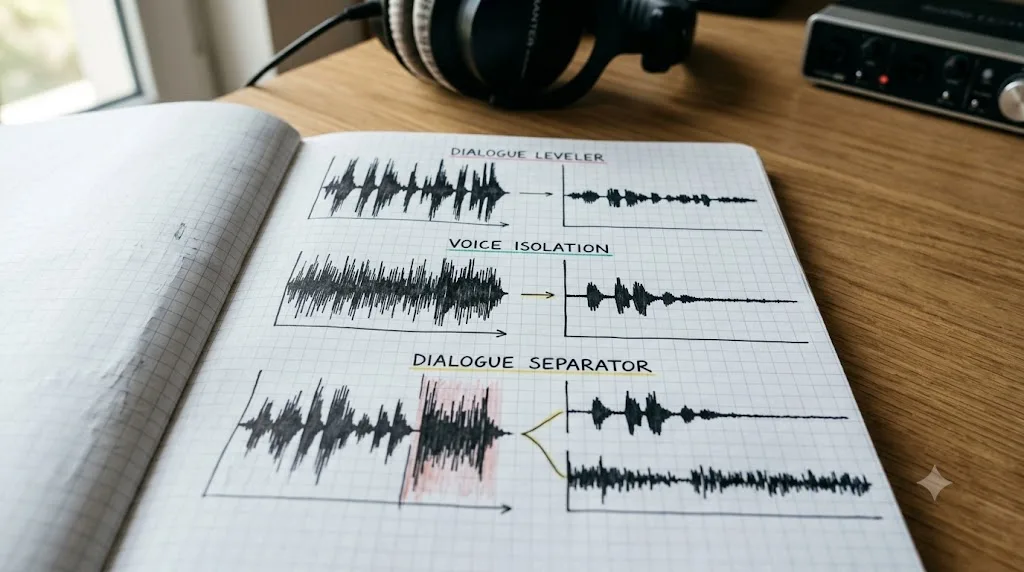
These three tools get confused constantly because they all live in the same part of the Fairlight FX list and all touch dialogue, but they solve three genuinely different problems.
Dialogue Leveler evens out volume. It's a leveling tool, and per Blackmagic's own DR 18.1 announcement, it runs on the DaVinci Neural Engine the same way Voice Isolation does, but its job stops at consistent loudness. It doesn't identify or remove noise beyond the light Background Reduction toggle, and it doesn't rebuild the voice from scratch the way Voice Isolation does.
Voice Isolation, covered in depth in our background noise removal guide, uses a neural network to recognize what a human voice sounds like and rebuilds it from the signal, discarding everything the model doesn't recognize as speech. That's a much more aggressive, and much more powerful, tool for chaotic noise like traffic or a crowd, at the cost of sounding thin or artificial if pushed too hard.
Dialogue Separator splits a track into distinct dialogue, background, and ambience layers with individual level controls, useful when you want to keep some room ambience rather than strip it entirely, a middle ground between leveling and full isolation. Larry Jordan, comparing all three tools directly, frames the distinction in terms of control: they "all provide ways to control background noise, but with varying degrees of control," in his comparison of Resolve's AI dialogue tools.
| Tool | What it actually does | What it's not for |
|---|---|---|
| Dialogue Leveler | Evens out volume between loud and soft passages | Removing real background noise, shaping tone |
| Voice Isolation | Rebuilds the voice with AI, discarding almost everything else | A gentle, surgical fix, since it can thin out the voice at high intensity |
| Dialogue Separator | Splits dialogue, background, and ambience into separate, adjustable layers | A one-click fix, since it requires balancing three resulting layers afterward |
| Noise Reduction plugin | Subtracts a learned noise profile from the whole signal | Volume evening, tone shaping |
| Compressor | Manually tunable dynamics control | A fast, no-setup pass |
Leveling volume, removing noise, and separating dialogue from background are three different jobs, and DaVinci Resolve gives you three different tools because one tool trying to do all three does none of them well. A workflow that reaches for the right one in the right order, Dialogue Leveler for volume, Noise Reduction or Dialogue Separator for what's underneath it, Voice Isolation only when the noise is genuinely chaotic, gets a cleaner result than any single tool run harder.
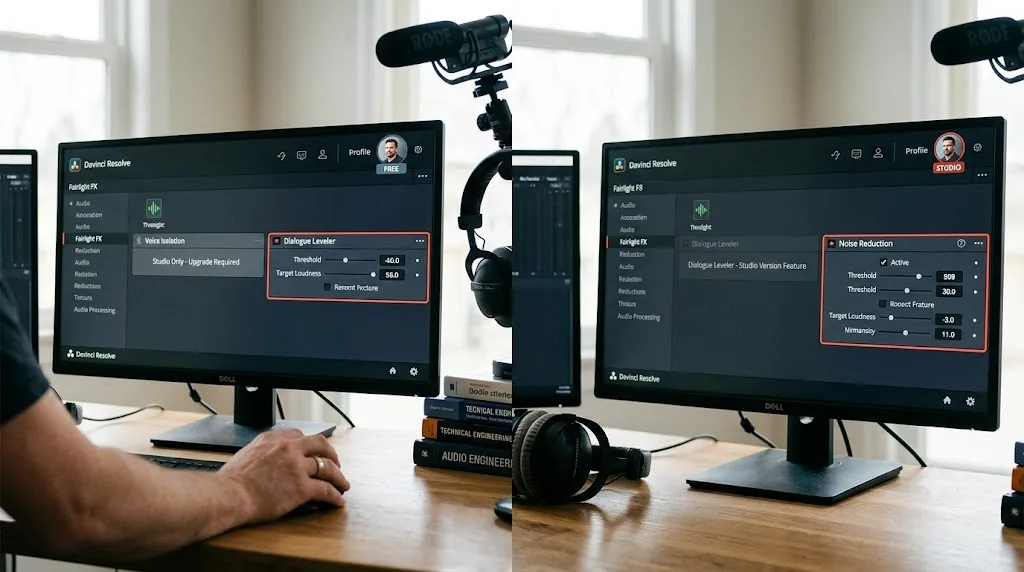
Is Dialogue Leveler available in the free version of DaVinci Resolve?
Yes. Dialogue Leveler ships in the free version, alongside the rest of the standard FairlightFX plugin set. Blackmagic's own Fairlight FX Plugin List places it in the same list as Noise Reduction, De-Esser, and De-Hummer, none of which require Studio. Gedaly Guberek's writeup of the tool at launch confirms the same thing directly, describing it and Voice Isolation together while noting the free-and-Studio split lands specifically at Voice Isolation, not Dialogue Leveler, in his DVResolve.com piece on both tools.
Voice Isolation is the Studio-gated AI tool in this part of Fairlight. Dialogue Leveler is not. That distinction matters because the two get bundled together constantly in tutorials and forum threads, both announced in the same DR 18.1 release, both built on the DaVinci Neural Engine, both living one click apart in the same Effects list, and it's an easy, understandable mix-up to make.
If Dialogue Leveler genuinely isn't showing up for you and you're on the free version, don't assume a license wall before checking the two far more common causes covered in the next section: a hidden mixer panel, or a track format that's suppressing it. Both have nothing to do with which version of Resolve you paid for.
If you're weighing the Studio upgrade for other reasons entirely, our free vs. Studio breakdown covers the complete list of what the $295 license actually changes, and Dialogue Leveler isn't on it.
Why can't you find Dialogue Leveler in your Fairlight Mixer or Inspector?
This is a genuinely common complaint, and it has two specific, well-documented causes, neither of them a missing feature or a license problem.
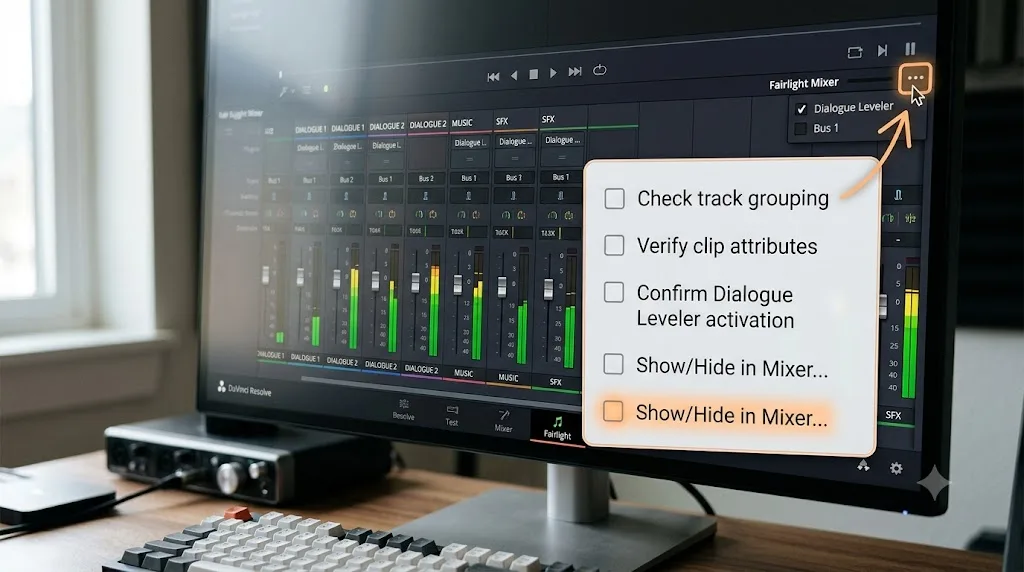
Your Fairlight Mixer has a hidden section. Thomas Kaufman ran into exactly this on a Creative COW forum thread, reporting flatly: "Running latest version of Resolve but in Fairlight there's no Dialogue leveler," in his post on the Creative COW forums. Michael Gissing identified the actual cause in the same thread: "You can enable or disable features in the mixer view. Select the three dots at the top right of the mixer view and enable what you want." Kaufman confirmed it worked: "This did the trick!" The mixer's per-strip visibility settings can hide Dialogue Leveler's row entirely without disabling the plugin itself, and it's easy to toggle that off by accident while customizing the mixer layout for something unrelated.
Your track's format is hiding certain track FX. A separate Blackmagic Design forum thread, titled plainly "Can't Dialogue Leveler!", documents a user on DaVinci Resolve 19.0.1 Free who couldn't find the plugin in either the Inspector's Audio tab or the Fairlight page. The fix that resolved it, per the thread, was changing the audio track's format to mono or stereo, which restored the missing plugin. Certain track formats, notably some surround or object-based configurations, don't expose every track FX the way a straightforward mono or stereo track does.
| Symptom | Cause | Fix |
|---|---|---|
| Dialogue Leveler missing from the Fairlight Mixer entirely | Mixer visibility setting hiding that plugin row | Click the three dots at the top right of the Mixer and re-enable it |
| Dialogue Leveler missing from both the Inspector and Fairlight page | Track format not exposing certain track FX | Change the audio track's format to mono or stereo |
| Dialogue Leveler present but grayed out | The main enable toggle inside the plugin itself is off | Open the plugin panel and enable the "Dialogue Leveler" toggle, separate from adding the plugin at all |
| Dialogue Leveler works on playback but not live input | Expected behavior, not a bug | The plugin processes recorded audio on a track; it isn't built for real-time live input monitoring |
Dialogue Leveler going missing is almost always a visibility setting or a track format issue, not a license gate or a bug. Work through both checks above before concluding the tool is broken or Studio-exclusive; both explanations account for the overwhelming majority of "where did it go" reports across forums.
Why does Dialogue Leveler sound inconsistent, or pump and breathe?
Even correctly applied, Dialogue Leveler can produce audible artifacts on certain sources, and recognizing what's happening tells you whether to adjust a setting or abandon the pass entirely.
Pumping, an audible rise and fall in background level as the plugin reacts to dialogue, shows up most on sources with a noticeable, constant noise floor, room tone, a fan, or light hiss. As Reduce Loud Dialogue pulls a loud word down and Lift Soft Dialogue raises the following quiet word up, the noise floor underneath both words gets pulled along for the ride, becoming audibly louder during quiet passages than it was originally. This is the same mechanism, and the same fix, as the pumping problem covered in our Fairlight mixing guide's ducker section: the tool is working as designed, but the source has a noise problem the leveler is now making more audible rather than solving. Running the Noise Reduction plugin before Dialogue Leveler, not after, addresses the actual cause instead of fighting the symptom.
Inconsistent results clip to clip, the complaint behind the Blackmagic forum thread titled "DR 19 Dialogue Leveler Inconsistant," usually traces back to different clips genuinely having different characteristics even though they're part of the same interview or session: a slightly different mic distance, a different room, or a different speaking energy from take to take. Dialogue Leveler processes what's actually in the clip, and a preset tuned for one clip's dynamic range won't automatically fit the next clip's differently-shaped dynamics. This is exactly why track-level or bus-level Dialogue Leveler on inconsistent source material sometimes underperforms clip-level instances tuned individually, even though bus-level application is usually the faster, more consistent choice on genuinely consistent material.
Thinness or an over-processed, artificial quality at high Output Gain combined with an aggressive preset mismatch is the leveler's version of the same over-processing problem covered for Voice Isolation elsewhere on this site: pushing any automated tool harder than the source needs starts to announce itself as an effect rather than disappearing into a clean result.
| Symptom | Likely cause | Fix |
|---|---|---|
| Background noise audibly rises and falls between words | Reduce Loud Dialogue and Lift Soft Dialogue are pulling the noise floor along with the dialogue | Run Noise Reduction first, then apply Dialogue Leveler on the cleaned-up result |
| Results feel inconsistent clip to clip in the same session | Clips genuinely differ in mic distance, room, or energy | Apply per-clip instead of per-track, or per-track instead of per-bus, until the inconsistency resolves |
| Dialogue sounds artificial, thin, or over-processed | Aggressive preset mismatched to a source, or Output Gain pushed too high | Switch presets to match the actual dynamic range, and pull Output Gain back |
| No change at all is audible | Allow Wider Dynamics applied to a source that's already consistent | Switch to Optimize Moderate Levels, More Lift for Low Levels, or Lift Soft Whispery Sources based on the source |
A leveling tool can only even out the dialogue that's actually in the recording. It can't fix a noise problem, a bad mic placement, or an inconsistent performance underneath the dialogue. Recognizing which of those is actually happening, rather than assuming Dialogue Leveler itself is broken, is the difference between a five-minute preset swap and an hour of fighting a symptom that a different tool was built to solve.
Should you apply Dialogue Leveler before or after other Fairlight tools?
Order matters here the same way it matters throughout the rest of a Fairlight signal chain, and getting it backwards is a common cause of the artifacts covered in the previous section.
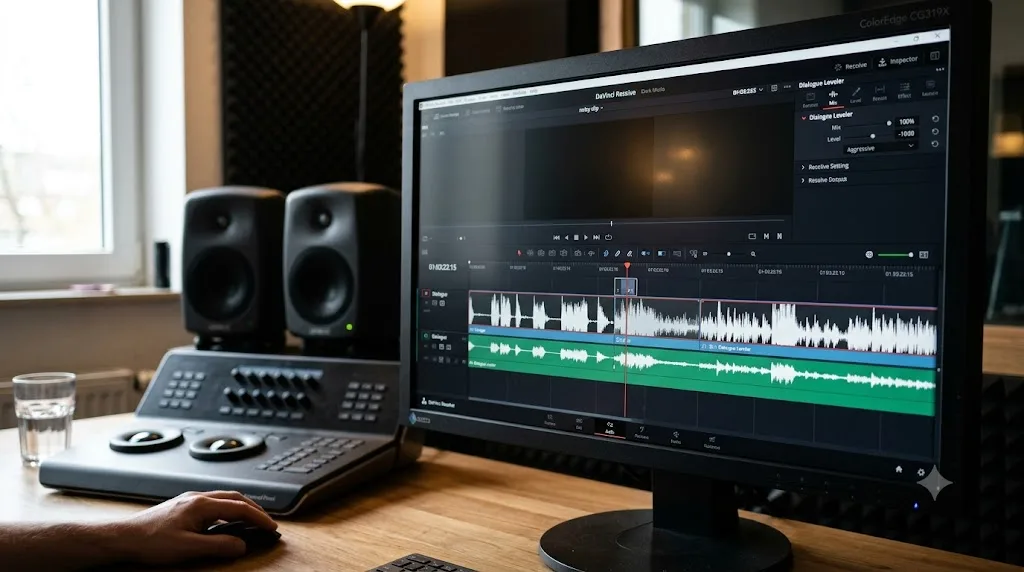
Noise repair first. If your dialogue has actual hiss, hum, or heavy background noise, run the Noise Reduction plugin, De-Hummer, or Voice Isolation before Dialogue Leveler, not after. Leveling a noisy signal amplifies the noise right along with the dialogue during quiet passages; cleaning the signal first gives Dialogue Leveler something quieter and more consistent to work with.
Dialogue Leveler second. With noise handled, Dialogue Leveler evens out the remaining volume swings in the actual speech.
Tone and dynamics last, if needed at all. EQ and the Compressor, covered in our Fairlight mixing guide, come after Dialogue Leveler if a specific clip still needs shaping or a tighter dynamic squeeze than the Leveler alone provided. Many clips, especially a single clean voiceover, need nothing beyond Dialogue Leveler at all.
Loudness normalization always last. Once dialogue is leveled and mixed against music and effects, the LUFS check on the Main bus happens after everything else, the same as it would on any mix, since Dialogue Leveler changes relative levels within a clip, not your overall platform-target loudness.
| Step | Tool | Why it goes here |
|---|---|---|
| 1 | Noise Reduction, De-Hummer, or Voice Isolation | Cleaning noise before leveling prevents the leveler from amplifying it |
| 2 | Dialogue Leveler | Evens out remaining volume swings in the clean dialogue |
| 3 | EQ and Compressor, if a specific clip still needs it | Tone and precision dynamics, applied only where Dialogue Leveler alone wasn't enough |
| 4 | Loudness normalization (LUFS check) | Confirms the whole finished mix hits your platform's target |
Worked example: a location interview has audible AC hum, inconsistent volume between the interviewer's questions and the subject's answers, and a slightly boxy room tone. Running Dialogue Leveler first, before De-Hummer, would even out the volume while the hum still sits underneath every word, evenly amplified rather than reduced. Running De-Hummer first clears the hum, then Dialogue Leveler evens out the remaining speech without dragging that hum along for the ride, and a light EQ cut for the boxiness afterward finishes the tonal side without fighting a moving target.
What's new for Dialogue Leveler in DaVinci Resolve 21?
Resolve 21 didn't rebuild Dialogue Leveler itself, but two additions change how you apply it across a project once you've settled on settings you trust.
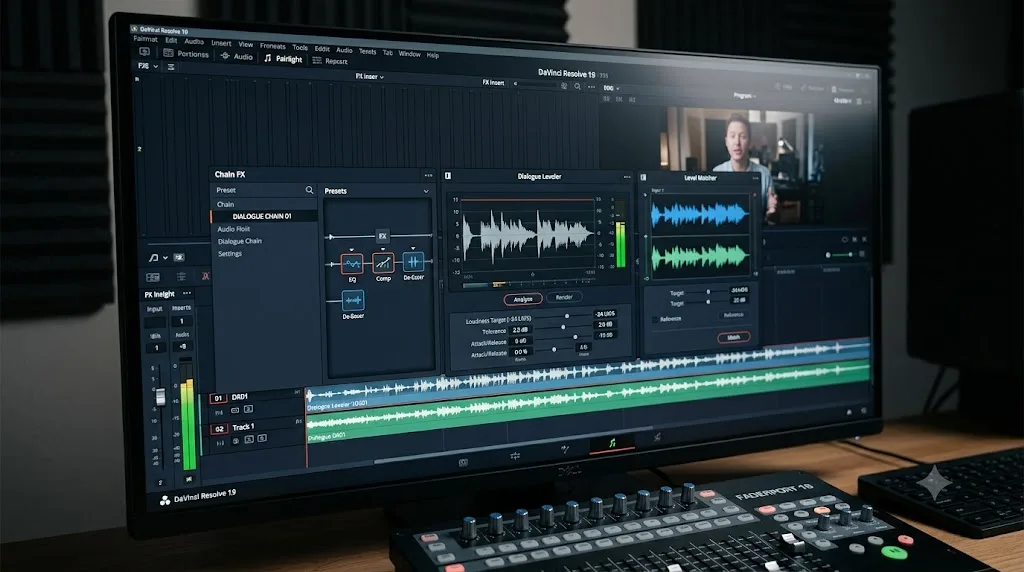
Chain FX, per Blackmagic's own What's New page, bundles up to six plugins into a single reusable, saveable preset. Build a chain of Dialogue Leveler plus De-Esser plus a light Compressor, tuned exactly the way a given project needs, and applying that combination to every new clip becomes one click instead of rebuilding three plugin instances from memory each time.
Level Matcher addresses the intercut-inconsistency problem covered earlier in this guide from a different angle: rather than leveling a single clip's internal loud-to-soft swing, it captures a loudness profile from a reference clip and applies that profile to other clips, useful for matching two camera angles or two recording sessions of the same speaker to each other before Dialogue Leveler ever runs. Used together, Level Matcher evens out clip-to-clip differences first, and Dialogue Leveler evens out the internal swing within each clip second, addressing the two separate consistency problems in the order that actually resolves both.
Neither tool replaces Dialogue Leveler's core job. They make it faster to apply consistently once you've found settings that work, which matters most on a project with more than a handful of clips running through the same dialogue pipeline.
What does a full Dialogue Leveler pass look like start to finish?
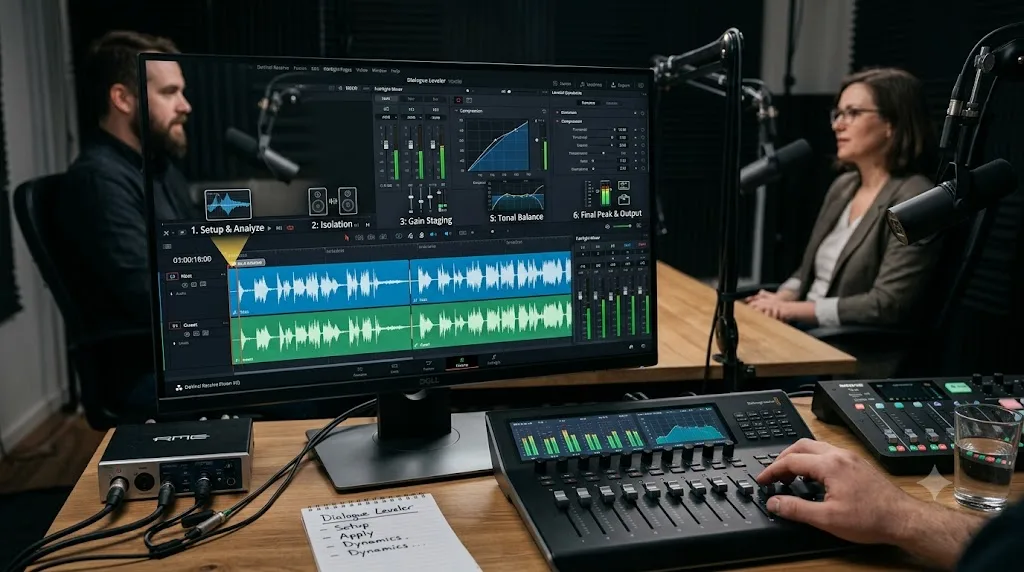
Here's the whole method applied to a realistic case: a 25-minute YouTube interview with a host on a boom mic and a guest on a lav, recorded in a home studio with light room tone.
Step one, diagnose. Solo each track and listen. The host's boom mic is fairly consistent throughout. The guest, less experienced on camera, swings noticeably between confident, louder answers and quieter, more hesitant ones.
Step two, apply per track, not per bus. Since the two speakers genuinely need different treatment, Dialogue Leveler goes on each track individually rather than on a shared Dialogue bus.
Step three, host's track. Preset set to Optimize Moderate Levels, since the source is already fairly consistent. Reduce Loud Dialogue and Lift Soft Dialogue both on. Output Gain at +2dB. A/B against bypass confirms a subtle, natural-sounding smoothing with no audible processing artifacts.
Step four, guest's track. Preset left on Allow Wider Dynamics, since the swing between confident and hesitant answers is exactly the wide-range case this preset is calibrated for. Both toggles on. Output Gain at +3dB, since the guest's overall level ran slightly quieter than the host's to begin with.
Step five, check for pumping. With both tracks leveled, playback through a quiet stretch reveals faint room tone breathing slightly on the guest's track. Rather than reduce Dialogue Leveler's settings and lose some of the leveling benefit, a light Noise Reduction pass gets added ahead of Dialogue Leveler on that track specifically, addressing the actual room tone instead of backing off the leveling that was otherwise working well.
Step six, final playthrough. Both tracks now play back at consistent, comparable levels next to each other, with the earlier room-tone breathing resolved. The mix moves on to bus routing, EQ, and the rest of the full Fairlight mixing workflow from there.
Six steps, and the only real judgment call in the whole pass was recognizing that the guest's dynamic swing called for a different preset than the host's consistency, and that a pumping artifact meant a noise problem to fix at its source, not a leveling setting to dial back.
What mistakes wreck a Dialogue Leveler pass even when the settings look reasonable?
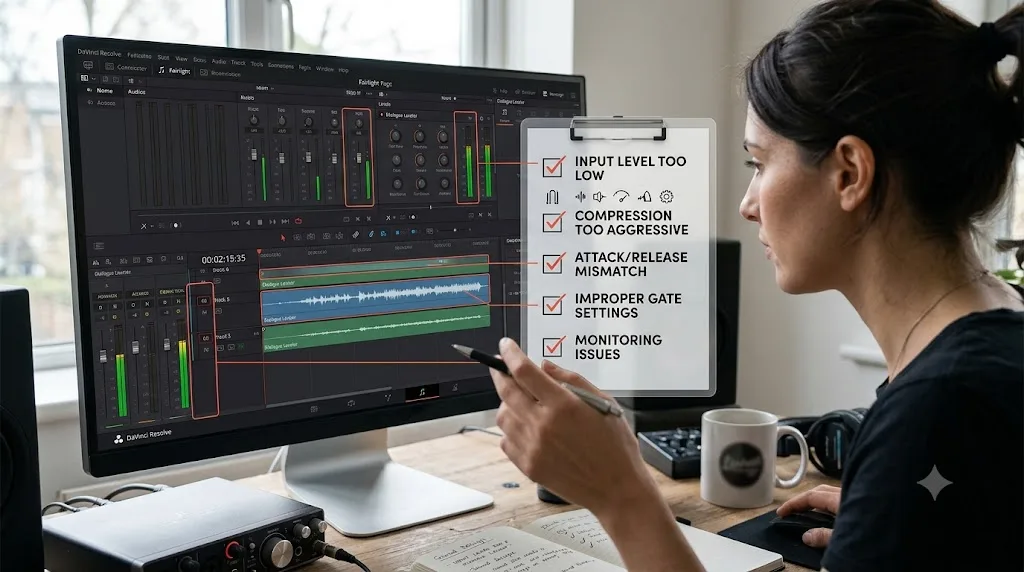
A handful of habits account for most Dialogue Leveler passes that technically use the right controls and still sound off.
Leaving every clip on the default preset without listening. Allow Wider Dynamics is the default for a reason, but it's calibrated for one specific kind of source, not a universal safe choice. Applying it blindly to a source it wasn't built for produces the "it's not doing anything" complaint that drives most of the confusion around this tool in the first place.
Leveling before cleaning up noise. Covered in detail above, and worth repeating because it's the single most common cause of pumping artifacts: a noise floor gets amplified right alongside the dialogue if Dialogue Leveler runs before Noise Reduction, De-Hummer, or Voice Isolation instead of after.
Maxing Output Gain by default instead of matching it to what the leveling actually needs. More gain isn't automatically better. A clip that only needed a light Reduce Loud Dialogue pass and barely any Lift Soft Dialogue action doesn't need +6dB of Output Gain stacked on top; that just makes an already-fine clip too loud relative to everything else in the mix.
Never A/B'ing against bypass. The main enable toggle exists specifically so you can compare processed against untouched in real time. Skipping that comparison means committing to settings you've never actually heard against the original, which is how a subtly over-processed clip slips through unnoticed until it's sitting next to music and effects in the finished mix.
Assuming a missing plugin means a license problem before checking the mixer's visibility settings or the track's format. Covered in full above, and worth restating: the two documented, real-world causes of "I can't find Dialogue Leveler" have nothing to do with Free versus Studio.
Applying the same preset to every speaker in a multi-guest recording regardless of how differently they actually perform. A confident, consistent host and a nervous, dynamically swinging guest are two different leveling problems on the same timeline, and one preset rarely serves both well.
Which symptom points to which Dialogue Leveler problem?
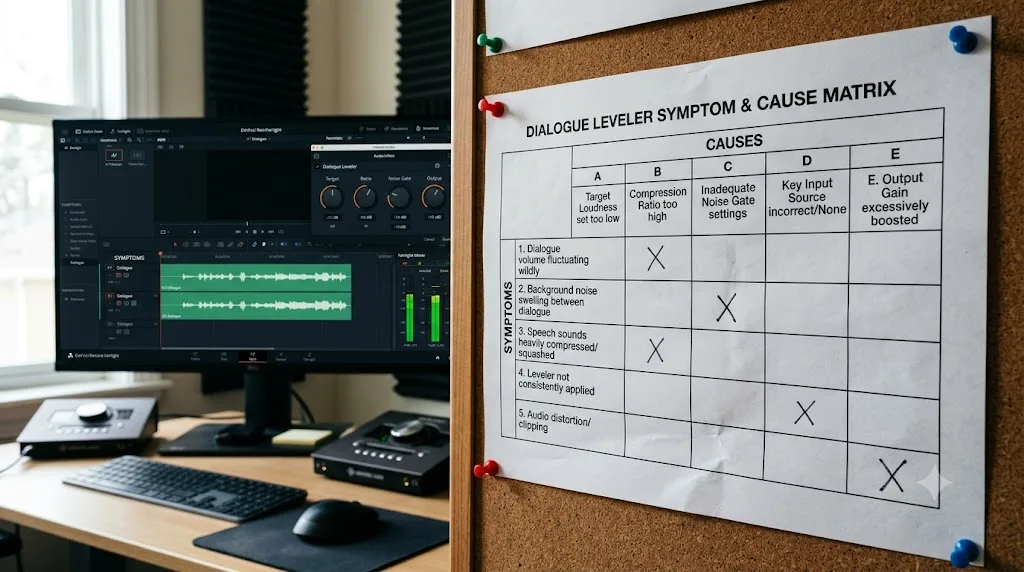
Match what you're actually hearing to the row below before opening the plugin panel and guessing.
| Symptom | Most likely cause | Fix |
|---|---|---|
| Leveling barely seems to do anything | Allow Wider Dynamics applied to an already-consistent source | Switch to Optimize Moderate Levels |
| Background noise rises and falls audibly between words | Dialogue Leveler amplifying an untreated noise floor | Run Noise Reduction or De-Hummer before Dialogue Leveler, not after |
| Dialogue sounds thin, artificial, or over-processed | Aggressive preset mismatch, or Output Gain pushed too high | Match the preset to the actual source, pull back Output Gain |
| Results are inconsistent clip to clip in the same session | Clips genuinely differ in mic distance, room, or performance energy | Apply at the clip or track level instead of a shared bus, until consistency improves |
| Plugin is missing from the Fairlight Mixer entirely | Mixer visibility setting hiding that row | Three dots, top right of the Mixer, re-enable it |
| Plugin is missing from both Inspector and Fairlight page | Track format not exposing certain track FX | Switch the track's format to mono or stereo |
| Two speakers in the same recording sound tonally inconsistent, not just volume-inconsistent | A different problem entirely: mic or room mismatch, not level | Use Level Matcher or the EQ carving techniques in the Fairlight mixing guide, not Dialogue Leveler |
| Final export's dialogue level doesn't match your platform's loudness target | Dialogue Leveler changes relative internal level, not whole-mix loudness | Follow the LUFS normalization workflow after mixing, separately |
Most Dialogue Leveler complaints trace back to a preset mismatch or a signal-chain ordering issue, not a genuinely broken plugin. Work through this table before assuming otherwise.
What's the fastest way to set up Dialogue Leveler before every export?
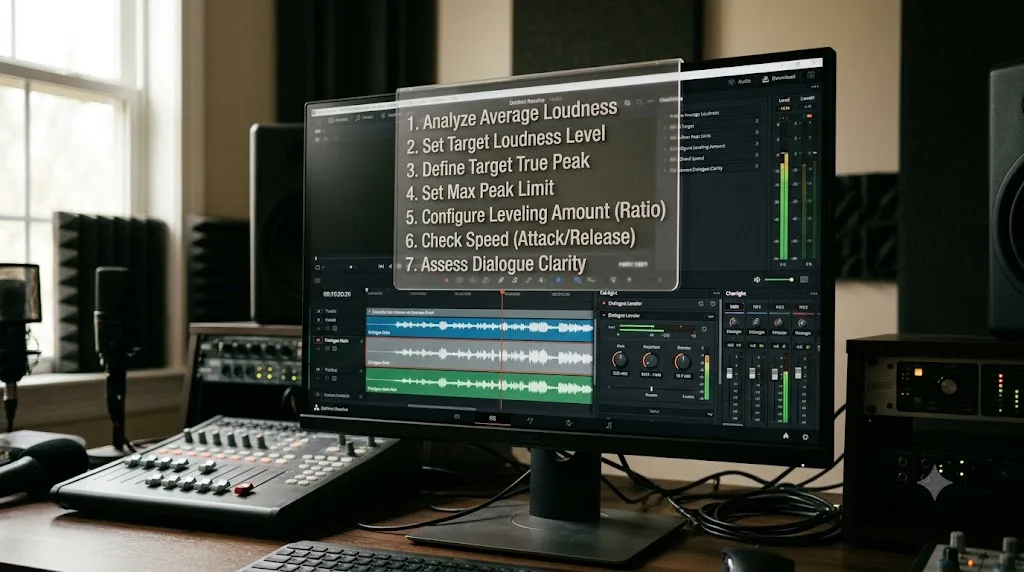
Seven checks, worked in order, cover the setup every scenario in this guide depends on.
- Diagnose the source first. Listen to whether your dialogue is fairly consistent or genuinely swings loud to soft, before touching a preset.
- Handle noise before leveling. Run Noise Reduction, De-Hummer, or Voice Isolation first if the clip has real background noise.
- Pick a preset that matches the source, not the Allow Wider Dynamics default by habit.
- Enable Reduce Loud Dialogue and Lift Soft Dialogue. Both, for most dialogue.
- Only enable Background Reduction if the source actually has noise to reduce. It does nothing useful on a clean recording.
- Set Output Gain to match what the leveling actually needs, not maxed out by default.
- A/B against bypass, then check the result against the full mix, not soloed.
If working through presets, toggles, and signal order every time a new interview or voiceover comes in is the part that eats your afternoon, that's the specific gap TryUncle is built for. It's an AI tutor that looks at your actual Resolve window and points at the exact control you're asking about, instead of sending you back through a guide like this one for a setting you needed twenty seconds ago. It's a paid macOS app currently in founder pricing for its first 100 seats; check tryuncle.com for the current rate.
What should you actually remember from all of this?
Dialogue Leveler is a fast, automated stand-in for manual fader-riding, not a replacement for a compressor, an EQ, or a noise-removal tool. Diagnose your source before picking a preset: a genuinely wide-swinging clip at decent overall levels is the one real case for the confusing Allow Wider Dynamics default, and everything more consistent than that gets a better result from Optimize Moderate Levels, More Lift for Low Levels, or Lift Soft Whispery Sources instead.
Clean noise before you level, since Dialogue Leveler amplifies whatever noise floor is already there right along with the dialogue. Apply it at the clip, track, or bus level depending on how consistent your speakers actually are, not by default at whichever level is fastest to click through. And if the plugin goes missing entirely, check the Fairlight Mixer's visibility settings and your track's format before assuming it's gated behind Studio: it isn't, and both of those documented causes have nothing to do with which version of Resolve you're running.
None of it needs Studio, and none of it needs riding a fader by hand for a 25-minute interview ever again. It needs picking the preset that actually matches what's on your timeline, and listening to the result before you trust it.
Frequently asked questions
- What does 'Allow Wider Dynamics' actually do in the Dialogue Leveler?
- It's the default preset, and Blackmagic's own manual describes it as best for sources with wide loud-to-soft swings where clip levels already sit medium to high. It still applies Reduce Loud Dialogue and Lift Soft Dialogue, it's just calibrated more gently than the other three presets, so a naturally dynamic performance doesn't get squashed flat. That's why it can feel like it's barely leveling anything on a source that's already fairly consistent: it's tuned for a different problem than the one you're pointing it at.
- What's the fastest good Dialogue Leveler setting for a talking head video?
- Switch the preset from the Allow Wider Dynamics default to Optimize Moderate Levels, since most single-speaker talking head audio sits at fairly consistent levels throughout. Enable both Reduce Loud Dialogue and Lift Soft Dialogue, leave Background Reduction off unless your room has audible noise, and set Output Gain around +2 to +4dB. Then A/B against bypass before you commit.
- Is Dialogue Leveler free or does it need DaVinci Resolve Studio?
- Dialogue Leveler ships in the free version. Blackmagic's Fairlight FX plugin list places it alongside standard tools like Noise Reduction and De-Esser, and DVResolve.com's writeup of the feature at launch confirmed the same thing directly. If it's missing from your Effects list, the far more common cause is a hidden mixer panel or a track format mismatch, both covered in this guide, not a license gate.
- Why can't I find Dialogue Leveler in my Fairlight Mixer or Inspector?
- Two causes account for most cases. First, the Fairlight Mixer lets you hide entire effect sections from view; click the three dots in the top right of the mixer and confirm Dialogue Leveler's row is enabled. Second, some audio track formats hide certain track FX; switching the track to mono or stereo, per user reports on Blackmagic's own forum, restores it. Check both before assuming the tool is missing or gated.
- Should I use Dialogue Leveler or the Fairlight Compressor for dialogue?
- Dialogue Leveler is a purpose-built automatic leveler with four presets and three toggles, built specifically to even out speech without you setting a threshold, ratio, or attack time. The Compressor is a general-purpose dynamics tool with full manual control over all of that. Dialogue Leveler is faster and safer for a quick pass. The Compressor gives you more precision when a specific line still won't sit right after leveling.
- Does Dialogue Leveler remove background noise?
- Only lightly, through its Background Reduction toggle, which focuses on dialogue and gently reduces whatever sits behind it. It's not built to handle hiss, hum, or heavy location noise the way the dedicated Noise Reduction plugin, De-Hummer, or Voice Isolation are. If your dialogue has real noise under it, run those tools first and let Dialogue Leveler handle only the volume evening-out afterward.
- Can I apply Dialogue Leveler to a whole bus instead of individual clips?
- Yes. Dialogue Leveler works as a track FX at the clip level, the track level, or on a bus channel strip, the same as Noise Reduction or the Compressor. Applying it once on a Dialogue bus after every mic feeds into that bus is usually faster and more consistent than adding it clip by clip, unless different clips genuinely need different presets.
Sources
- DaVinci Resolve Manual - Dialogue Leveler Plugin Controls (Blackmagic Design)
- DaVinci Resolve Manual - Fairlight FX Plugin List (Blackmagic Design)
- TV Technology: Blackmagic Design Releases Latest Update To DaVinci Resolve
- DVResolve.com: DaVinci Resolve's New Voice Isolation and Dialogue Leveler Audio Tools (Gedaly Guberek)
- Alli and Will: How To Level Dialogue in DaVinci Resolve Fast
- Creative COW Forum: Cannot Find Dialogue Leveler
- Blackmagic Design Forum: Can't Dialogue Leveler!
- No Film School: AI-Powered Audio Features in DaVinci Resolve Can Clean Your Dialogue, Should Sound Mixers Worry? (James Deruvo)
- DaVinci Resolve - Fairlight product page (Blackmagic Design)
- Larry Jordan: Three Different Ways to Reduce Background Noise in DaVinci Resolve 20
- DaVinci Resolve - What's New (Blackmagic Design)
- DaVinci Resolve Studio product page (Blackmagic Design)
Learn by doing, not watching
Learn Resolve inside Resolve.
TryUncle watches your screen and points at the exact control when you ask. No tabs, no timestamps, no rewatching tutorials.
Download for MacKeep reading
Guides · Jul 11, 2026 · 31 min
How to Mix Audio in DaVinci Resolve Using Fairlight
Mix audio in DaVinci Resolve's Fairlight page: build a dialogue/music/effects bus structure, gain-stage your clips, EQ and compress dialogue, then duck music under it.
Fixes · Jul 10, 2026 · 29 min
How to Remove Background Noise from Audio in DaVinci Resolve
Remove background noise from audio in DaVinci Resolve with the Fairlight Noise Reduction plugin, De-Hummer, Gate, or Voice Isolation. Exact settings, in order.
Guides · Jul 8, 2026 · 33 min
DaVinci Resolve Loudness Normalization: The Right LUFS Target
The exact LUFS target for every platform in DaVinci Resolve: -14 for YouTube and Spotify, -16 for podcasts, -23 EBU R128 broadcast. Plus how to set and hit it.